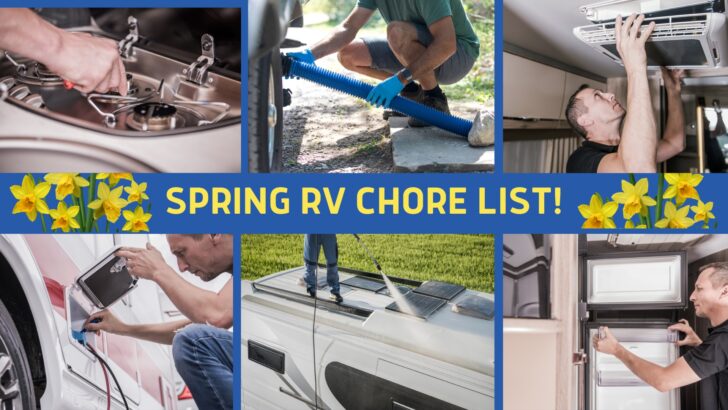

The dawn of spring means the height of camping season is just around the corner. We’ve been at this for 20 years now, so we know that when you’re getting your RV ready for travel, a checklist can come in very handy!
The anticipation of a new camping season means that getting your RV ready can be fun. But there’s a fairly substantial chore list involved, and there are some items on that list which, if neglected, could not only cost you lots of money but also leave you in a lurch during a camping trip.
So, we thought we’d put together a checklist to help guide others through the process of getting an RV ready for spring travel before hitting the road.
We’ll organize the list into sections for you so that you can focus on a section (or even a piece of a section) at a time if you’d like. We’ll also drop some links to previous posts and YouTube videos we’ve published for your reference should you need them for some of these RV maintenance tasks. Several will have step-by-step guides.
Here’s to a fantastic new camping season! Ready? Let’s do this!
- 1) De-Winterize Your RV
- 2) Thoroughly Check Your Tires
- 3) Check Towing Equipment and Set Mirrors
- 4) Household Inspection List
- 5) Exterior Inspection List
- 6) Prepare All Systems/Appliances/Accessories
- 7) Generator Inspection & Maintenance Tasks
- 8) Paperwork and Services
- 9) Free RVing Tips, Tricks, Reviews, Giveaways & More
De-Winterize Your RV
We’ll start with the top 11 things to do to get your RV ready for travel by de-winterizing it.
We recognize that many of you have plenty of experience under your belts, so you can jump straight to the checklist below (you may see some overlapping between this section and the sections that follow).
Others may prefer to refer to the post we put out last spring: Top 11 Things To Do To De-Winterize Your RV.
For details on each of the items below, click on the link above, and it’ll take you right to that post. Once there, you can check out the table of contents, and click on any item you’d like for further information, including step-by-step videos to follow.
Meanwhile, here’s the checklist version:
- Check All Safety Devices (smoke, CO, and propane detectors) and Change Batteries or Devices as Necessary
- Drain & Flush Antifreeze From Your Plumbing (If You Used It)
- Sanitize Your RV Water System
- Check for Leaks
- Plumbing
- Holding Tanks
- Black & Gray Tank Valves
- RV Roof
- Check Tire Pressures (Including Spare) and Inflate as Necessary
- Check Your Chassis Battery and House Battery System
- Check Inside and Outside the RV for Potential Rodent Damage
- Fill Propane and Fuel Tanks
- Tend to Any Maintenance Tasks
- Test/Run Systems and Appliances
- Clean the Interior
Now let’s get into the weeds on these important items a bit more as we continue with the following sections.
Thoroughly Check Your Tires
Check your RV tire pressures. If you have a towing vehicle (with which you tow a travel trailer) or a toad (a car you tow behind your motorhome), check those tires as well.
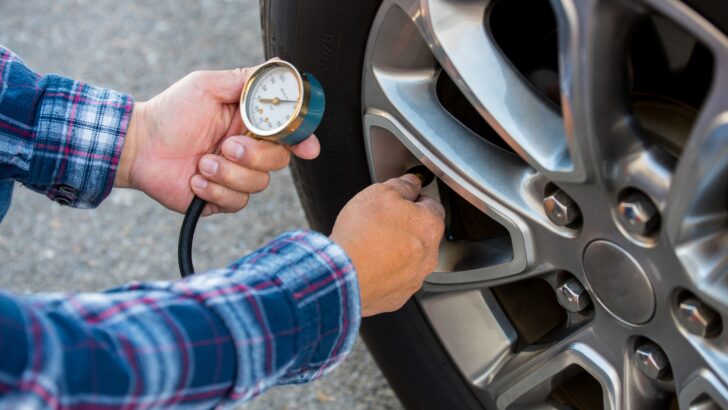

When checking tire pressures, do so when the tires are cold. Don’t forget the tires of your towing vehicle or toad, and your spare!
When inflating your tires to the proper pressures, be sure to inspect them for age, quality, and integrity (see our post “RV Tire Age, Care & Replacement“):
- Inspect all tires (including the spare) for any signs of aging or wear. Look for signs of tire dry rot, such as cracks and bubbles. Examine the tread depth and look for uneven wear.
- Check the date code for the age of all of your tires, and consider replacing tires that warrant replacement.
- Check lug nuts and torque them to factory specs.
- Check your TPMS if you have one and confirm that it’s operating. (See our post on RV TPMS for more information on this important piece of RV gear.)
Check Towing Equipment and Set Mirrors
- Grease your hitch ball or kingpin (or attach a lube plate if you use one… if needed, see our post on ball hitch sizes.)
- If you have a travel trailer, hitch it up. (See our post on how to hitch a trailer to tow it safely.)
- Secure your safety chains.
- Attach the breakaway cable.
- Attach sway control unit if used (see our posts on trailer sway bars and methods for trailer sway control).
- Attach weight distribution bars if used (see our post Weight Distribution Hitch: Does My Trailer Need One?).
- Connect power/umbilical cable(s).
- Check all lights (brake lights, tail lights, turn signals & clearance lights).
- Confirm that your trailer brakes are working.
- If your brake control needs to be adjusted, do it now.
- Set the mirrors on your tow vehicle. Review our post on tow mirrors, and/or our post on how to adjust your RV mirrors.
Household Inspection List
- Replace batteries in all battery-operated safety detectors such as smoke alarms and carbon monoxide detectors, and test each one.
- Replace any safety detectors that are out of date. (See step-by-step instructions on how to replace your propane detector in our post “What Is an RV Propane Detector?“)
- Inspect fire extinguisher(s). Check the date, check for proper pressure, and check the overall condition of the extinguisher. (Please see our posts on RV fire extinguishers and RV fire safety.)
- Clean and run all roof vents. (See our post and video on super-cleaning an RV vent fan.)
- Check for leaks throughout the RV, including cabinets, ceiling, windows, etc.
- Check window coverings and blinds. Restring as necessary. (See our post on how to restring RV pleated shades or, if you’re tired of repairing those pleated shades, see our post on RV replacement blinds.)
- Check all interior window and door latches and locks for proper operation.
- Clean the interior of the RV.

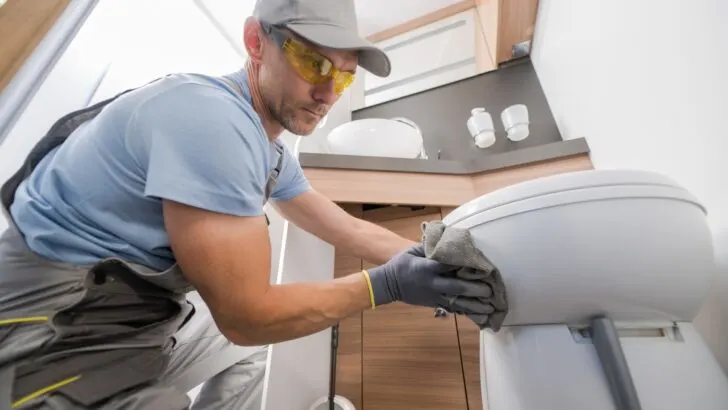
Getting RVs ready for spring means tending to maintenance tasks and doing some spring cleaning!
Exterior Inspection List
- If your RV has a ladder, check the hardware and seals for integrity. Repair or replace as necessary before heading up to the roof!
- Check roof condition (including seam sealants), paying close attention to all roof sealants around vents and all other openings. Check for cracks or other damage to sealants, and repair as necessary. (See our post on preventing RV roof leaks – Dicor maintenance for important information and a great video guide).
- If it wasn’t done at the end of the last camping season, clean your RV roof using the appropriate cleaner for your type of roof, and apply UV protectant. (For further information on products for specific types of RV roofs, please see our complete guide to your RV roof and our posts on the fiberglass RV roof and how to clean a rubber roof on an RV.) If you have RV solar panels, clean them while you’re at it.
- Check all awnings, slide-outs, and slide-out toppers. Clean/repair and lubricate hardware as necessary. (See our complete guide to RV slide-outs as well as our post on how to measure, order, and replace your RV slide topper.)
- Check all window frames for damage, leaking, debris, etc. If you find yourself with the need to replace one of your RV windows, don’t panic. This is why we check the RV in spring! You’ve got time to deal with situations like these. See our detailed post and video on RV window replacement for everything you need to know.
- Inspect all caulking around the RV (i.e. doors, windows, all lights, storage compartment doors, etc.)
- Check all exterior latches and locks, including entry/exit doors and compartment doors. Lubricate as necessary.
- Check the operation of your entry stairs. Clean as needed, and use a silicone-based dry lube to lubricate the stairs for optimal operation. To troubleshoot step issues, see our post on RV electric steps.
- Replace step covers as necessary for optimal safety. If your steps need to be covered or your current covers need replacing, do yourself a favor and check out our post on the best RV step covers ever with a step-by-step tutorial for easy installation. (Spoiler: They’re not expensive at all!)
- Wash & wax the exterior of your RV. Wash your tires and apply tire protectant (that doesn’t have petroleum-based components) as well. See our post on the 5 best RV wash and wax products to use. Here is the tire cleaner and tire protectant we use:
- Watch dirt and grime dissolve quickly and easily with our color changing foam formula
- Prevents and removes tire browning, tire blossoming, and dry rot
- Ultimate Protection – 303 Aerospace Protectant provides superior protection against damaging UV rays. This protector spray repels dust, lint, and...
- Non-Greasy – Dries to a smooth, matte finish with no oily or greasy residue. When treating your outdoor furniture, spa and pool covers, vinyl...
Prepare All Systems/Appliances/Accessories
Now let’s get the various systems (plumbing, electrical, propane, etc.) of the RV ready for camping, along with the appliances and accessories that make the RV an entire home-on-wheels.
- Check your entire electrical system. Inspect for any signs of rodent damage and reconnect the system as needed. If you have an RV battery disconnect switch, turn it on and ensure your house battery system is fully charged before attempting to test that system.
- Test your RV water pump. Listen for pump cycling (the sound of the water pump running when you’re not calling for water by opening a faucet or flushing the toilet). If you’re hearing the pump, you likely have a leak somewhere in the system, and this is a good time to chase it down and repair it. If you find the pump needs replacing, don’t despair. It’s a great DIY project, and we’ve got you covered. See our post on RV water pump replacement. Should you need information on the pumps themselves, have a look at our post on some of the best RV water pumps.
- If your RV has been winterized with RV anti-freeze, drain the antifreeze from the system. Begin with your low-point drain and work your way through the system. Don’t forget your outside shower if you have one.
- Sanitize your RV fresh water tank. (See our post and easy step-by-step video on how to sanitize your RV water system.)
- Test all of your faucets, showerheads, toilet(s), and any other appliances your rig may have, such as a washing machine, dishwasher, and fridge ice maker. Check for leaks and proper operation.
- You probably flushed your RV water heater at the end of the last camping season as you prepared to winterize your rig. If your unit has an anode rod and you don’t recall checking the RV water heater anode rod then, check it now, and replace it if necessary.
- Turn on your propane tank and check for leaks/smells/etc. Have the tank filled with LP gas as needed.
- Test your air conditioner(s) and clean/replace the filter as needed. Check the condenser and evaporator for dust, debris, dirt, nests, etc.
- Test your RV’s furnace. Be sure to check the outside vent for nests.
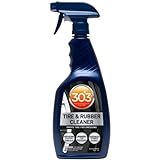
- Turn on your RV refrigerator and allow it to run, checking for proper cooling over time. Check the fridge vents for any obstructions, including signs of rodents/insects building nests over the winter.
- Test your galley/kitchen exhaust vent fan over your stove.
- Test your gas stove and oven if you have one.
- Test all interior lights. Replace bulbs as necessary. (Feel free to check out our post on 12-volt LED lights for RVs.)
- Test all communication accessories and devices, as well as entertainment components.
- Check all antennas for signals and operation.
- Check your RV sewer hose and replace it if necessary. (See our post on the best RV sewer hose options.)
- Fill fuel and propane tanks.
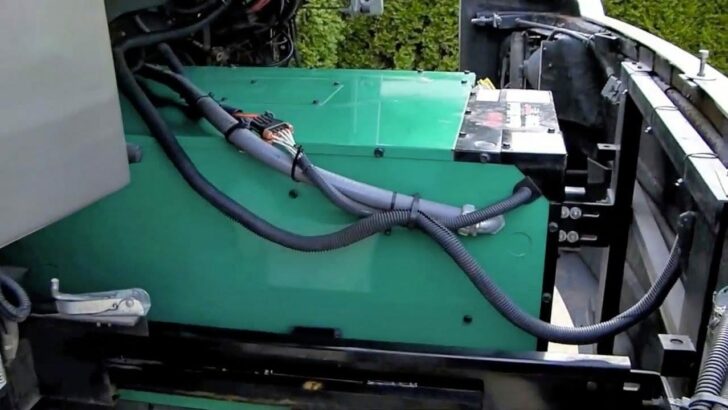

In preparation for the new camping season, be sure to change the oil in your generator along with the other generator maintenance tasks on our list as needed. Alternatively, you can have your generator professionally serviced.
Generator Inspection & Maintenance Tasks
- Check the generator compartment for debris, especially any signs of rodents nesting here over the winter months.
- If your generator requires service based on age, run hours, or operation issues, schedule/perform that service now.
- See our post on Onan RV generator maintenance, and prepare to DIY any of the following maintenance tasks that you’re comfortable completing:
- Change the Oil & Oil Filter
- Clean the Spark Arrestor
- Replace the Air Filter
- Changing the Fuel Filter
- Flush & Change the Coolant
- Once you’ve serviced your generator as needed, run it for 30 minutes or more under a 50% load.
Paperwork and Services
- Check your RV registration and licensing, and be sure all documents are up-to-date and onboard the RV and tow/towed vehicle.
- Check your RV insurance. (See our post “What Does RV Insurance Cover?” for more information.)
- Check/renew your RV roadside assistance program. (See our post on the best RV roadside assistance programs for peace of mind.)
- Check on any other programs, such as camping discount programs to make sure all paperwork is up to date and in the RV.
- Check your RV roadside emergency kit!
Once you’ve completed the process of getting your RV ready for travel, take that rig out for a ride well in advance of your maiden voyage road trip for the season!
Free RVing Tips, Tricks, Reviews, Giveaways & More
Subscribe to our daily newsletter! We’ve been full-time RVers for 20 years (!) and share everything we’ve learned about RVing in our daily blog posts. Join our online community to receive a wealth of great RVing knowledge delivered right to your inbox.
Whether this is your first time on the road or you’re a seasoned full-timer, you’ll love the wide range of RVing topics we cover. Don’t miss a single article or any of our famous RV gear Giveaways — Subscribe today!
Paul
Saturday 22nd of April 2023
Hey guys, thank you for this fantastic complete EV checklist. You guys are the best!
One thing that I did not see mentioned in the list is greasing the wheel bearings on trailers. I know this is another subject in itself, but nevertheless very important. Any trailer owner would be well advised to keep a record of when the bearings were last greased and keep them serviced appropriately. Wheel bearing failures are frustrating at the least and devastating at the worst.
Keep up the good work.
Pat & Deb
Tuesday 18th of April 2023
Excellent complete check list, it's always nice to know your not alone when it comes to RV Spring cleaning and check time! We've always got a long list after a winter in Vermont and your article has great reminders. Thanks A lot
TheRVgeeks
Tuesday 18th of April 2023
Thanks so much Pat & Deb! Safe travels.
Mark
Tuesday 18th of April 2023
Great article, guys! Do you have the list in a spreadsheet somewhere?
Barz
Monday 17th of April 2023
Great article as usual and a good one to bookmark as well. Regarding windows, the velvet-looking bottom track that the glass frame slides on has basically deteriorated on one window. It slides okay, vent holes are clear and there is no evidence of leaking. Do you have any ideas on what to do regarding this problem? Cheers!
TheRVgeeks
Tuesday 18th of April 2023
Hey Barz. You should be able to find a replacement window channel liner (like this on Amazon: https://amzn.to/3mHPZfg ). Just be sure to take measurements of the width and height/depth of the channel so you get something that will fit. Peel/scrape out the old (if any's left) and then (carefully) adhere the new strip in place and you should be in business. You MAY need to (again, carefully) lift the glass sliding portion of the window up and out of the track so that you can put the new felt the whole length. We've never done that before ourselves, so don't have any advice on how best to do it, but suggest checking on YouTube to see if someone's made a video.