
A battery in good condition is a critical component of every vehicle. But that’s especially true for RVs, that rely on their batteries to keep their systems up and running. Everything from lights and vent fans, to the water pump and slide-out motors. Just about everything on board relies on a steady supply of power to operate. But using your RV’s batteries can also lead them to develop corrosion. So, in today’s post, we’re going to go over the details about how to clean battery terminals, so you can keep your RV’s electrical system running smoothly.
What Type Of Batteries Are Found On RVs?
When it comes to RVs, there are two primary areas to consider: “House” batteries, which typically power the water pump, interior lighting, and other items in the living area, and “Chassis” batteries (also referred to as “Engine” or “Start” batteries).
Because towables (5th wheels and travel trailers) don’t have engines, they only have House batteries. Chassis batteries are found on motorized RVs and are similar to car batteries in that they start the engine and power things related to driving, such as head/brake/tail/turn lights, horn, windshield wipers, etc.
The most common type of Chassis battery is typically flooded lead-acid, which also happens to be the single most corrosion-prone style. While House batteries are often flooded lead-acid as well, the proliferation of AGM (Absorbed Glass Mat) and of course LiFePO4 (lithium iron phosphate, most commonly referred to simply as “lithium”) are becoming more and more common in House battery applications.

The most common type of chassis battery is a flooded lead-acid battery. This is also the type of battery that is most prone to developing corrosion.
But if your RV is equipped with any type of flooded lead-acid batteries, you’ll need to be particularly attentive to maintaining them, as they are far more subject to corrosion than other types.
If your RV battery keeps dying, see our post “Why Does My RV Battery Keep Dying?” for help in troubleshooting the cause. But today we’re talking about maintenance… specifically cleaning the batteries.
One thing you can do to help keep your battery in good condition is to keep an eye out for corrosion on the battery terminals. Keeping corrosion at bay isn’t difficult, but it is a very important part of battery maintenance.
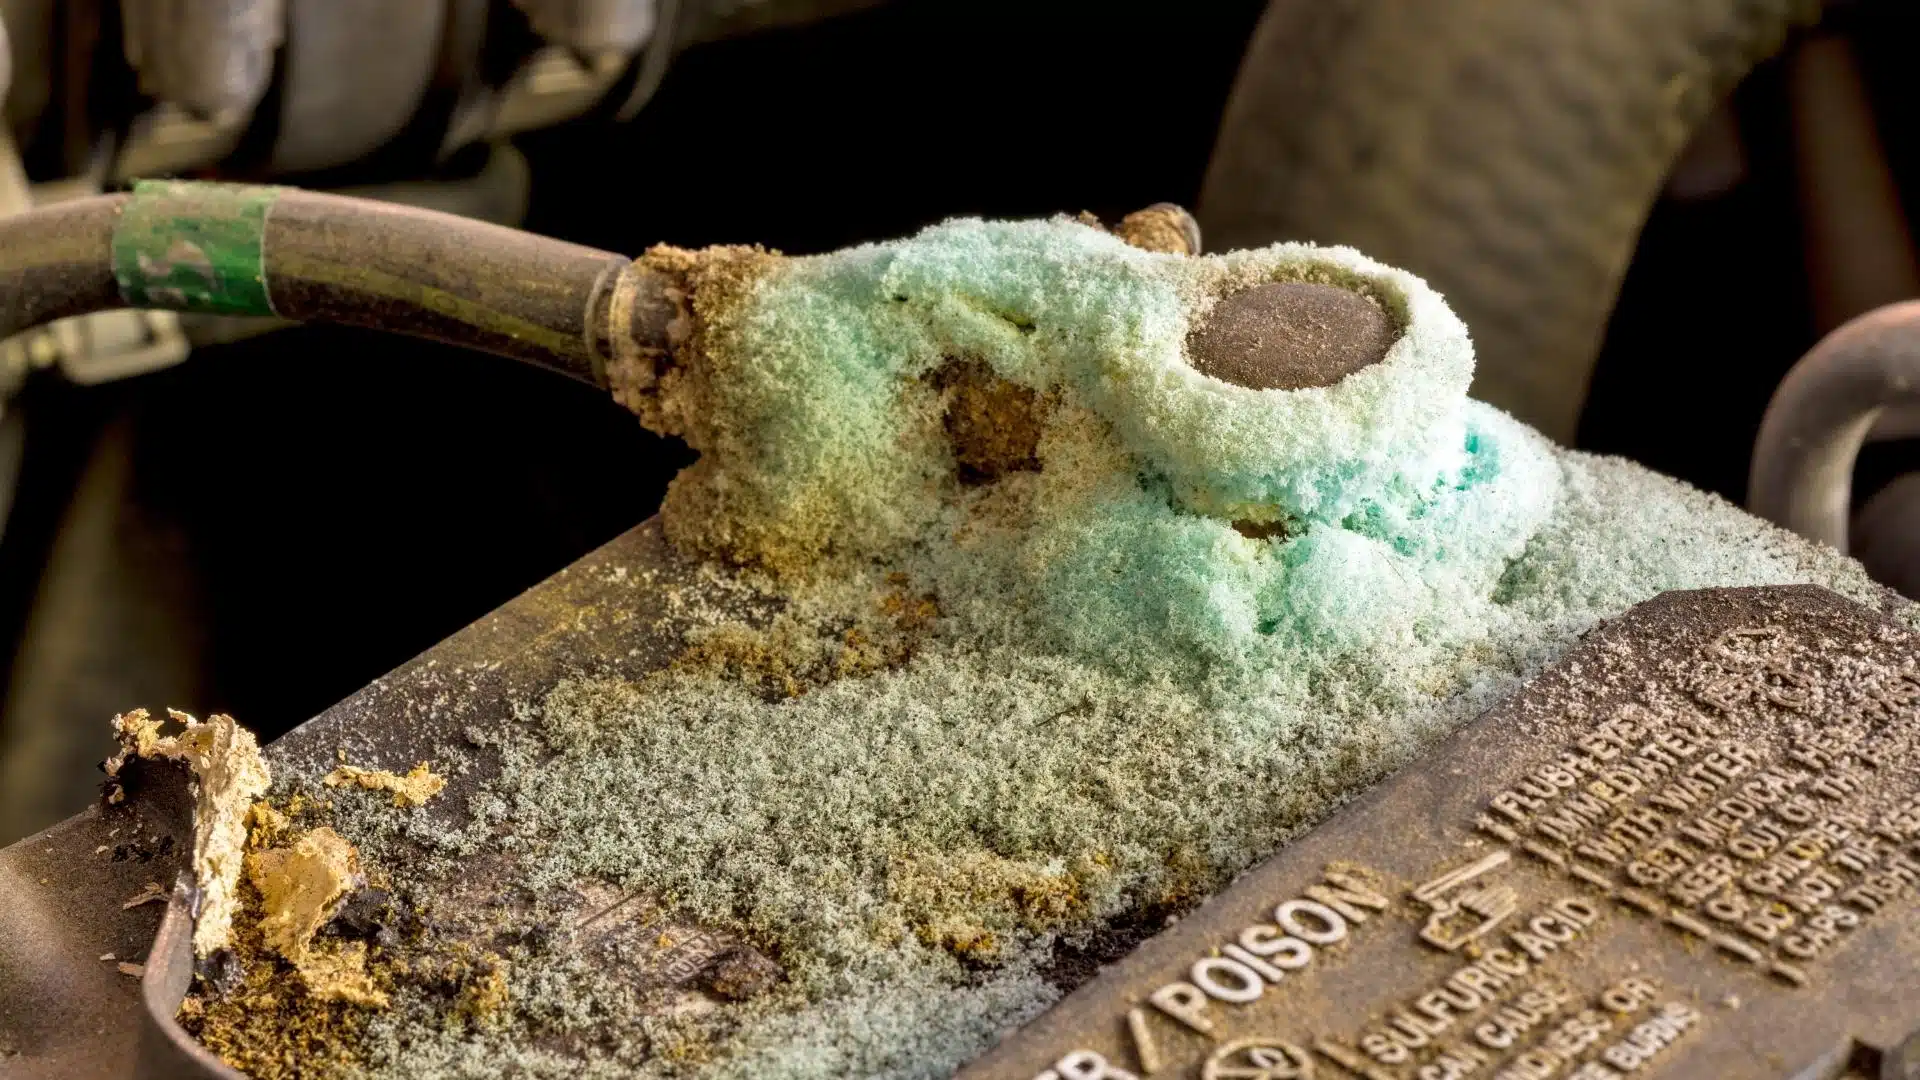
Corrosion can lead to the general deterioration of the battery. Fortunately, you can see battery corrosion. As corrosion forms, you’ll typically begin to see a white, blue, or green substance developing on the terminals, cables, or posts. It often looks like fuzz or moss.
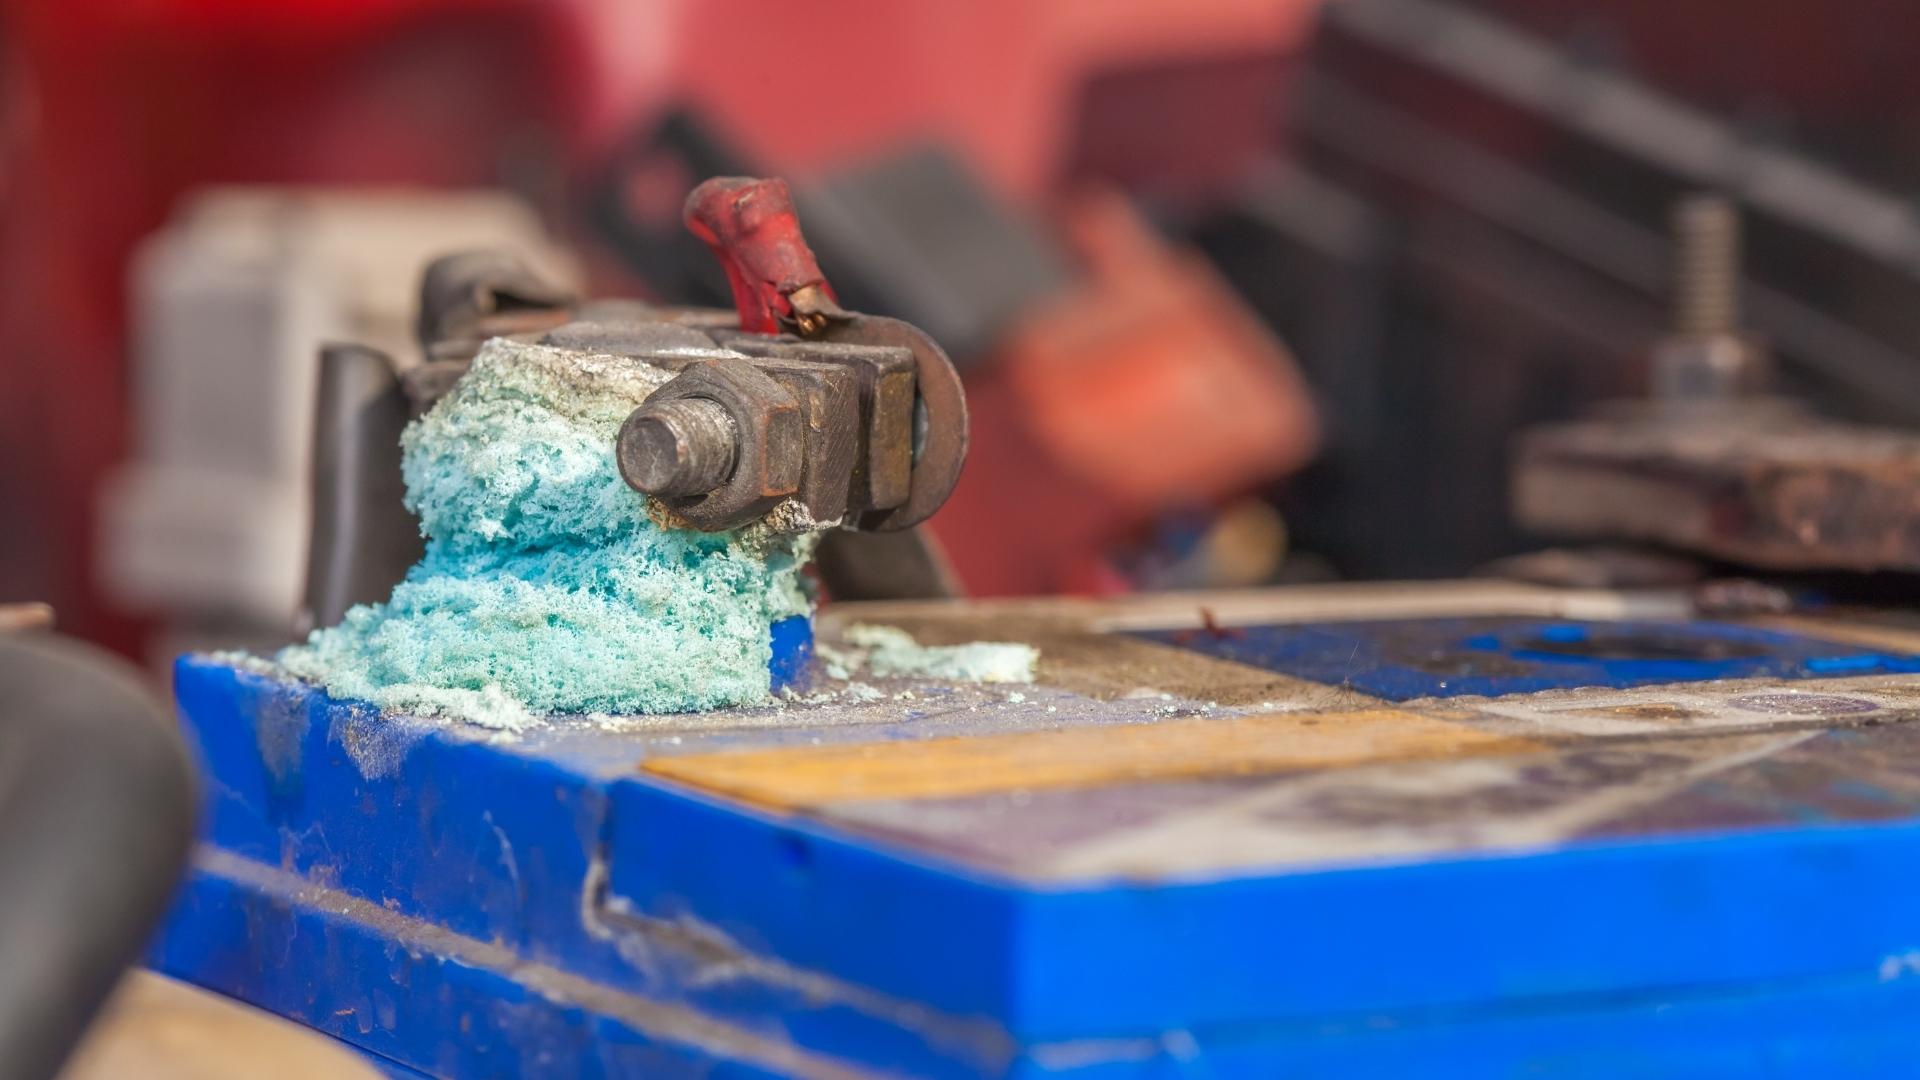

It’s very easy to see battery corrosion as it has a blue/green fuzzy or mossy appearance.
Battery corrosion can interfere with the battery’s electrical current, so knowing how to remove the corrosion and then keep it from forming again can be critical. That’s why today’s post is all about how to clean battery terminals.
Let’s get to it!
What Causes Battery Terminal Corrosion?
Again, keep in mind that flooded lead-acid batteries are, by far, the most susceptible to corrosion. It can develop on your battery for a number of reasons. In short (no pun intended), as your battery charges and discharges, hydrogen gas is released. As the gas leaves the venting ports of the battery, it can cause corrosion to form.
The following are the most common causes of battery terminal corrosion.
Age
In general, you can expect most lead-acid batteries to have somewhere in the neighborhood of about a five-year lifespan (give or take… this can of course vary widely based on a number of factors). So if your battery is getting a bit long in the tooth, you may begin to notice worse corrosion developing.
Inspect your batteries regularly (we suggest once a month at the very least), and then remove and prevent corrosion in the ways we’ll describe below. Taking good care of your batteries, including keeping them clean, will help you get some additional life out of them.
Chemical Reaction
The clamps that connect your battery to the wires/cables are generally made of copper. A battery leaking gases can mix with the current coming through the clamps, causing a chemical reaction that eventually produces copper sulfate. Hydrated copper sulfate is what you’re seeing when you see corrosion on your battery terminals, wires, or clamps.

While there are many reasons for corrosion to develop on lead-acid batteries, the first step to maintaining them is learning how to clean the terminals and keep them corrosion-free.
Overfilled Battery
The out-gassing we just mentioned causes fluid loss from the cells of a flooded lead-acid battery, and these batteries require that fluid to function properly. This means that you’ll need to periodically check the cells to make sure the fluid (commonly referred to as electrolyte, which also contains sulfuric acid) is at the proper level. If the fluid level of any cell is low, it needs to be replenished with distilled water.
However, if a battery’s cells are OVER-filled, the excess water can contribute to the formation of corrosion. The proper level for the fluid in a flooded lead-acid battery is just touching the bottom of the fill port. If the level is below that, fully charge them, and then add only enough water (again, distilled only!) to reach the bottom of the tube. Never fill them any higher than that.
While it’s important to never overfill the batteries, it’s equally important to never allow the fluid level to drop to the point where the metal battery plates are exposed.
This is a key reason why routine inspection is so important, especially for flooded lead-acid House batteries. The normal cycling up and down of charge state that House batteries experience is exactly what causes the fluid level to slowly drop.
So it’s extremely important to keep the level above the plates, but no higher than the bottom of the fill ports. Luckily, it takes longer than a month of use for the level to drop from the bottom of the ports to the top of the plates. That makes once-a-month inspections fine for just about every RV.


If a battery’s cells are over-filled, the excess water can contribute to the formation of corrosion. Be sure to fill them carefully… and ONLY with distilled/de-ionized water.
Leaking Battery Fluid
If a battery casing is damaged or cracked, and fluid leaks out, that electrolyte can cause corrosion. This is also a serious problem for other reasons, including the potential for the acid to damage almost anything it comes in contact with.
And of course, leaking fluid will lead to a situation where the battery will simply cease to function. So take care not to damage your battery’s casing, or it will likely lead to a replacement being required in short order, as well as other ancillary damage.
Overcharging
If you charge a battery for too long, it can cause excessive electrolyte solution to escape through the battery’s vents, which will cause corrosion to build up on the terminals.
What’s the Difference Between Corrosion and Sulfation?
Both corrosion and sulfation can degrade a battery’s performance but for different reasons.
As we noted above, corrosion develops when the battery acid reacts with the metal on the terminals. This process occurs on the exterior surface of the battery.
Sulfation occurs inside the battery when lead sulfate crystals build up on the lead plates. Sulfation generally occurs because the battery isn’t being properly maintained, and requires the battery to be equalized, which is a very high-power charge cycle. The purpose of equalizing is to put the lead sulfate crystals back into suspension in the fluid, where they belong.
Corrosion can be removed (as we’ll describe below) as part of your routine battery maintenance. Excessive sulfation reduces a battery’s capacity. If it gets bad enough, it may indicate that a battery needs to be replaced.
How to Clean Battery Terminals on Your Car or RV
First, an important safety note:
Please remember that a flooded lead-acid battery contains sulfuric acid, a substance that can cause serious burns on the skin and serious injury to the eyes. When working with a battery, always wear gloves and skin & eye protection.
Also, be sure to keep all sources of ignition away from batteries. Smoking, sparks, flames, etc. can cause a battery to quickly catch on fire or explode.
What You’ll Need to Clean Battery Terminals
Some or all of the following tools and supplies will be needed to clean your batteries.
- Battery cleaner OR Baking soda & water
- Protective gloves
- Disposable rag/cloth
- Safety glasses/goggles
- Garden hose, or a bucket of water
- Battery protector
Battery Cleaner with Acid Indicator:

- Fleet and Vehicle Maintenance
- Manufacturer: Crc
Rubber Gloves:

- EXTRA STRONG Industrial Grade Nitrile Gloves are excellent for all kinds of medium duty jobs including automotive repair, police and law enforcement,...
- Textured for enhanced grip, and provides excellent elasticity and sensitivity for a level of comfort similar to latex
Small wire brushes:
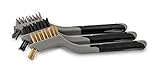
- Set includes: (1) Stainless Steel Brush, (1) Brass Brush, and (1) Nylon Brush
- Overall brush length 7 inches
Safety Glasses:

- PREMIUM EYE PROTECTION OVER GLASSES — These goggles for glasses wearers protect your eyes against dust and debris, while keeping your prescription...
- ANSI-CERTIFIED WRAPAROUND LENS — Designed for all-around protection, the wraparound lenses of these lab goggles over glasses shield your eyes from...
Spray Bottle:

- 【CHEMICAL RESISTANT】 Our 32 ounce (about 950 ml) heavy duty spray bottles are made from HDPE plastic, recycle code # 2, which is chemically...
- 【UPGRADED SPRAY HEAD & LEAK PROOF】 Our professional sprayer features a long lasting polypropylene spray head, tight and secure cap closure,...
Battery Protector:
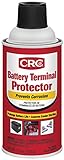
- Specially designed to protect battery terminals from corrosion, a leading cause of hard starting and battery failure.
- Provides a lead-free soft protective coating
Some people prefer to use dielectric grease:

- Protects electrical connections and wiring from salt, dirt and corrosion
- Prevents voltage leaks around any electrical connection
The Steps to Cleaning Your Battery Terminals:
- Inspect your battery and cables for damage.
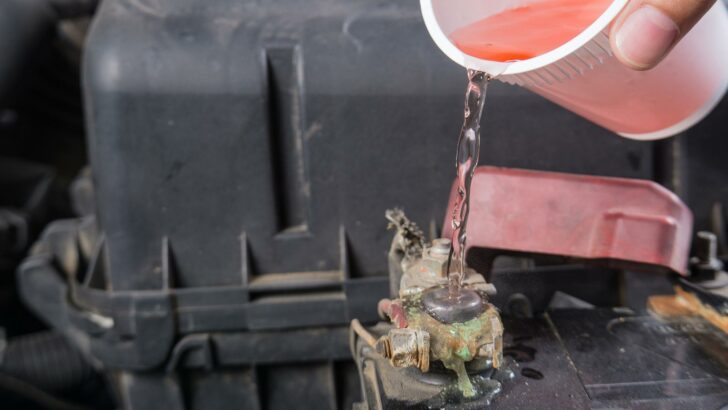
- If you’re using commercial battery cleaner, spray it on your battery terminals and cable clamps, and anywhere else you see corrosion. If you’re using baking soda + water, mix a paste of the two in a container, and apply it liberally to the terminals and clamps.
- Allow the solution to sit on the terminals until it stops “fizzing”
- Use water to rinse off the terminals, clamps, battery, and tray
- Spray the terminals again (or re-coat with baking soda solution)
- Commercial battery-cleaning spray will usually come out of the can yellow, and turn pink when it contacts the acid. The goal is to coat, wait, then rinse the terminals and cables until no pink is visible upon subsequent sprayings. Baking soda doesn’t change color to indicate the presence of acid, but you’ll know when you’ve successfully cleaned it all off when no more fizzing occurs with subsequent applications of baking soda. Once you’re able to apply the spray or baking soda without seeing any pink (or no more fizzing with baking soda) your batteries are clean.
- Apply battery terminal protector or dielectric grease to the terminals. This will help reduce the amount of corrosion that builds up between cleanings.
We do NOT recommend using any type of brush to clean battery terminals, but rather use chemical means only (battery spray or baking soda). The reason for this is the danger of splattering acid onto yourself, your clothing, or your RV that brushing can cause.
If for any reason you need to replace your RV’s chassis battery or house battery, feel free to have a look at our YouTube video on the topic:
Geek Out with Us Every Week
Join our newsletter to learn about all things RV-related. Every week we offer free tips, tricks, product reviews, and more to our online community of RVers. So, whether this is your first time on the road or you’re a seasoned expert, we’d love for you to geek out with us!
Wells
Sunday 29th of May 2022
I appreciate all of your excellent advice.
It isn't stated in your article, but is it necessary or advisable to disconnect the battery cable/s from the terminals? If so, is there a sequence to follow?
Thanks and best regards.
Wells
Monday 30th of May 2022
@TJL, Thanks!
Wells
Monday 30th of May 2022
@TheRVgeeks, Thanks!
TJL
Sunday 29th of May 2022
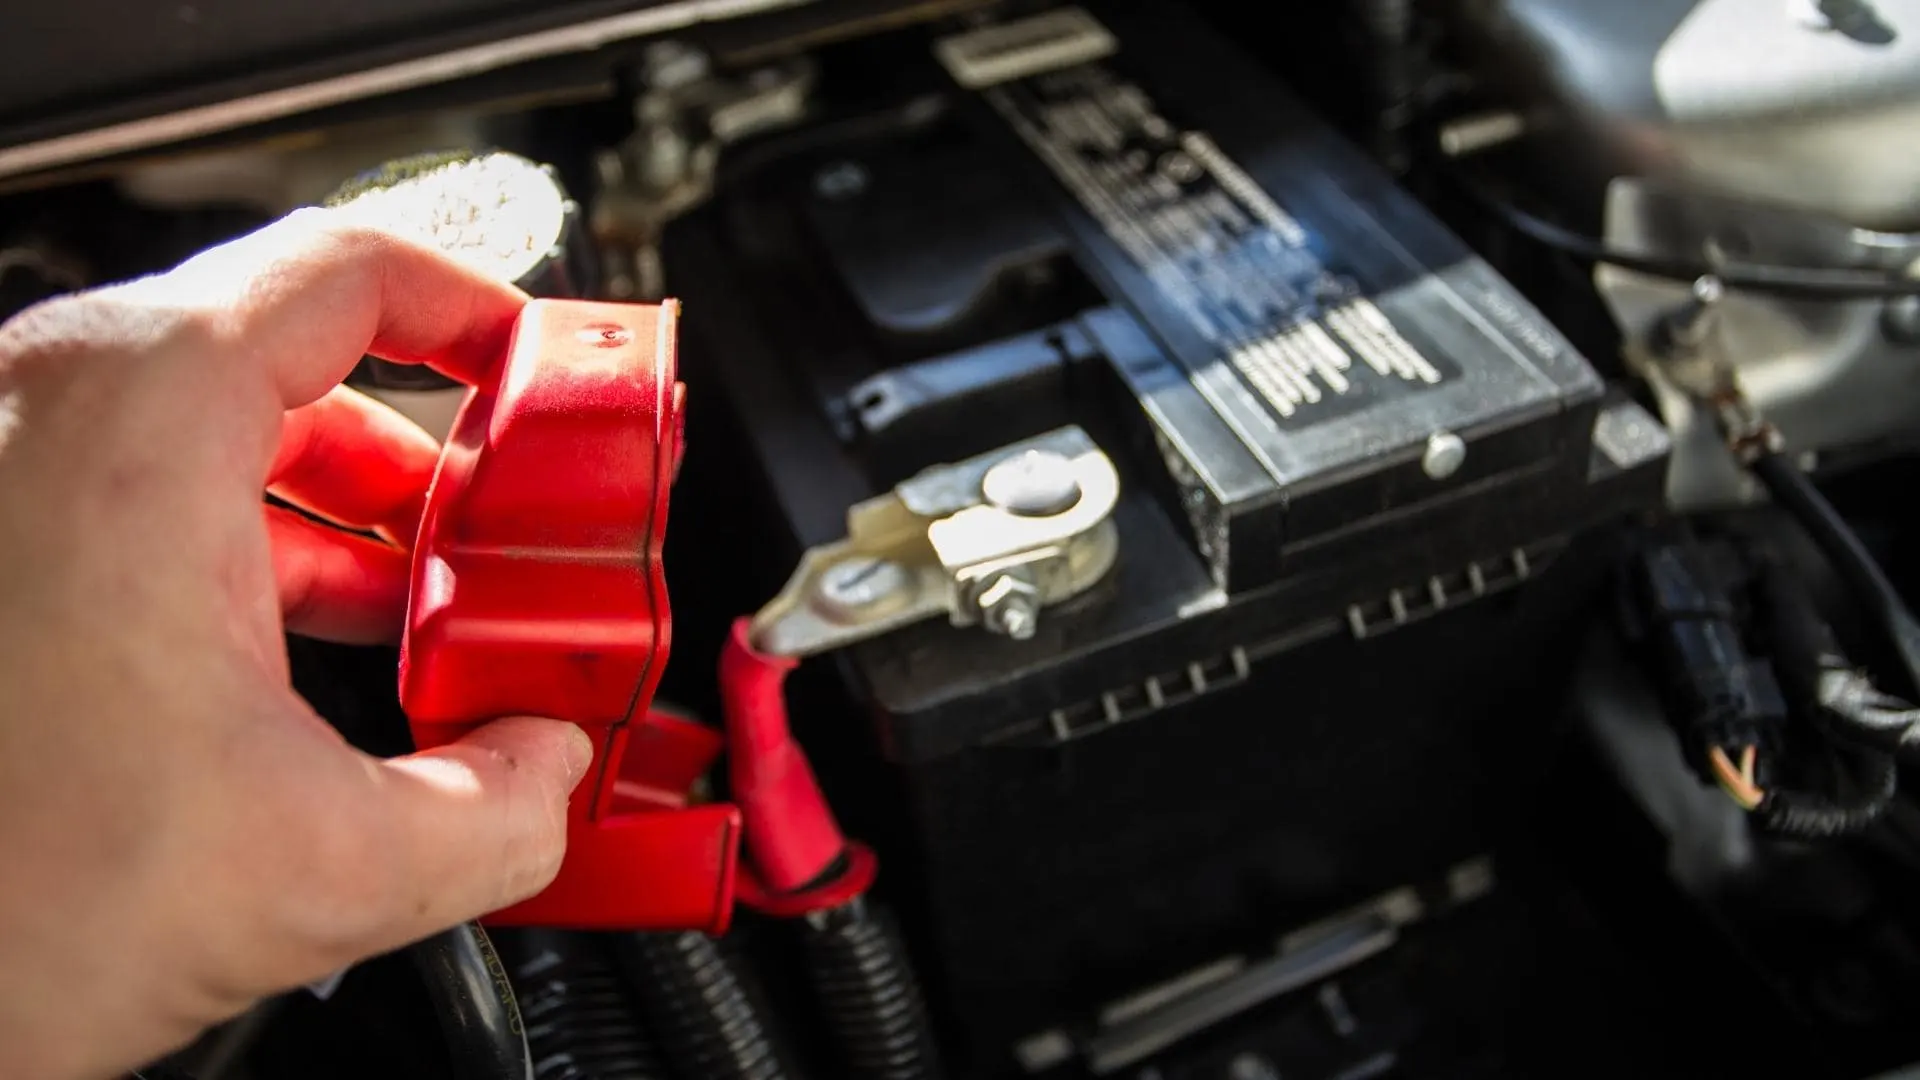
@Wells, When disconnecting the battery, ALWAYS disconnect the negative (ground) first and reconnect it last. Why? If you disconnect the positive and drop a tool that connects the positive terminal to the frame you can create a massive short that can damage you and the battery.
TheRVgeeks
Sunday 29th of May 2022
Hi Wells. We didn't talk about disconnecting the battery cables from the terminals because, for general cleaning of normal/moderately corroded terminals, it isn't necessary (actually, it's just adding to the likelihood of damaging something or miswiring it when reconnecting everything). If, however, you just bought a used RV with batteries of unknown status and maintenance (and which are HEAVILY corroded), it's likely a good idea to disconnect the wires and treat the terminals (clean them and possibly wire brush them to remove corrosion that could impede the flow of electricity)... and, of course, in that situation it's probably a good idea to replace the batteries with new ones, to start off with a clean slate. IF you plan on removing the terminals, here's a video (for replacing batteries) that should give you what you need: https://www.thervgeeks.com/how-to-replace-rv-house-batteries/
John S.
Sunday 29th of May 2022
Very good advice in this video.
When I changed out all my batteries a few years ago I sprayed Battery Terminal Protector on all 22 terminals. I also do annual cleanings and touch-ups sprays every spring.
To this day all the terminals still look factory new.
Jana Fulton
Sunday 5th of June 2022
@TheRVgeeks, what about those felt things that go on the terminal posts to prevent corrosion? That’s what I use.
TheRVgeeks
Sunday 29th of May 2022
Proper maintenance is key to safety & longevity... but we bet you learned that long ago with the airline!
RichardM
Sunday 29th of May 2022
Thanks. I didn’t know about spray on battery terminal cleaner. Just picked some up and cleaned the batteries. Way more convenient than baking soda…
TheRVgeeks
Sunday 29th of May 2022
Glad to hear that was helpful, Richard! Your batteries will thank you! ????