For various reasons lots of folks are interested in RV decal removal but aren’t sure quite how to tackle the project. Fear of damaging your RV’s finish, or causing the decals to go from somewhat cracked and weathered to downright unsightly, are understandable reasons to hesitate.
But RV decal removal can take years – even decades – off of the apparent age of your RV, and not only will you feel better about the condition of the exterior of your rig, but you may even be allowed into more RV parks if your rig doesn’t look its age. (Yep, RV age discrimination is a thing!)
In today’s post we’re showing you how to give your rig a bit of a facelift, so stick around to learn how to UNstick undesirable RV decals.
Reasons to Remove RV Decals Yourself
The three most common reasons why RV owners are interested in RV decal removal are that the decals are damaged, faded, or just plain ugly.
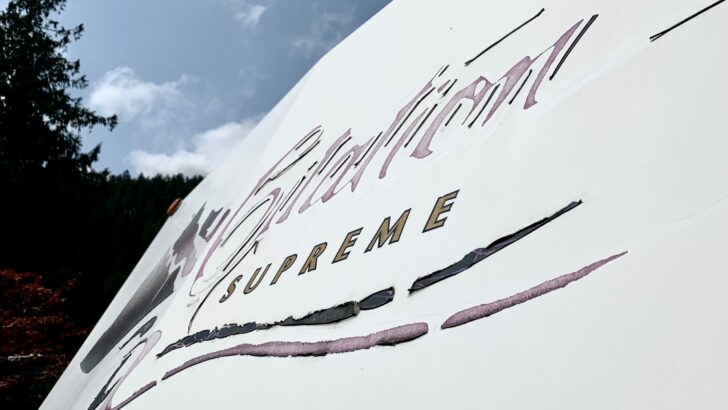
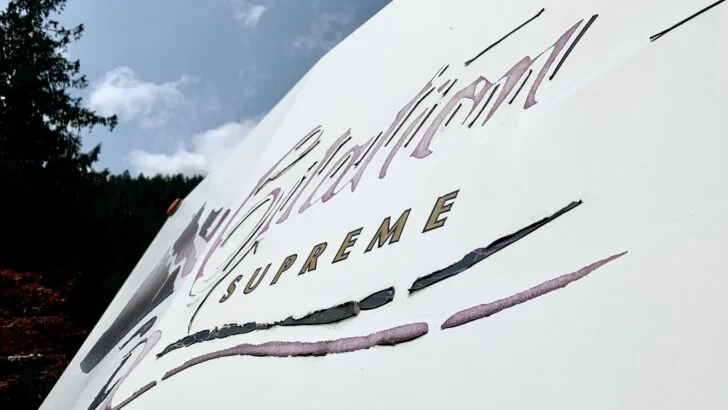
They’re Cracked and Chipping
It’s not uncommon to see cracked, chipping decals on RVs, even if the rig isn’t all that old. There are many possible reasons RV decals can crack, peel, and chip, including: poor application techniques; exposure to moisture, salt, and other elements; and even failure to maintain them properly.
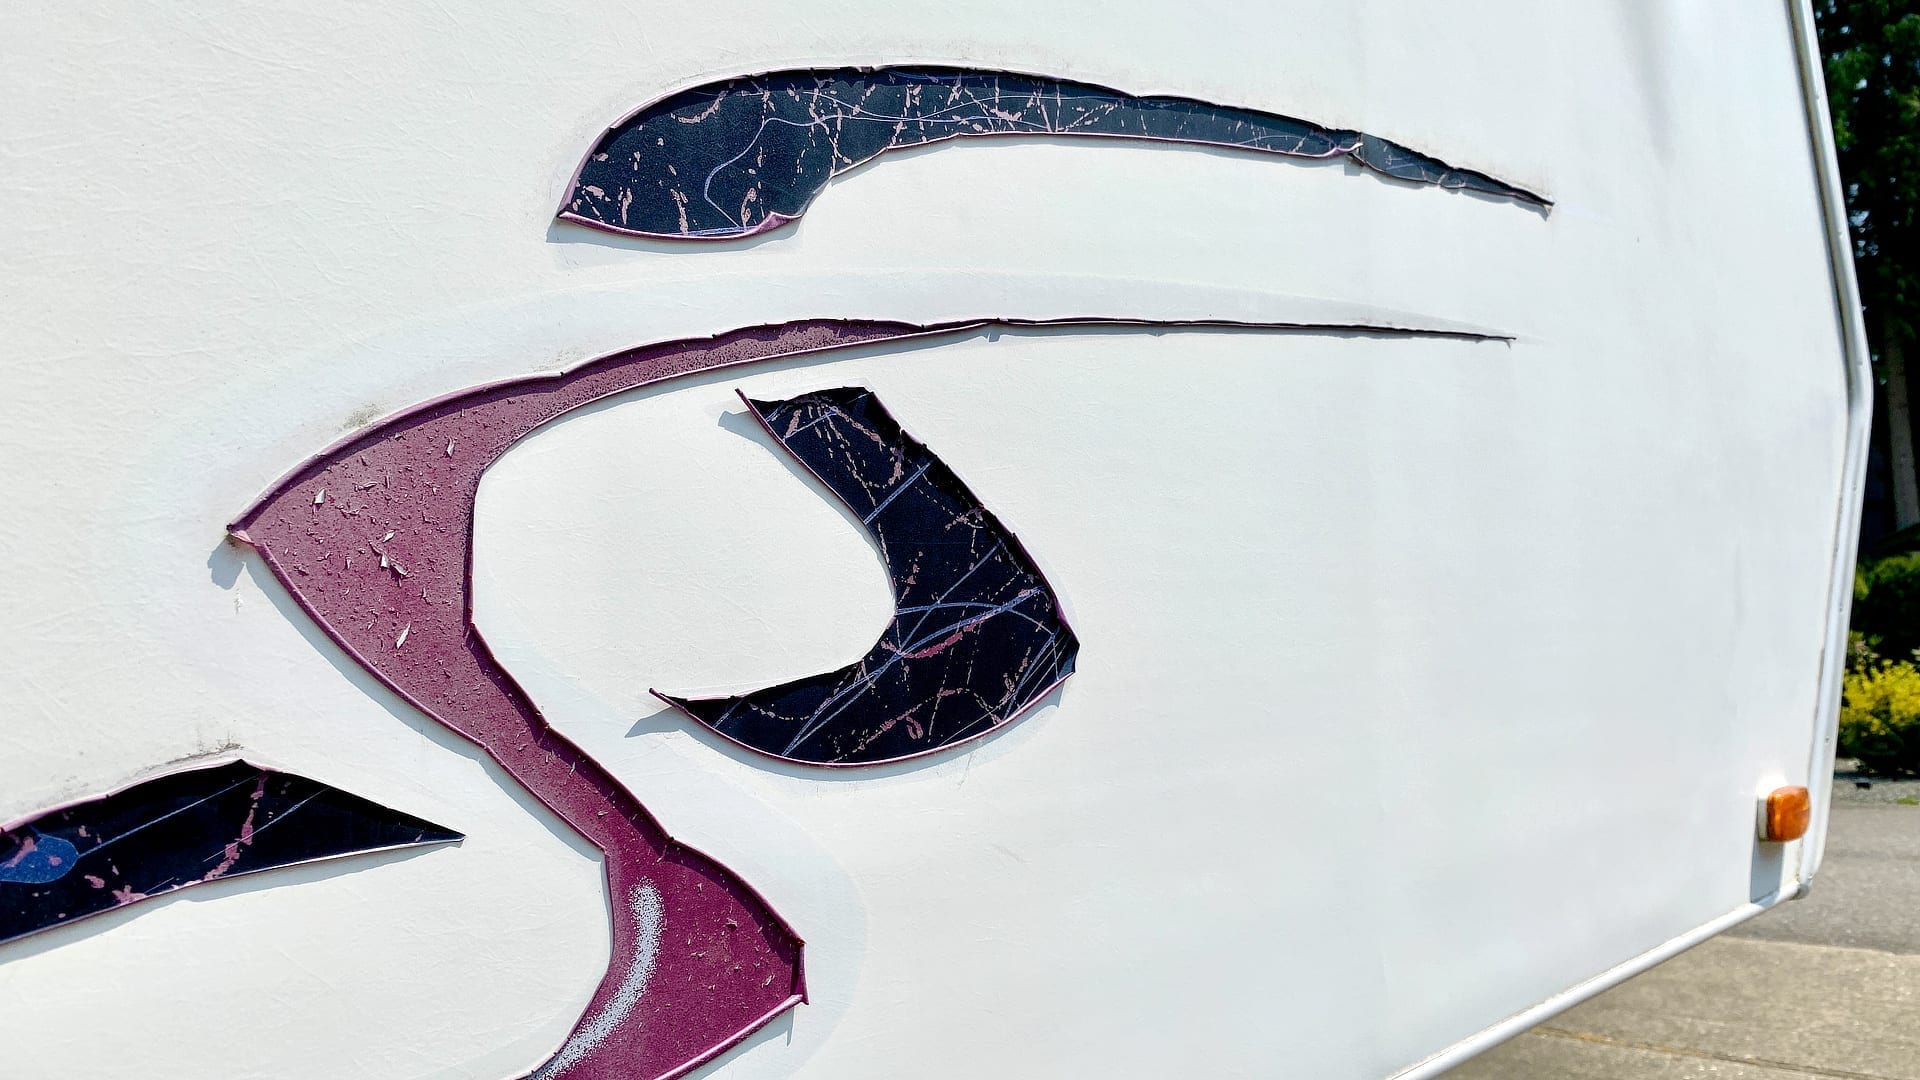

Cracked and peeling RV decals are not only unsightly, but can make your RV look older than it is.
Often, you’ll see logo letters missing fully or partially, and this ages an RV’s appearance substantially. “N mar”,” oad re “, and “Win e ago” are not what Newmar, Roadtrek, and Winnebago had in mind when they had letters affixed to your RV to proudly advertise the manufacturer of your rig!
Cracked, chipped, or missing letters can actually be a bigger problem than you may think. Consider what happens if the “T” has chipped away from the large, dark THOR motorhomes logo decal, and you’ll understand our point.
So, the number one reason for RV decal removal/replacement? Cracked, chipped decals.
They’re Faded
Faded decals can be just as unsightly as cracked, chipped decals, and this is a very common issue since many RVs spend a substantial amount of time in the sun. Faded decals add years to the appearance of your rig’s age, so the desire to remove or restore them is understandable.
They’re Just Ugly
Let’s face it – not all RV manufacturers have good esthetics in mind when they choose the designs to be applied to the front, back, and sides of their rigs.
Most of us don’t buy a particular RV because we like the decals, but we don’t think a good quality RV needs to be ugly either. There are RVers who purchase a brand new RV for the quality, floorplan, and amenities offered, and their first order of business is to have the ugly decals removed!
While we wouldn’t go that far, we’re definitely fans of simpler designs, and frankly wish RV manufacturers would take a hint from European styling and offer less complicated decals and paint designs.
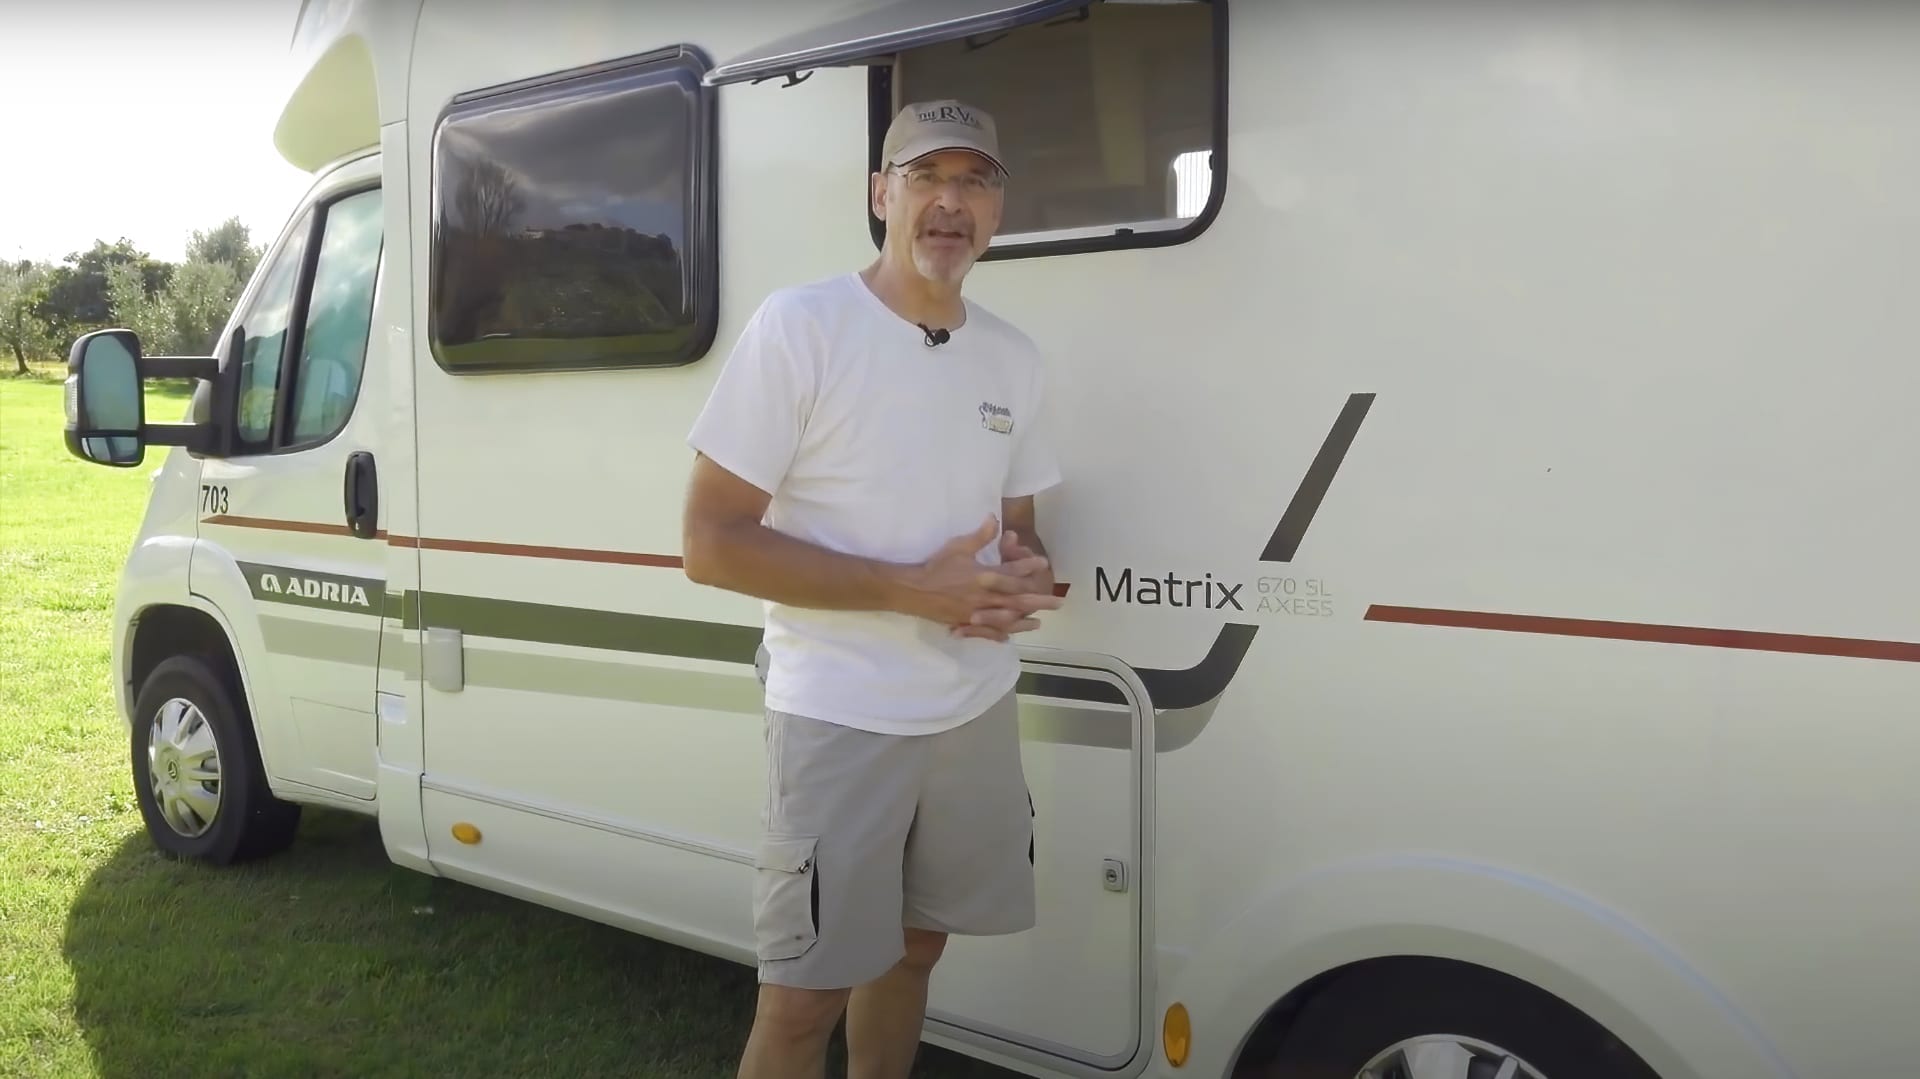

European styling is far more subdued than American styling where RV decals are concerned. We like the simpler aesthetic like the one shown here on the RV we rented in Italy.
Now that we’ve considered the most common reasons for RV decal removal, let’s get to how to do it. You won’t need a lot of tools to do the job, but you will need a fair amount of patience.
Tools Needed for RV Decal Removal
- Blow dryer or Heat gun
- Plastic putty knife (depending on the type of decals on your rig, this may not be needed)
- Goo Gone, or other adhesive remover (Goo Gone’s spray bottle may be the best choice for this application). Even products like WD40 can do the job. Important note: Be sure to test the product you choose on an inconspicuous part of your RV to make sure it won’t damage the finish or fiberglass/gel coat of your rig.
- Rags or paper towels
RV Decal Removal Technique
The technique you use to remove decals is essential to the success of this project, so pay careful attention as you slowly and deliberately remove the designs that are stuck to your rig with decals.
Prior to taking the following steps, be sure to thoroughly clean the area where you’re working to make sure it’s free of dirt, dust, pollen, tree sap, and other debris.
Heat Up the Decal Glue
The key to safe, easy removal of any decal is heat. Heat can be applied by using a blow dryer or heat gun. You can also take advantage of the heat of the sun if your rig is parked in direct sunlight (although that might be less fun to work in during hot summer weather).
One thing to keep in mind if using a heat gun — they can get MUCH hotter than a hairdryer. As in hot enough to burn things. It’s a tool, not an appliance designed to be aimed toward your body. If you already own a heat gun, you probably know about this. But if you’re buying your first one for this particular project, be forewarned that care is needed to avoid damaging the surface of your rig… or the surface of yourself.
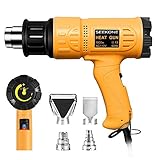
- ▶ 【Strong Power With 2 Modes】 SEEKONE 1800W heat gun provides strong power quickly heat up to 1202℉(650℃) in 1.5 seconds. Two modes: I:...
- ▶ 【Variable Temp Control & Overload Protection】 Unlike other dual temperature heat guns, our heat guns provide variable temperature control. The...
Peel the RV Decal
If your decals are very thin, a putty knife may not be needed. If so, you can simply heat the decal as you slowly pull it away from the surface of the RV.
If the decals are thicker, older, or really stuck on, have your putty knife handy as you (again, slowly) begin to peel away the heated decal. Practice will help you to develop a technique that encourages the glue to release without the decal tearing, making removal easier.
Slowly and gently use your putty knife to lift the decal with one hand as you pull it away from the RV’s surface with the other hand. This might be easier with a helper to aim the blow dryer or heat gun at the work area as you scrape/pull the decal away from the rig. If no helper is available, heating a small area first, then using the pull/scrape method while it’s still warm will work, too. Then repeat on another small area, etc.
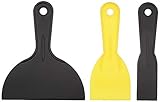
- Versatile: ideal for filling and patching holes and cracks, scraping, and smoothing; also useful for scraping delicate surfaces like glass
- Durable plastic: made of 100% polypropylene and solvent-proof for reliable strength
We don’t like being repetitive but this bears repeating: go slowly, be gentle, be patient. The point is for your rig to look better – not worse. Scratching or otherwise damaging the surface will cause a more unsightly and more costly problem than worn or ugly decals.
Remove Leftover Adhesive
Once you’ve successfully removed the decal, you’ll need to tend to some remaining adhesive. This is where your Goo Gone or other adhesive remover comes into play. (Remember to test the product on an inconspicuous area of your RV’s finish first.)

- Clinging Spray Gel Formula - For adhesive removal on vertical surfaces, there’s no better option than Goo Gone Spray Gel which is specifically...
- Safely Remove Goo from your Surfaces - The surface-safe formula removes the goo without harming your surface, so you don't lose the finish, strip away...
Apply the adhesive remover and allow it to sit on the glue for a bit. Use your putty knife to very gently scrape away the dissolved adhesive, being careful not to scratch the finish.
Remove Leftover Oxidation
If there is oxidation remaining on the surface of your rig once you’ve completed the RV decal removal process, you can purchase an oxidation remover like this one to address that issue:
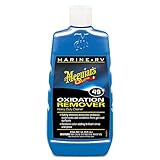
- MADE FOR SPECIALIZED FINISHES: This versatile boat polish clears surface degradation on gel-coat and fiberglass surfaces typically found on boats and...
- POWERFUL FORMULA: While diminishing polishing compound abrasives smooth the surface, feeder oils leave a ‘like new’ vibrance and shine.
RV Decal Still Won’t Come Off? Last Resort Option!
If, after trying the technique above, you STILL can’t get your RV decals removed, there’s a last-ditch option that may do the trick: a detailer’s decal removal wheel. These devices are a wheel made of a rubbery substance (like an old pencil eraser) that you attach to your drill. With gentle pressure, the wheel grips the decal and, effectively, slowly “erases” it (and a lot of the adhesive) from the surface, leaving less to clean up (see the “Remove Leftover Adhesive” section above).


NOTE: Several readers commented about these, saying they worked great. But we’ve read that extreme care should be used when trying a decal removal wheel as they CAN cause burn marks on fiberglass/gel coat surfaces. They’re designed to remove stickers or pinstripes (i.e. smaller sizes, not the large areas you’re often dealing with for RV decal removal) applied on top of a clear coat painted surface, so they may not be the best choice for decals on RV fiberglass walls. Proceed with caution!
RV Decal Removal Tips
In addition to the instructions above, here are a few simple tips to make this project easier, safer, and more likely to be successful.
Have Patience
Patience is your friend with a project like RV decal removal. Don’t tackle this project on a day when you have multiple projects to tend to, a variety of commitments to meet, or other time constraints.


Just like the tortoise beat the hare, slow and steady will win the race of removing your RV’s decals.
You may be pleasantly surprised to find that it goes far more quickly and easily than anticipated. However, in many cases, the removal of decals that have been adhered in place for a long time, and are really baked on by years of sunshine, is a time-intensive process.
Use a Safe Ladder
More important than safe RV decal removal is your safety! Be sure to use a strong, sturdy ladder for any work that requires one.
You’ll be leaning and applying pressure with one hand when scraping, and heating or pulling the decal with the other hand, all while keenly focused on not scratching your RV. Having a sturdy surface underfoot is important to your safety, so don’t take this tip lightly.
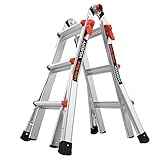
- Dimensions - Max A-frame height: 5'1'' | Max Extension Height: 11' | Max scaffolding height: 3' | Max workbench height: 3' | Min A-frame Height: 3'1''...
- The Velocity also includes several innovative new features such as the dual-pin hinge and the easy-to-use rock, locks for quick adjustment
As always, a rallying cry of the RVgeeks is “SAFETY FIRST”.
Big Decal? Take Breaks
If you’re working with a large decal, work in designated areas and take breaks once each area is complete. This gives your arms a rest and, perhaps more importantly, keeps your patience intact throughout the project.
Conclusion
Unsightly decals can prematurely age your rig and can impact your feeling of pride as an RV owner. But RV decals are not the same as RV paint. Decals can be removed, and the greatest cost to you will be the time and patience needed to make sure the job is done well.
By following the steps in this guide, you can rejuvenate your RV’s appearance and give it a whole new look. After you’ve successfully removed your OLD decals, if you want to consider getting a whole new set, read our article RV Replacement Decals: Keep Your RV Looking Good for more information.
Geek Out with Us Every Week
Join our newsletter to learn about all things RV-related. Every week we offer free tips, tricks, product reviews, and more to our online community of RVers. Whether this is your first time on the road or you’re a seasoned expert, we’d love for you to geek out with us!
Rick
Sunday 13th of August 2023
Great article covering this topic well. I've used a mere blow dryer several times on my travel trailer and to remove cartoonish 4X4 decals from my pickup. After you've removed your RV decals and looked at the blank spaces, you may wonder, like me, where you can buy replacement decals. Have you explored this question?
TheRVgeeks
Monday 14th of August 2023
Hi Rick. Glad to hear the hair dryer has worked so well. We haven't explored the question of decal replacement... but we're adding it to our list of topics to cover sometime soon! So stay tuned! 😉
Tom Brain
Wednesday 27th of October 2021
Thank you for sharing this information. The best way to remove oxidation from a fiberglass gel coat decal is to utilize a marine-grade product.
Karen
Sunday 17th of October 2021
When I try removing our decals, it also removes the paint. I have tried WD40, Goo gone, everything. Any suggestions???
TheRVgeeks
Sunday 17th of October 2021
Oh boy, Karen. So sorry to hear that you've been having that trouble! Most RV decals are applied directly over the gelcoat finish of the fiberglass, so there's not usually paint underneath them. You may have to try softening up the adhesive holding the decals to the surface using a hair dryer or heat gun. Just be careful not to heat them up TOO much, or you could scorch them or the paint, making a BIGGER problem.
We've also heard that people have had good luck with a wheel you can put into an electric drill to remove decals. It's a rubbery material like an eraser and might work better than heat or glue removers. There's one called the Whizzy Wheel that's available on Amazon: https://amzn.to/3lREe2O It supposedly works to remove pinstripes from automotive finishes, so maybe it will do the trick for you.
Whatever you do, be sure to proceed slowly. Pulling up the paint will probably look worse than the decals do! ????
Dave Spencer
Monday 23rd of August 2021
I have two comments to add to your great ideas. 1. For owners of RV rigs that have decals that are still in great condition, DO NOT use any wax or detail sprays that have petroleum distillates in them. 2. Take that plastic putty knife and round off the corners to keep them from scratching the gel coat.
Don Wilson
Thursday 8th of July 2021
There is an easier way to remove decals and pin strips that is used by autobody repair people. It is an eraser wheel that attaches to an electric drill. It does not damage the paint, and will remove the most deteriorated decals with ease. they can be found online or check with your local repair shop. Not sure about cost, but with this, there is not worries about damage to surfaces. Wheel material is similar to the gum erasers used in school. Hope this helps .
TheRVgeeks
Thursday 8th of July 2021
Hi Don. Thanks for sharing that. A couple of other commenters mentioned a rubber wheel like that. We've seen them online, but didn't include it in the article because a couple of reviews of various versions (especially the 3M one) said that the wheel caused burning on their RV's fiberglass and left brown marks that wouldn't come out. One reviewer even said they called 3M who, after some prodding, indicated that even though their marketing materials describe it as "safe for all substrates" it can burn fiberglass. So we'd reserve this as the option of last resort if the other techniques didn't work. Or if you're removing a decal (sticker or pin stripe) that was applied to a full-body paint vehicle.
But always good to have options!