
We all appreciate a good RV mechanic, especially when something within our home-on-wheels is broken or malfunctioning and we’re not familiar with the components involved. In essence, though, this is how we became RVgeeks in the first place — we wanted to know how to fix things ourselves.
When we were new RVers and something went wrong, we needed it fixed, so we set out to learn how to fix it. After nearly two decades on the road, we’re a couple of full-time DIYers, having learned how to do most of our RV maintenance and repairs ourselves. As we’ve become more proficient, we’ve tried to help you do the same.
Repairing whatever you can on your own saves time, money, and the hassle of taking your RV in for repair or service. And because you’re working on your own RV, sometimes the job gets done better than if you were to turn your rig over to an RV mechanic with six other rigs to repair.
Tackling repairs you’re comfortable taking on is also a fantastic way to get to know your RV inside and out. In fact, there’s really no better way to get to know your rig. And the better you know your rig, the more confidence you’ll have to improve your overall RVing experience. That’s because no minor repair will be capable of ruining a trip or vacation when you’ve got the tools and knowledge to take care of it on the spot.

We’ve really come to enjoy being our own RV mechanics, but we’ve been continuing to learn for nearly 20 years as full-time RVers. Not everyone is prepared to do a multitude of DIY RV repairs, and for all of us there are jobs that are best left to the pros.
With all of that said, we do recognize that not everyone is comfortable with DIY repairs for a variety of reasons. We all have different skill and confidence levels, we all have different physical abilities, and we all have different interests.
You may only be comfortable turning a few screws for minor repairs… and want to leave the heavy lifting to a professional. There’s nothing wrong with that approach at all, and a good RV mechanic will save you the time and energy required to learn how to repair the issue, obtain the necessary tools to do so, and complete the repair to get you on your way.
We’ve used RV mechanics too, and we’re grateful for their availability. So, let’s take a look at what they do, how they obtain the skills to repair RVs, and how to choose a good RV mechanic the next time you need one.
- 1) What Does an RV Mechanic Do?
- 2) What Qualifications Does an RV Mechanic Need?
- 3) What Does an RV Mechanic Specialize In?
- 4) How to Choose a Good RV Mechanic
- 5) When to Call an RV Mechanic
- 6) When to Perform DIY RV Repairs
- 7) What Are Some Repairs That You Can DIY?
- 8) Helpful Tools & Supplies You Should Keep in Your RV
- 9) Conclusion
What Does an RV Mechanic Do?
RV mechanics need to understand a variety of systems including drivetrain, chassis, construction, electrical, propane, and plumbing systems. An RV is a home after all – no different than a small house except that it rolls along roadways of all types and takes a beating in that sense, so the wear and tear on systems can be substantial.
A good RV mechanic is knowledgeable in each of these systems and capable of repairing issues related to all of them. So, whether you’ve got an issue with your propane heater, your refrigerator, or your generator, a good RV mechanic should be capable of diagnosing and addressing it.
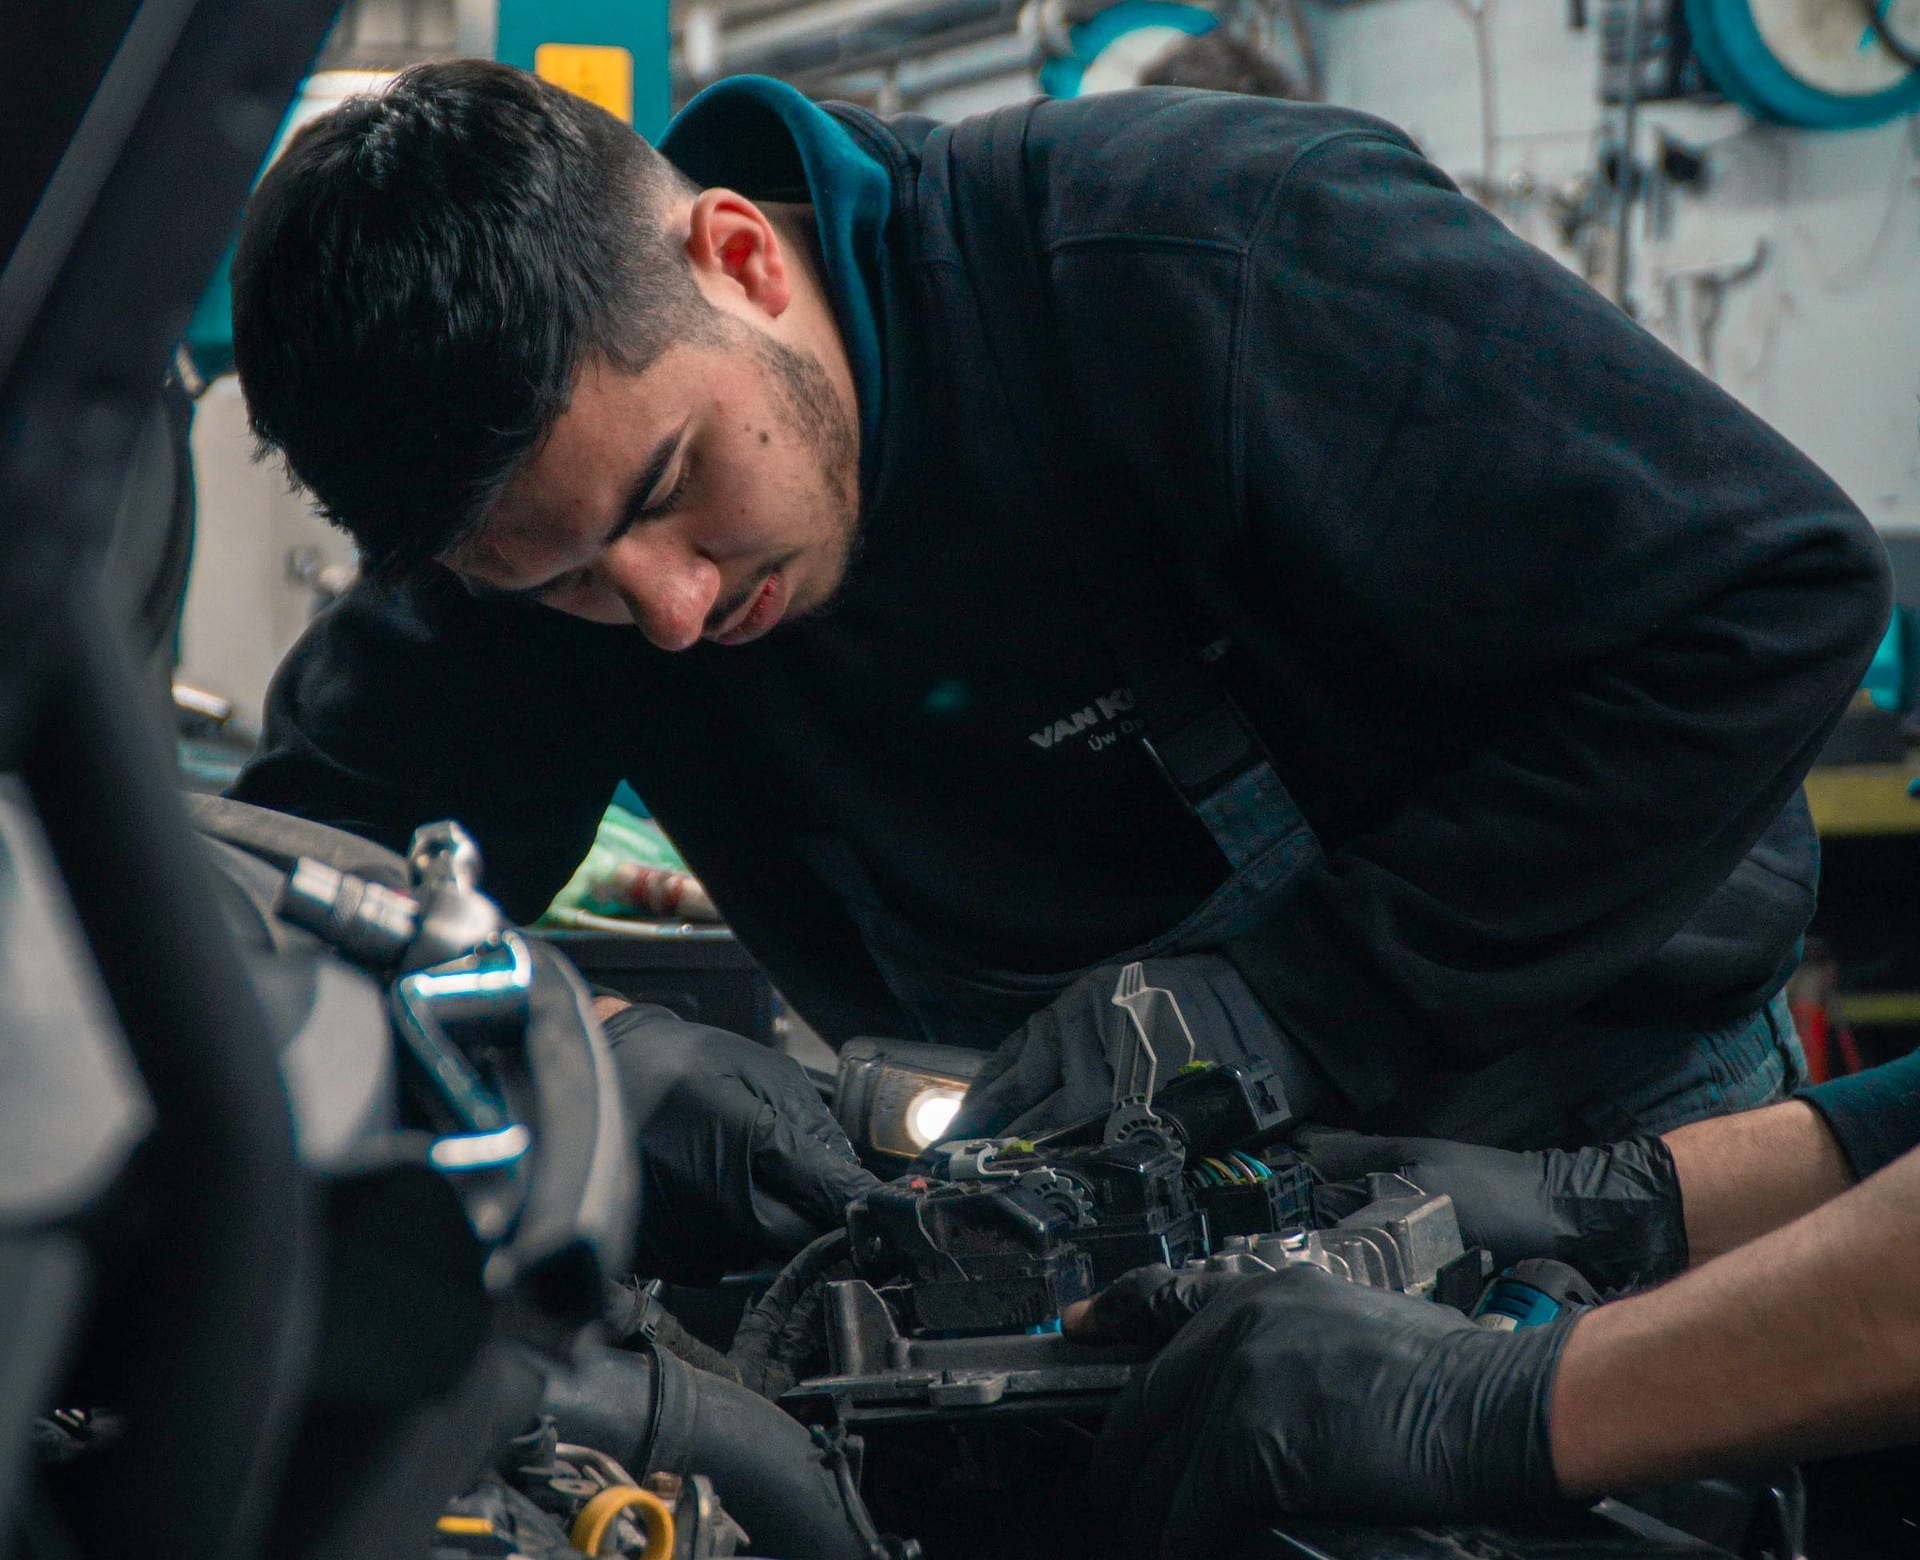
A skilled RV service technician will be familiar with most aspects of your RV, and will be equipped to readily diagnose and repair issues of all kinds.
Other components that your RV mechanic will be able to work on include wiring, various RV appliances, toilets, water pumps, and fixtures such as lights.
In a sense, an RV mechanic is a jack of all trades because he or she needs to understand the trades of a plumber, electrician, appliance technician, carpenter, and more. For this reason, an RV mechanic needs to be well qualified to service a complete tiny house on wheels.
What Qualifications Does an RV Mechanic Need?
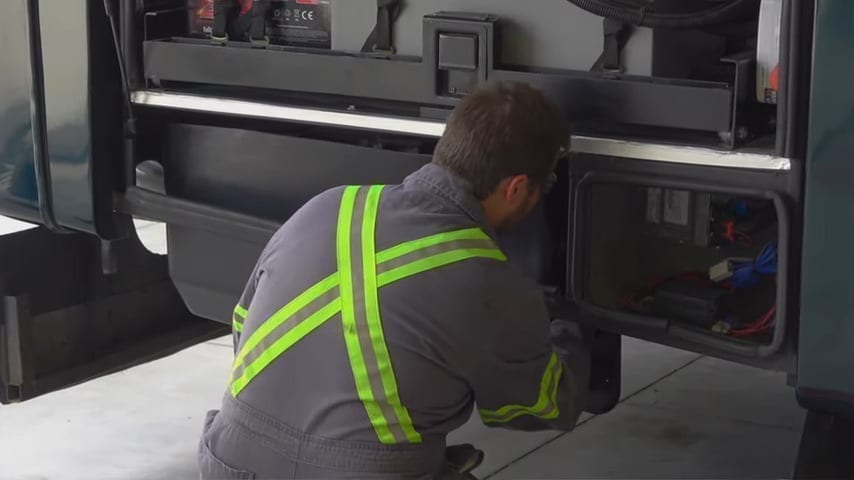
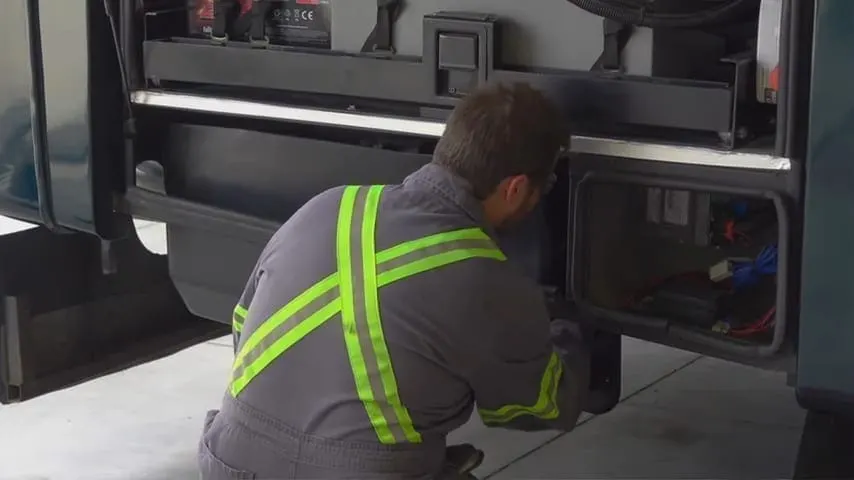
Most RV mechanics have spent considerable time working under the supervision of another experienced RV mechanic, allowing them to achieve various degrees of certification. However, many RV mechanics have additional education that certifies them specifically as RV Service Technicians.
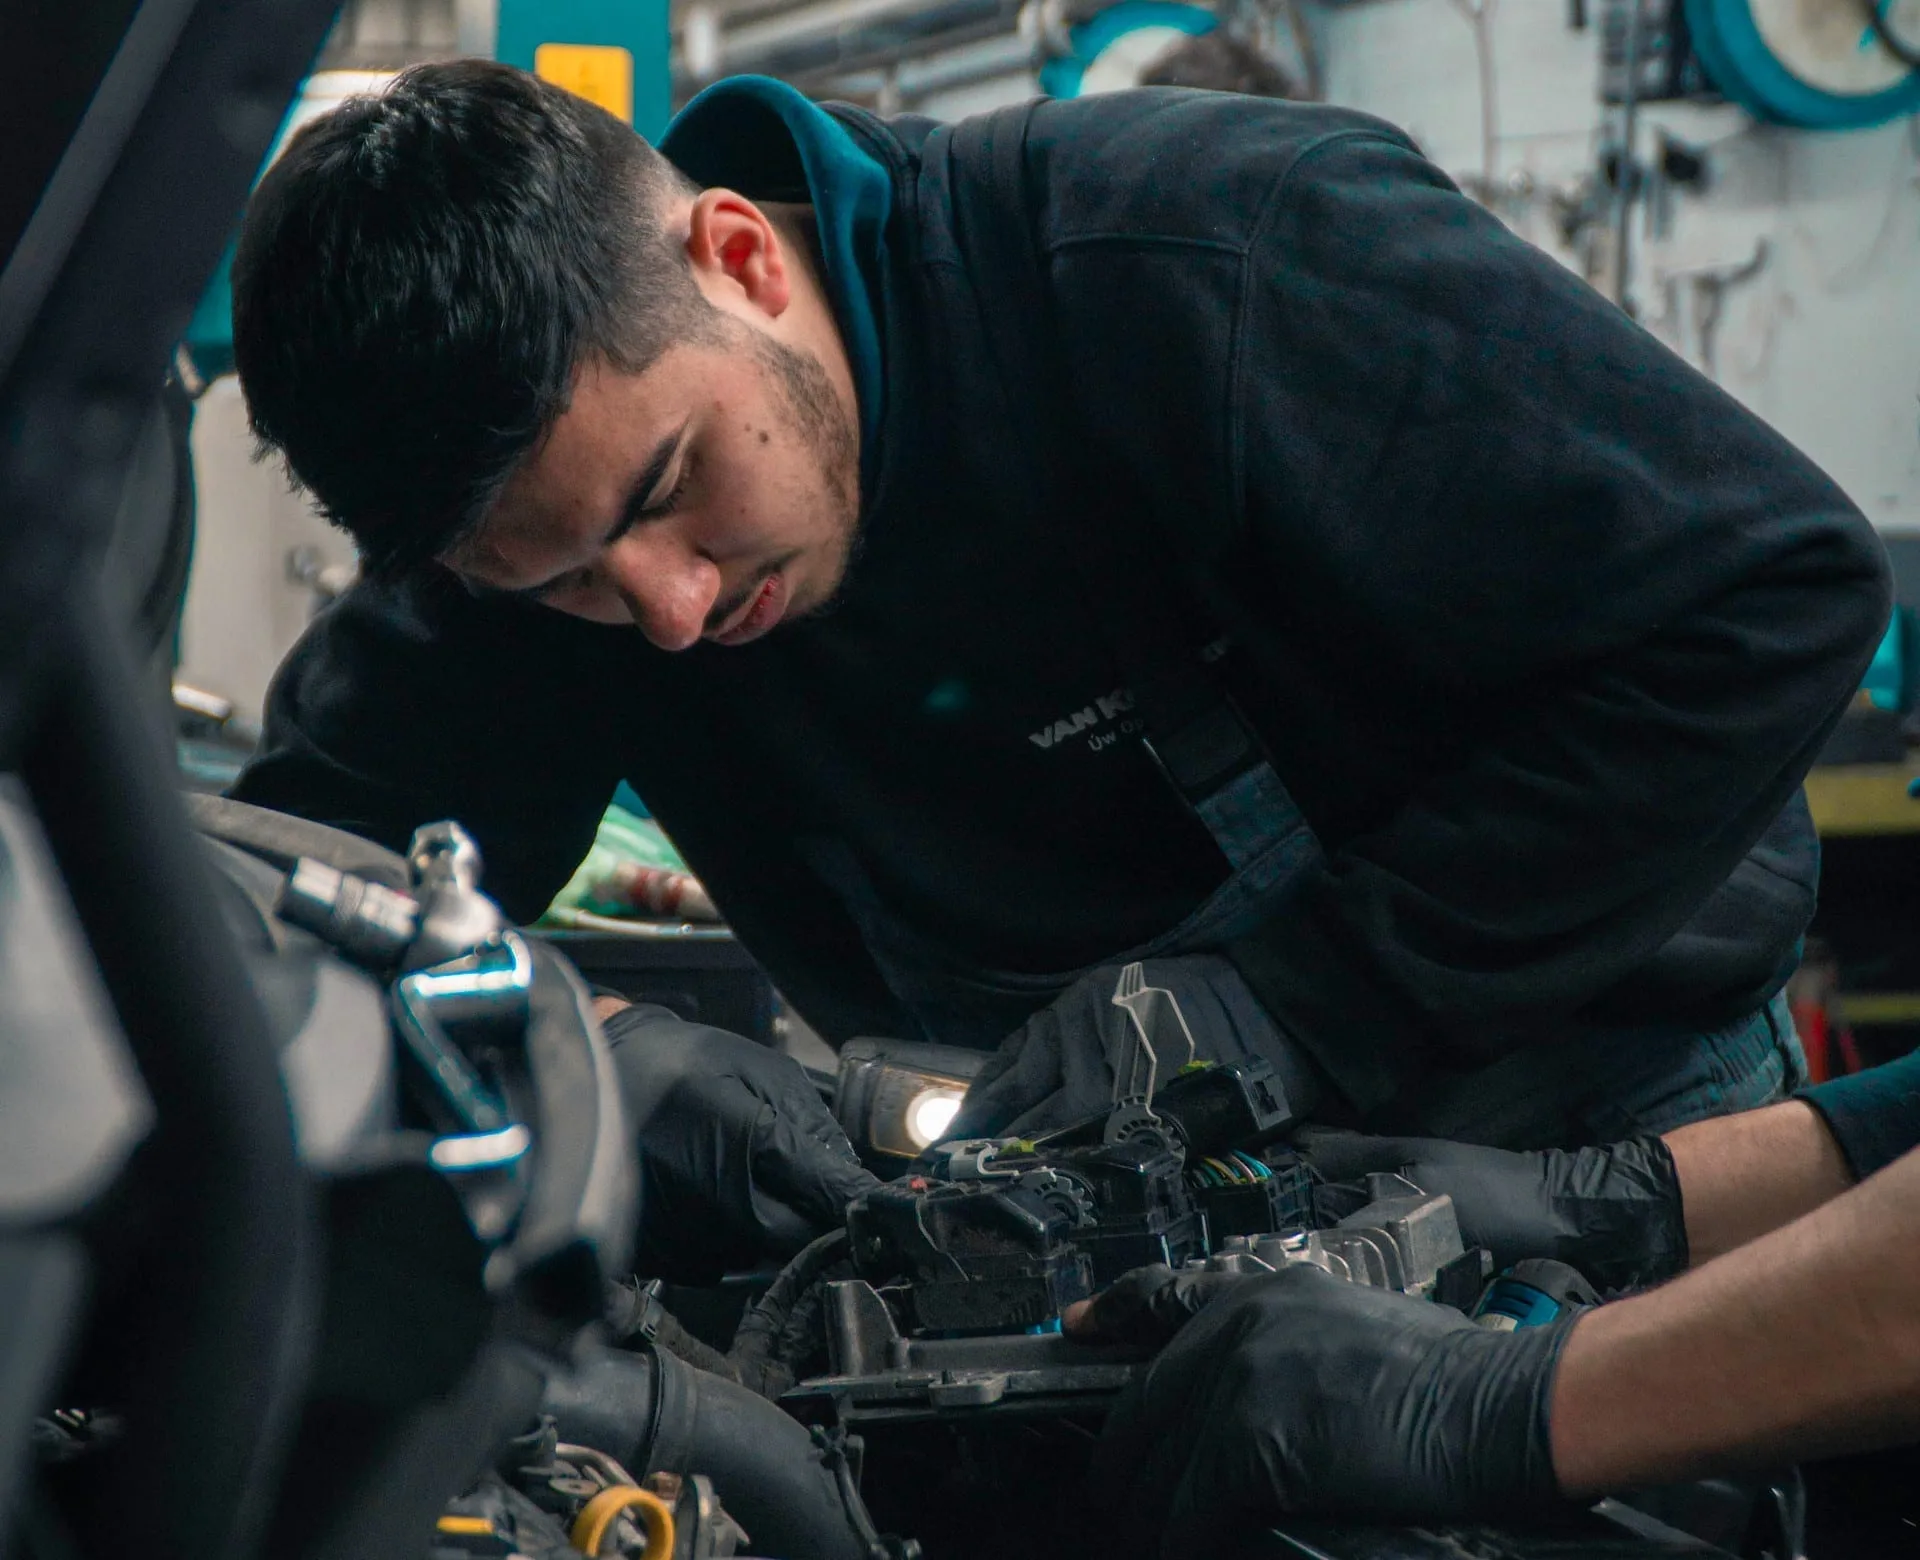
Becoming an RV mechanic often involves working under the supervision of a more experienced employee.
The qualifications for advanced certification as an RV Service Technician include the study of fundamentals, air conditioners & heat pumps, water heaters & furnaces, interior & exterior systems, RV absorption refrigerators, and more. Some RV technicians also study the workings of generators and solar systems.
Once he or she has achieved proficiency in the areas of RV propane, electrical, plumbing, fire safety, and knowledge of issues related to vehicle weight, an advanced RV Service Technician can move on to achieve the level of Master Technician. This level of advancement includes the study of all aspects relative to RV living, troubleshooting, and the reconstruction of RV systems.
What Does an RV Mechanic Specialize In?
An RV mechanic specializes in the inspection, diagnosis, and repair of recreational vehicles. He or she may have further specialization in the areas of electrical, gas, plumbing, towing systems, generators, appliances, and other interior RV components.
How to Choose a Good RV Mechanic
When choosing an RV mechanic, it’s imperative that you consider reputation and experience. If you know other RVers in the area, your first step should be to reach out to them for recommendations and to learn what their experiences have been like. When a mechanic is excellent, word of mouth spreads his or her reputation quickly. The same is true when a mechanic is far from excellent.


Thoroughly vetting an RV mechanic by seeking recommendations & reviews from other RVers is always wise.
Look at RV Mechanic Reviews
If you don’t know anyone who can recommend a good RV mechanic locally, be sure to thoroughly vet the RV mechanics in your area by checking out online reviews. A good place to start is by Googling for “RV mechanic” or “RV repairs” in your area.
Another great way to evaluate RV mechanics and facilities is to seek guidance from online forums. You can even join online forums specific to your RV and ask for recommendations for mechanics who specialize in the issue you’re currently faced with repairing. iRV2.com is one of our favorite forums.
In addition to recommendations and online reviews, the following are some of the questions you’ll want to consider when looking for a good RV mechanic:
RV Work History
Where has the mechanic been working and for how long? Where did he or she work previously and for how long? What kind of work has the mechanic regularly performed that makes him or her well suited to working on your RV or on your RV’s particular issue?
Check Their Equipment
Is this a legitimate service station with the appropriate tools and equipment to service your RV optimally? If needed for your repair, does the service station have a lift capable of raising your RV for proper inspection and attention? Is their equipment limited and dated or are they well-prepared to handle the many interior and exterior components that are unique to RVs?
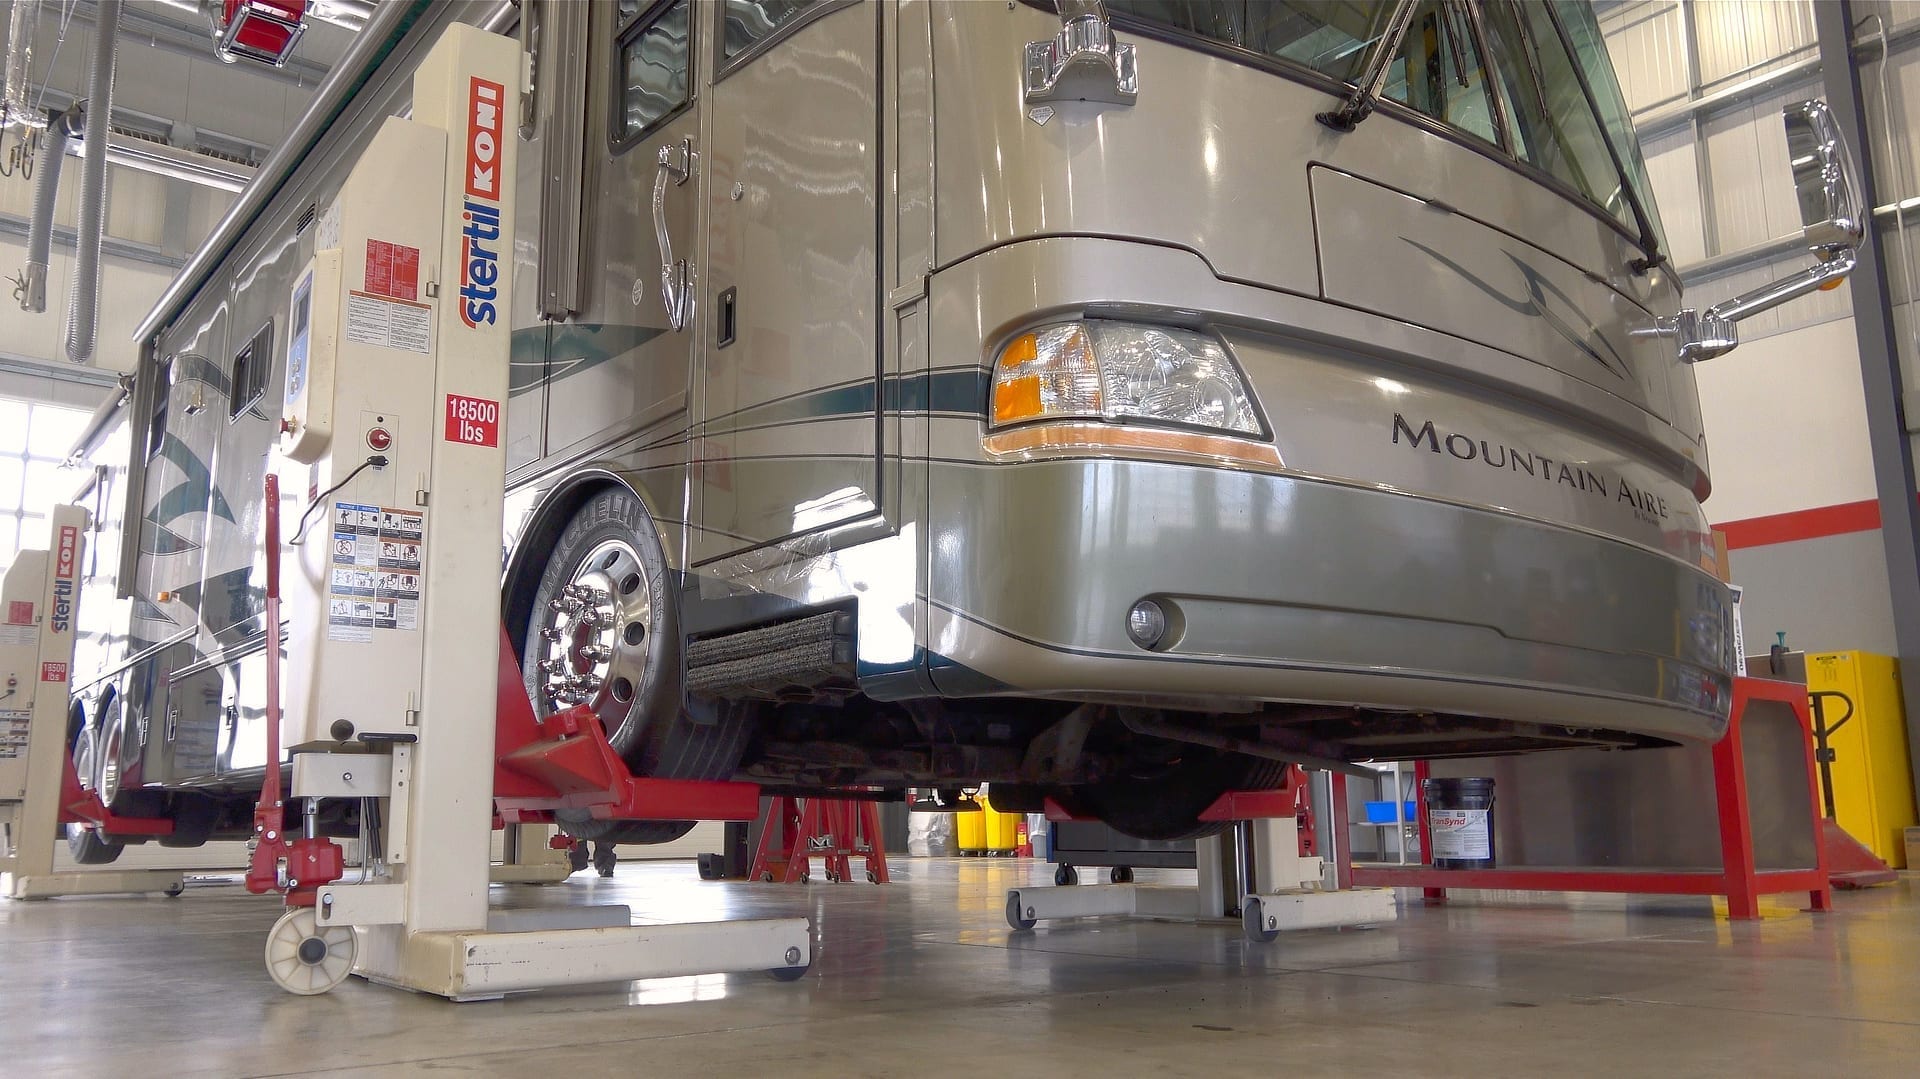

Some RV repair jobs may not be possible, or safe, without having the rig on a lift or properly supported.
Do They Offer a Warranty?
This can be very important. Do they offer a warranty, or do they guarantee their work? RVs are complex creatures. It can be a tricky business to diagnose a problem and repair it, and it may not happen on the first visit. Complex electrical systems running through the chassis and house, for example, can present difficulties in both diagnosis and repair. Warranties on a mechanic’s work can save you a lot of money and trouble, but may be less important if you’re full-time and just passing through the area (i.e. not likely to come back for follow-up service/repairs).
Are They A Certified RV Mechanic?
Certified RV technicians have been educated and have practiced working on the multitude of systems inside and outside an RV. They understand the complex systems and how they function, as well as where they fit into the full scheme of the RV. They won’t waste your money scratching their heads in hopes of guessing correctly what the problem might be or how to repair it.
Your chances are much greater that a certified RV mechanic will have seen the issue before and know how to address it properly.
When to Call an RV Mechanic
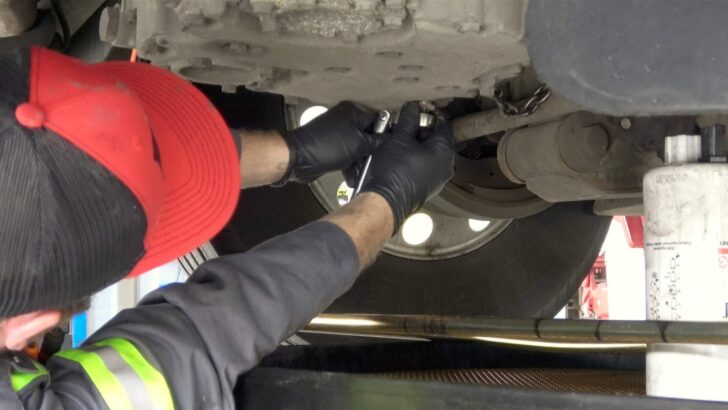
If you know anything about us, you know that we love a good DIY project, and we find it rewarding when we’re able to do everything we possibly can for ourselves. That noted, we also know that there are some situations that call out loudly for a certified RV technician, even for us. Which is why we often rely on professionals for maintenance and repair work on our RV’s chassis, like Cummins Coach Care.
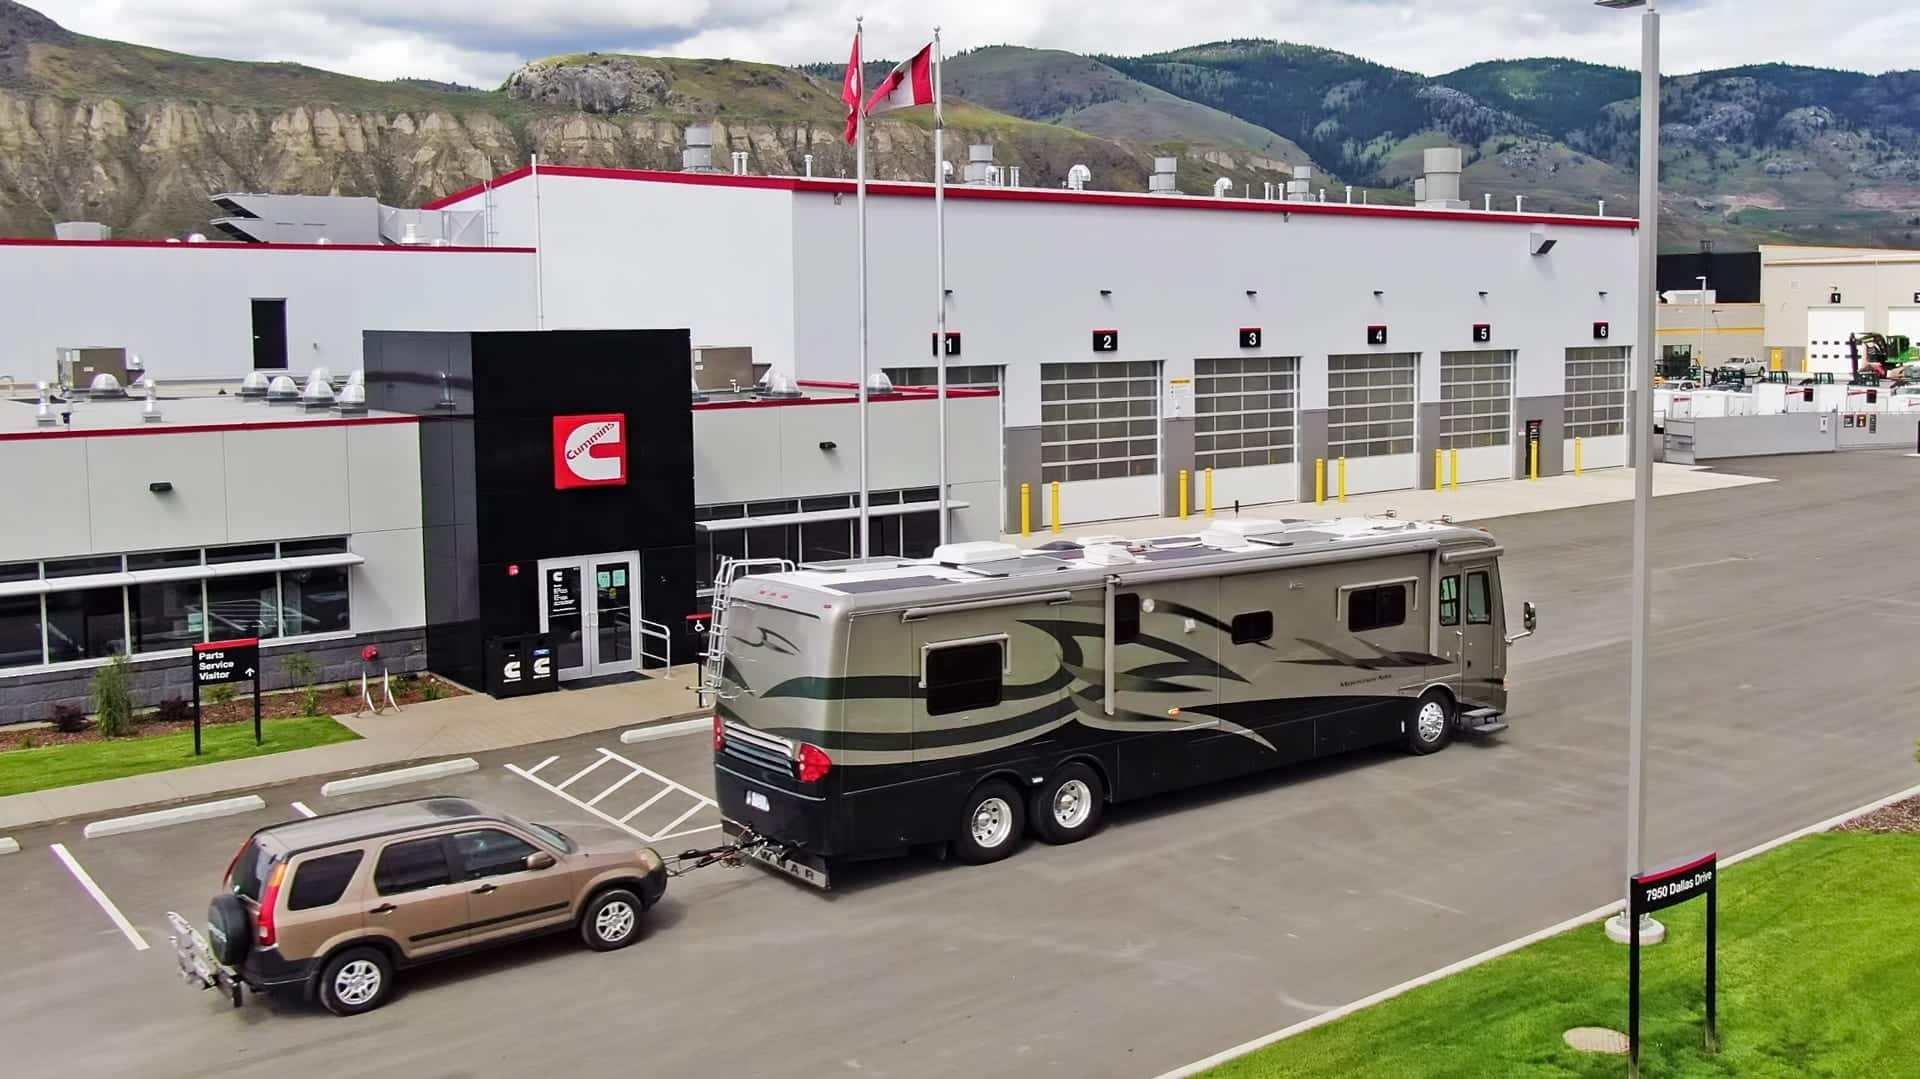
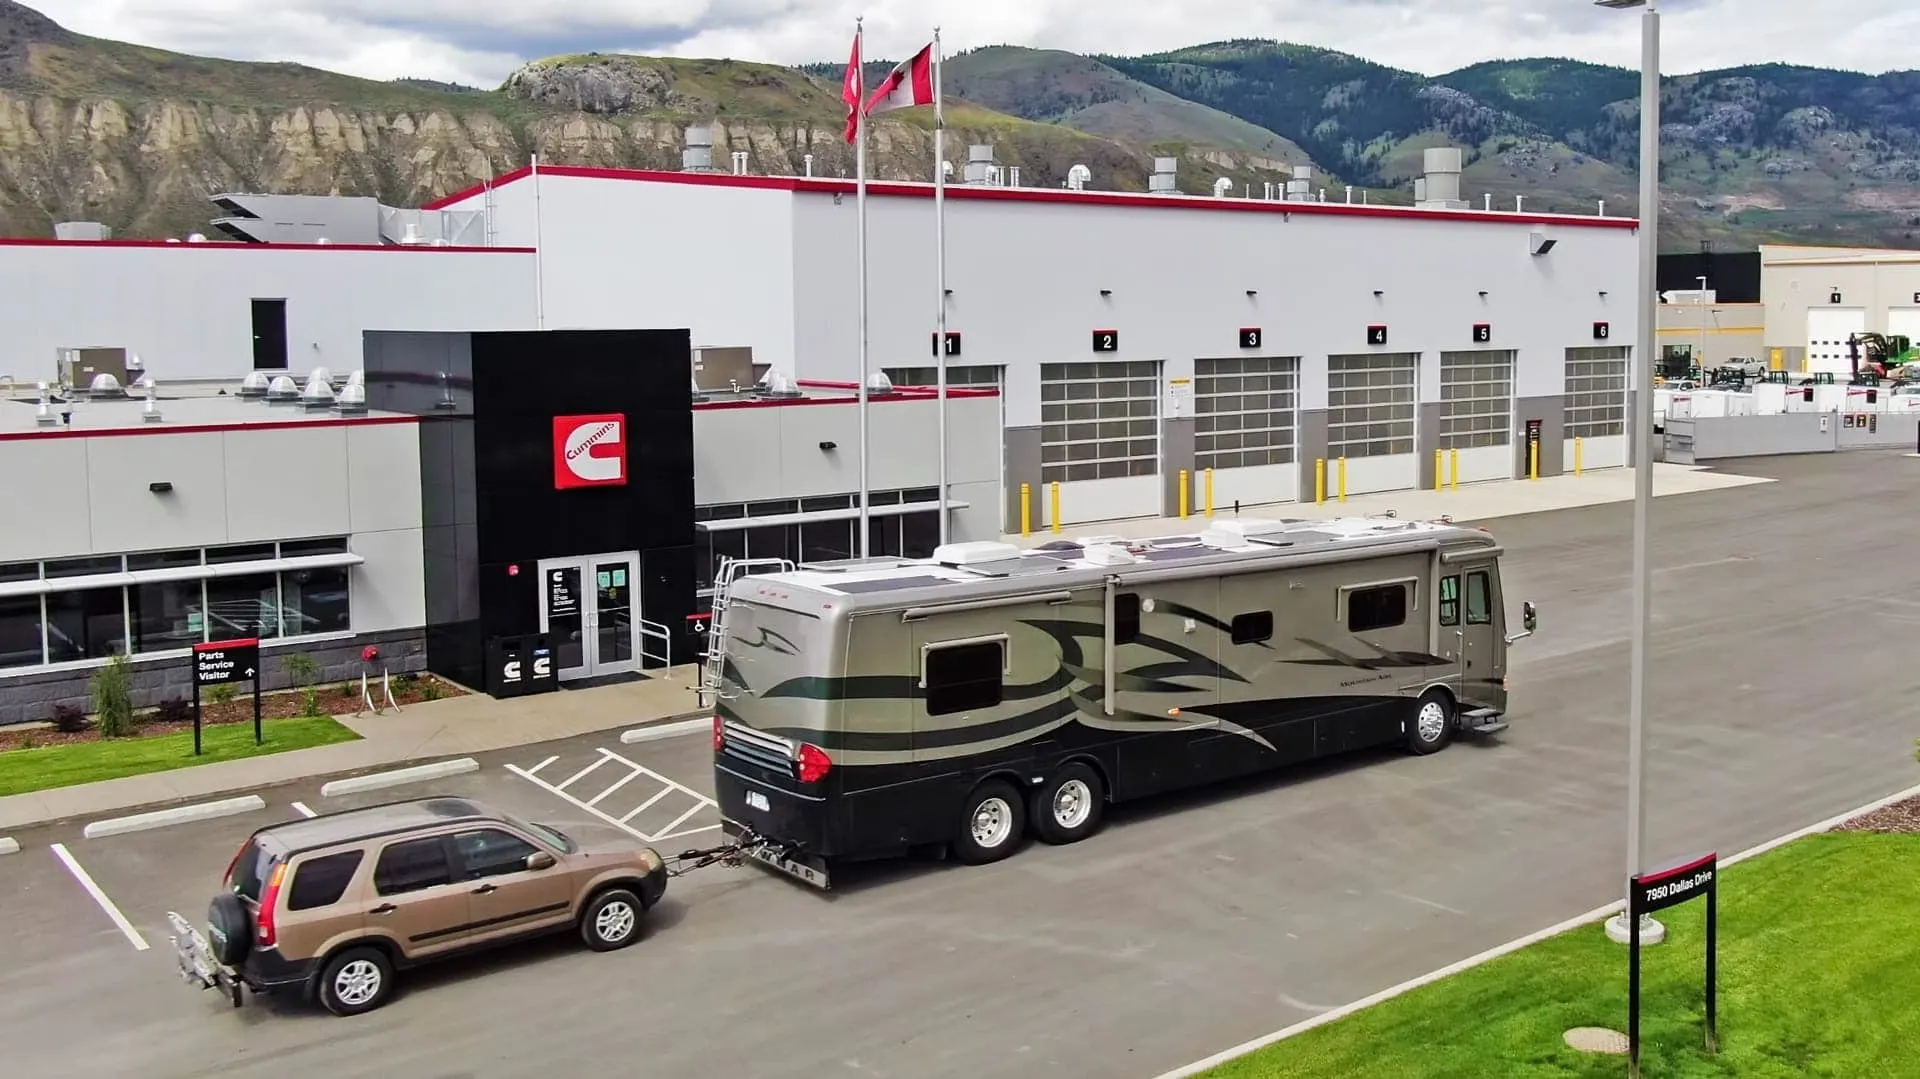
As adept as we have become at maintaining and repairing our own RV after nearly two decades on the road, we know when it’s time to have important maintenance or repairs performed by top-notch professionals.
But we also know that while there are many repairs that we’ll gladly tackle ourselves, those same tasks might be out of reach for a newer RVer. Having been newbies ourselves once, (yes – we can remember back that far!), we were intimidated by certain systems and even recognized that it wouldn’t be prudent for us to attempt certain maintenance or repair tasks on our own.
Some situations that require a visit to a good RV mechanic might include something as potentially dangerous as a propane leak or an issue with one of your propane-fueled appliances. Calling on a professional for this type of issue is a good way to reduce the risk of explosion. Of course, the first thing you should do in a situation like that is to mitigate the danger, in this case by shutting off the propane at the tank, as long as it’s possible to do so safely.
If you’re unsure of your ability to work with 12V and/or 120V electrical components, a call to a good RV mechanic will reduce the risk of electric shock or fire. Electrical systems can be complex, and unless you’re familiar and comfortable with an electrical repair, it’s best to call a pro so that once the repair is complete you and your family will be safe as you live and travel in your RV.
Another good reason to forego a DIY repair is that you simply don’t have the time to thoroughly research the problem and how to fix it yourself, OR you don’t have the tools on hand to do so. Time is a very valuable commodity, and not everyone wants to spend theirs fixing things themselves. Putting your money to work for you by paying a professional to do the job is a very reasonable thing to do for many people.
When to Perform DIY RV Repairs
Some RV repairs are well worth undertaking yourself because a successful self-repair increases your confidence as an RV owner and familiarizes you with the systems within your RV. So, if you have the time and confidence to tackle a job yourself, we highly recommend it!
Even simple repairs that require tightening a few loose screws can help to build confidence and familiarize yourself with another component or system on your RV. The best way to get to know your RV inside and out is to start with small DIY projects and build to bigger ones as you gain confidence.
What Are Some Repairs That You Can DIY?
Not everyone’s skills and confidence levels are the same, so not everyone will be up to every task. However, you’d be surprised how much you CAN tackle yourself if you’re willing to try. Moreover, you’d be amazed at how great it can feel to successfully complete a repair.
What’s even better is when you get to repeat that repair for a fellow RVer… or better yet, teach a neighbor how to do a DIY repair because of what you learned fixing your own RV.
These days it’s so easy to learn how to repair almost any issue due to the plethora of resources available online. Google and YouTube ???? are your friends and your teachers, and experienced fellow RVers in online groups are amazing sources of information as well.
With all of that in mind, here are a few ideas of minor DIY repairs and maintenance jobs you can do to start getting to know and care for your own RV… and keep it out of the RV mechanic’s shop!
Refinishing Yellowing Trim
This is a simple and inexpensive DIY project that can really brighten up your RV inside or out.
The ABS plastics used as covers or trims to various interior and exterior RV components tend to yellow over time. This gives your RV a dated appearance which can be surprisingly easy to refresh.
While many people use Krylon paint to refresh these plastic surfaces, that requires taping off nearby areas and finding the right paint so that it doesn’t look unnatural. An easier way to refresh them back to their original white luster is to use hydrogen peroxide.
Let’s use the trim or casing surrounding a light fixture as an example. Once you’ve removed the trim/casing (being sure there aren’t any electrical/electronic parts still attached), use hydrogen peroxide and the power of the sun to restore the fixture back to its original luster.
With small pieces like light trim or fixtures, you’ll simply clean the fixture, place it into a plastic ziplock bag, pour hydrogen peroxide (available online or locally at a grocery store/pharmacy) into the bag to cover the fixture, and set the bag in the sun for a couple of hours. You’ll be amazed at the transformation!
For larger pieces such as exterior grates or covers, you might be better off using a crème peroxide developer found in hair salons and/or hair coloring kits. Again, just clean the plastic piece, spread the peroxide crème on the entire surface (wear gloves!), wrap it in cellophane and set it in the sun. Before you know it, you’ll have grates, covers, trim, and fixtures that look brand new.
Just keep in mind that if your white plastic has aged long enough that it’s turned yellow, it may also have become brittle. So be extra careful handling it to ensure you don’t break it while trying to whiten it. No sense turning a minor improvement project into a more major repair! ????♂️
Broken Water Pump
Your RV water pump draws water from your fresh water tank through your RV’s plumbing system to deliver water to your faucets, shower, and toilet when you’re not connected to a city water source. As with any other piece of equipment, components can wear out over time, sometimes requiring replacement of the entire pump.

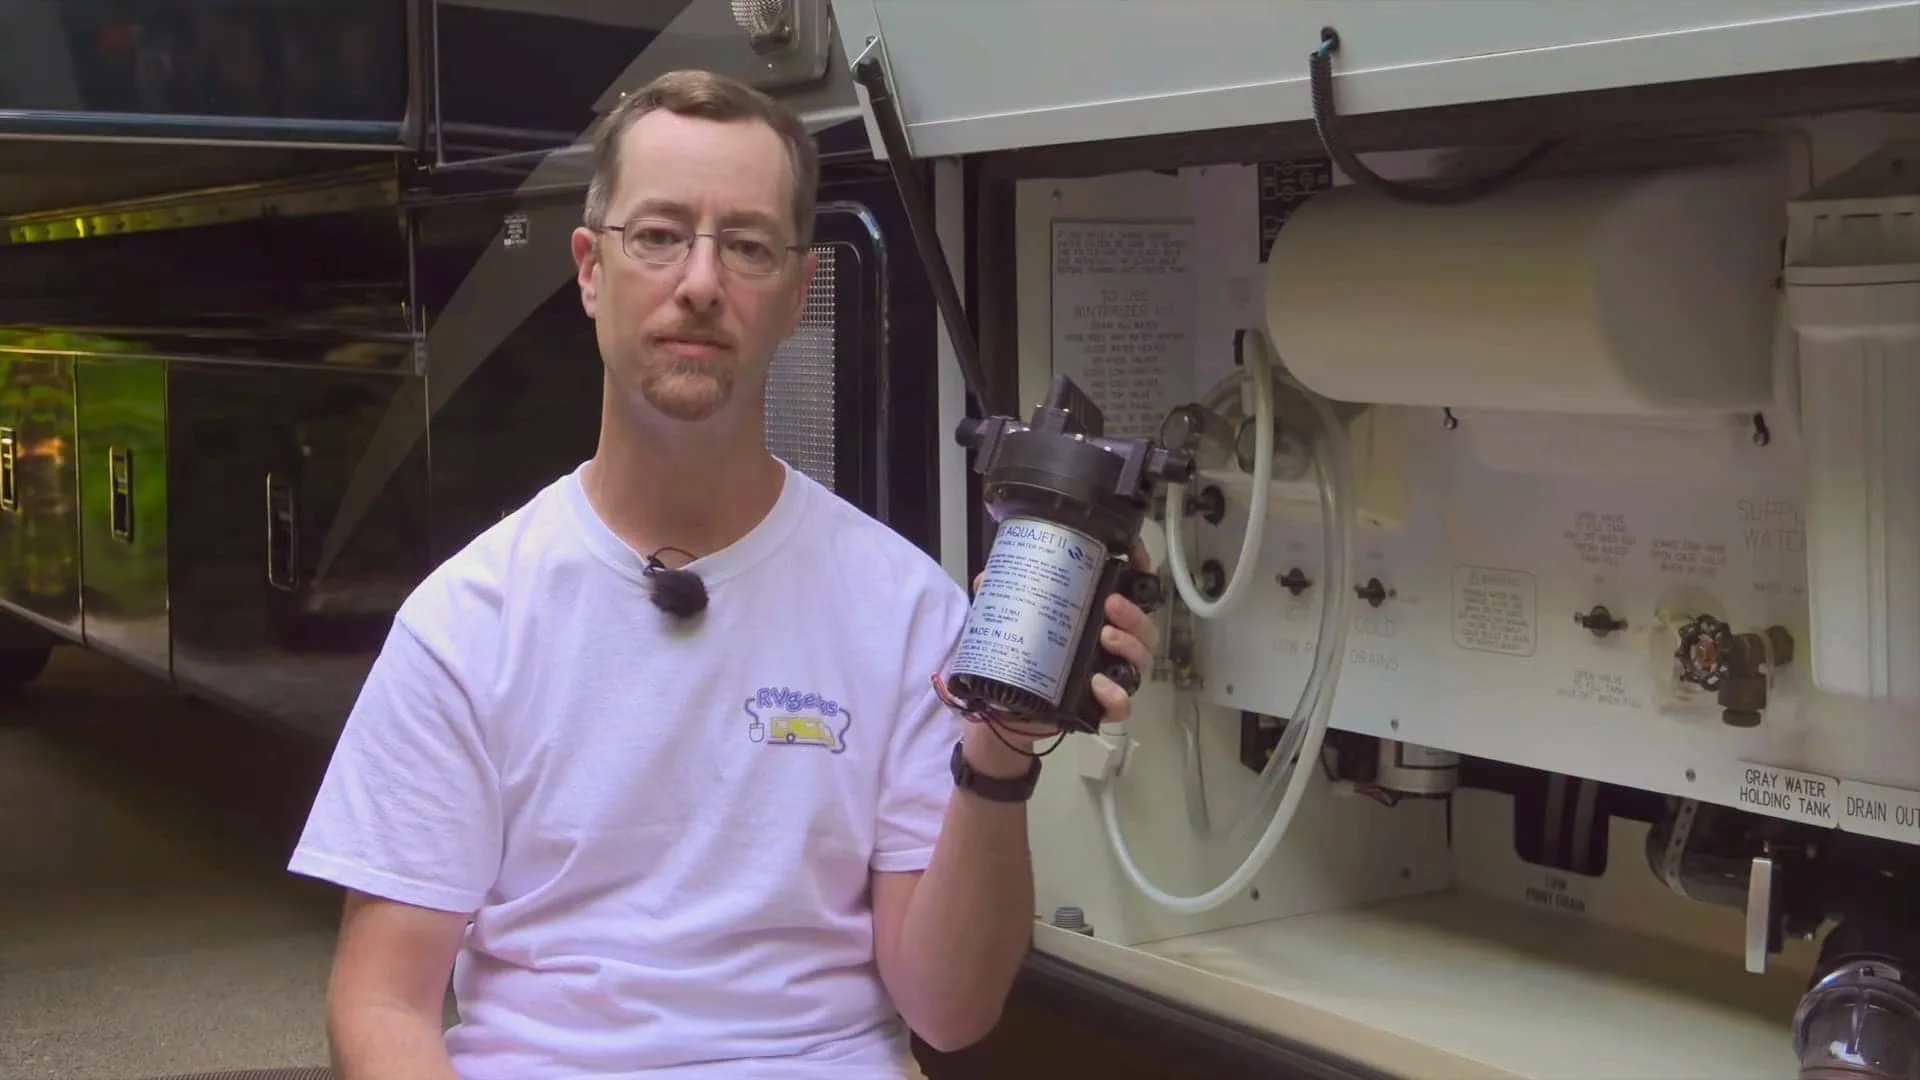
Replacing a worn-out RV water pump is a great DIY project, and we’ve got a step-by-step video guide for you when you’re ready to tackle the project.
While this is a more advanced task than whitening a plastic light fixture, it’s not as challenging as you might think based on its importance as part of your RV’s plumbing system.
Harkening back to our suggestion that you use YouTube videos to guide you, we have a step-by-step guide for replacing your RV’s water pump which you can follow, pausing at each step as you take the time to complete it.
We also have a post covering five of the best water pumps available as a replacement, in case the pump we chose as our replacement isn’t the one that’s best for your RV and/or budget.
Cracked Sewer Hose End
A cracked sewer hose end is a bit of a different plumbing issue. If the plastic end of your sewer hose is cracked or leaking for any reason, replacing the sewer hose end is the DIY project for you.
This project can be described as easy, but messing with the sewer hose can be intimidating (or at least unappealing) to many people. Fear not. You can do this! Simply be brave and put on some gloves. (OK, you don’t really need to be brave for this project, but you should wear gloves whenever handling an already-used sewer hose!)
Keep in mind that not all sewer fittings and hoses are the same, so yours may be different than ours. They may even be permanently connected to each other, requiring the replacement of the entire hose and connector as a single piece. Of course this process will be pretty much the same for replacing a sewer hose that leaks.
- Put on your disposable gloves for handling the old hose and/or fitting.
- Use a screwdriver to loosen the clamp holding the hose to the plastic end.
- Remove the clamp and the cracked sewer hose end.
- Place a new circular clamp over the sewer hose.
- Fit the hose over the new plastic end piece (Pro Tip: if it’s too tight a fit, soak the end of the sewer hose in a pitcher of hot (not boiling) water to soften it so it stretches over the new fitting)
- Tighten the clamp to secure the hose to the new fitting.
- Remove your gloves and throw them away! ????
Broken Rooftop Plumbing Vent
Rooftop plumbing vent covers are easily broken: they’re plastic; they can get brittle with time, heat and other weather conditions; they’re easily cracked/damaged by items like a stray branch that meets the top of your RV’s roof.
If the cover of your rooftop plumbing vent breaks, as long as you can climb a ladder, you can replace that cover. You’ll simply remove whatever’s left of the old cover, and snap on a new one. This is a super simple DIY project using a replacement cover like this one.
If your entire plumbing vent needs replacing, check out our video showing you how to do it step-by-step as a DIY project.
Or, if you’d like to upgrade your RV’s rooftop plumbing vent(s) with the same awesome ones we use and highly recommend, you can follow the steps in the video below to install the 360 Siphon vent.
The new 360 siphon roof vent available today is the latest model, a newer style than ours.

- Eliminates Odor - Exhausts Odors Out The Roof Vent Before They Have A Chance To Invade Your Rv
- Compatibility - Engineered For A Universal Fit, The 360 Siphon Is Compatible With All Rv Vent Caps
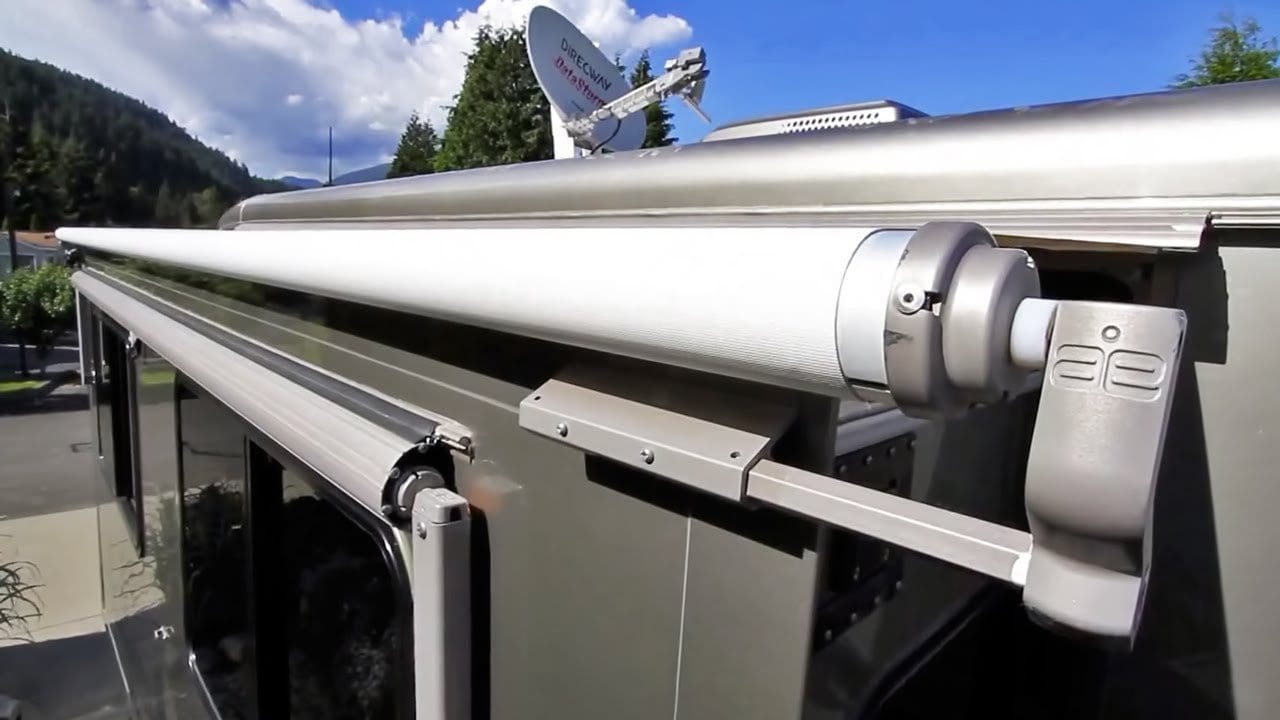
Ripped/Torn/Worn Awning or Slide Topper Fabric
Replacing a worn-out awning or slide topper is not as complex a DIY project as you might think. It’s very manageable and will save you a considerable amount of money doing it yourself AND end up with a better result than taking it to a shop. That’s because replacement fabric, like the Tough Top Awnings fabric we installed on our entire rig, will far outlast any OEM material most shops install.

Is replacing an RV slide topper a DIY project for you? Find out by checking out our video showing you exactly how to do it!
To determine whether this is a project you’d be comfortable taking on yourself, have a look at our video demonstrating how to measure, order, and install a new slide topper.
Need to replace a window awning instead? No problem! That’s an even easier DIY project. To see if you agree, watch our video on how to replace your window awning fabric.
Is your awning or slide topper a different make or model than the ones mentioned above? Check out our entire library of DIY tutorial awning and slide topper replacement videos. We’ve probably done yours!
The original equipment fabric that comes on RV awnings and slidetoppers is... well, how do we say this?... CRAP!. It's no surprise, since the RV manufacturers are looking to cut their costs...Show More
The original equipment fabric that comes on RV awnings and slidetoppers is... well, how do we say this?... CRAP!. It's no surprise, since the RV manufacturers are looking to cut their costs. Instead of replacing it with the same stuff that failed in the first place, get high-quality replacement fabric from Tough Top Awnings, instead.
Check out our Tough Top Awnings videos here
Plus you can save 5% on your entire order from Tough Top Awnings. The coupon code is valid online or over the phone!
Show LessHelpful Tools & Supplies You Should Keep in Your RV
Following is a list of tools and supplies we think you’d be wise to keep in your RV. Having these on hand will allow you to complete a vast number of important DIY maintenance and repair projects, even when you’re out on the road.
- Standard tools like screwdrivers, hammer, wrenches, pliers
- Cordless drill
- Electrical testers (120V outlet tester AND a 12V tester: either a circuit test light OR a good quality multimeter)
- Zip/Cable ties
- Duct tape
- Eternabond tape
- Dicor self-leveling lap sealant
Conclusion
We all know how plentiful RV maintenance and repair projects are. If you’ve got the time, the desire, and a few tools, don’t underestimate yourself. There are many RV repairs that you’re perfectly capable of managing on your own if you’re so inclined.
For projects that are beyond your reach or that could be dangerous, there are always experienced RV mechanics out there ready and willing to help.
Geek Out with Us Every Week
Join our newsletter to learn about all things RV-related. Every week we offer free tips, tricks, product reviews, and more to our online community of RVers. Whether this is your first time on the road or you’re a seasoned expert, we’d love for you to geek out with us!
Mechanic Guy
Tuesday 6th of July 2021
Very informative and comprehensive article. I agree, you need to make sure the auto shop you go too has years of experience with RVs.
TheRVgeeks
Tuesday 6th of July 2021
Thanks! Great to hear from a fellow Jersey boy (we're originally from Basking Ridge & Middletown)!
rag_ftw
Sunday 27th of June 2021
Have y'all had any problems with the RV Service Review site? I have been trying to post a review and keep getting an error message that will not allow my comments.
TheRVgeeks
Sunday 27th of June 2021
No, but we haven’t submitted a review in a while. You can try contacting the website administrator at admin@RVServiceReviews.com. We’re sure they’d want to know what issue you’re experiencing.
Pat Parker
Sunday 27th of June 2021
Great tips as always
TheRVgeeks
Sunday 27th of June 2021
Thanks so much, Pat! ????