
We recently published a post showing how to easily replace an RV skylight as a DIY project. But an RV skylight has an inner frame and an inner dome – a clear plastic liner that can come loose and lead to issues. Fortunately, an RV skylight inner dome replacement is another simple DIY project.
In today’s post, we’ll give you a step-by-step guide to replacing or repairing an RV skylight’s inner dome, along with a video allowing you to follow us as we repaired our shower skylight’s inner dome several years ago. So let’s get to it!
Why Replace An RV Skylight’s Inner Dome?
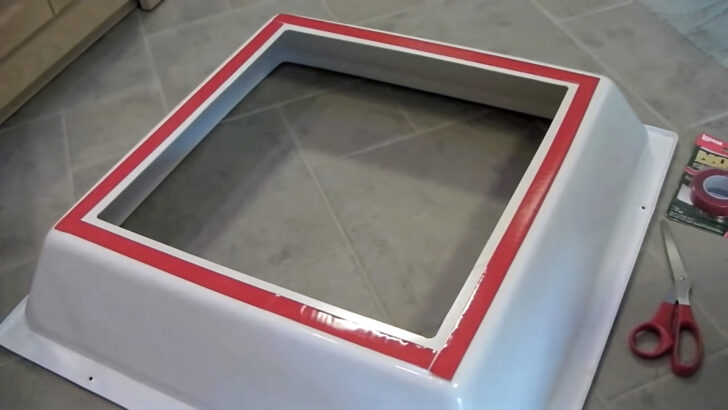
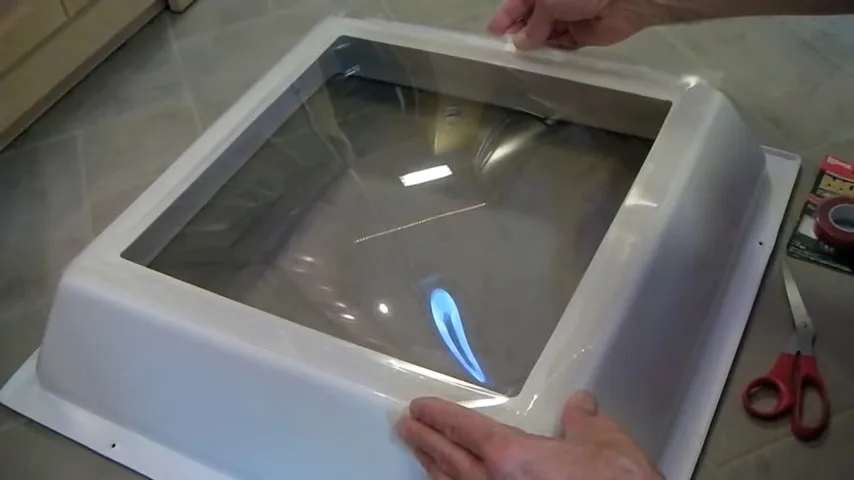
One of the most common reasons for RV skylight inner dome replacement is an inner dome piece that is damaged or has come loose. In our case, about ten years ago, the clear plastic inner liner of our shower skylight came loose on one side. In order to secure it back into place, we had to remove the entire inner liner and plastic surround.
The inner dome of our shower skylight required a minor repair some years back, so we had to remove the inner frame of the skylight.
Like many things on the RV, vigilance is our first line of defense in preventing problems. That’s especially true where potential leaks are concerned. Finding water damage is not the way we want to learn that we have a leak, so we keep a good eye on the skylight and other possible sources of water as well.
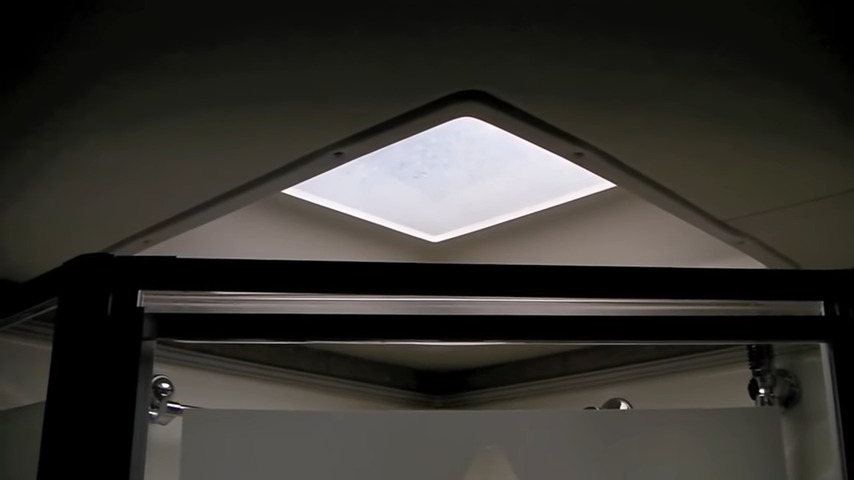
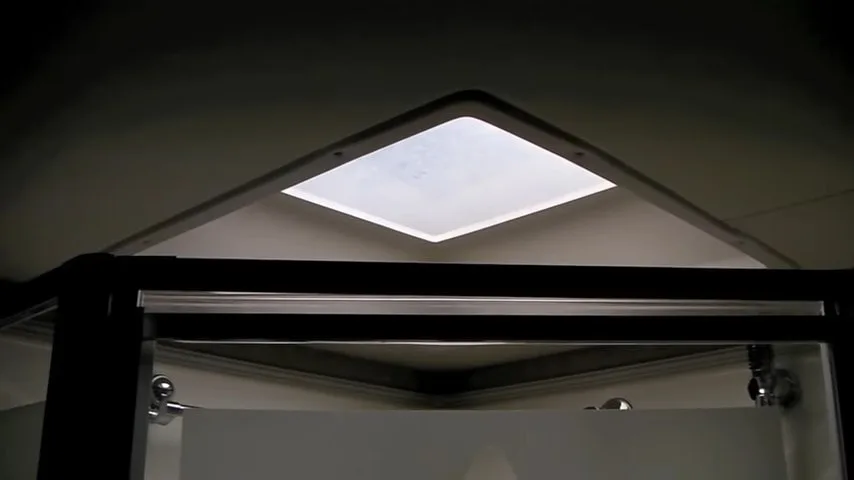
Opening up the skylight also provides an interesting view between the roof and the ceiling, offering a look at how part of the RV was manufactured. It also allows for a good cleaning of the inside of the outer skylight and the top of the inner liner, both of which are normally inaccessible.
While we had our skylight’s liner and surround down, we carefully inspected the inside of the skylight for any signs of leaking, cleaned it, and checked its overall condition.

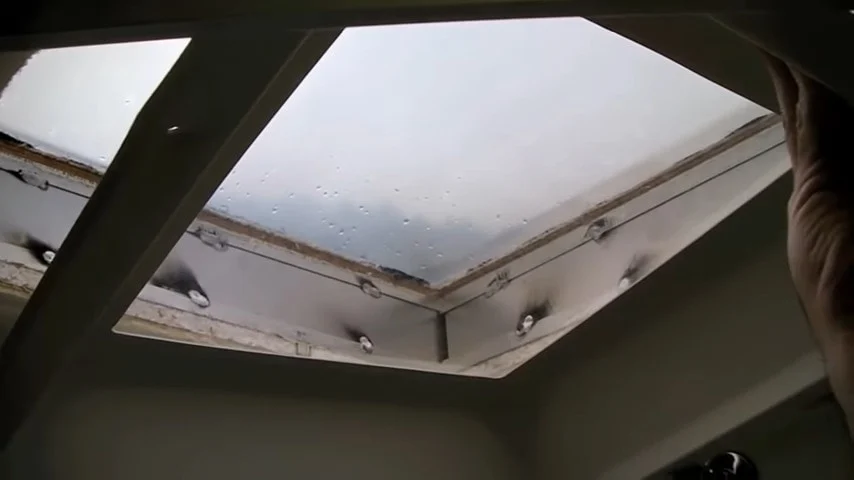
After removing the inner frame, carefully inspect the area under the skylight for any issues.
After several years in the sun, the outer shell of the RV skylight had become somewhat cloudy, so we were keeping an eye on it. Eventually, we did choose to replace the skylight to stay ahead of what could eventually have become a leak.
How to Replace an RV Skylight Inner Dome
RV skylight inner dome replacement is not a difficult task and only requires a few basic tools. Let’s start with what you’ll need to complete the job, and then we’ll move right into the step-by-step guide. You can watch the video… or keep reading for step-by-step instructions.
The Tools You’ll Need to Repair/Replace an RV Skylight Inner Dome
- Cordless drill/screwdriver (not necessary but helpful)
- Screwdriver (our’s required Phillip’s head, yours may be different)
- For repairing a loose inner dome you’ll also need:
- Razor blade scraper
- Rubbing alcohol
- Dry rag or towel (we use old tee shirts or hand towels)
- Roll of double-sided tape
- If you’re replacing a damaged inner skylight dome, you’ll need a replacement (either from your RV manufacturer/dealer or an online supplier)
10 Easy Steps to DIY RV Skylight Inner Dome Replacement (or Repair)
- Use your screwdriver to remove all of the screws from the inner liner frame, and remove the entire inner frame of the skylight.
- Use your rag or towel to clean off everything including the removed inner frame and clear liner as well as the inside of the skylight itself. NOTE: If you’re replacing your RV’s inner skylight dome… skip to the last step (step 10) and install your new inner dome (you’re done!). If you’re repairing your inner dome, keep going, you’re not finished yet! ????
- Inspect the clear inner plastic “dome” piece. In our case, the double-sided tape was failing in one area, so it was separating from the frame. If you find areas where the old double-sided tape is becoming detached, use your razor knife to carefully remove the old tape from the frame at this time.

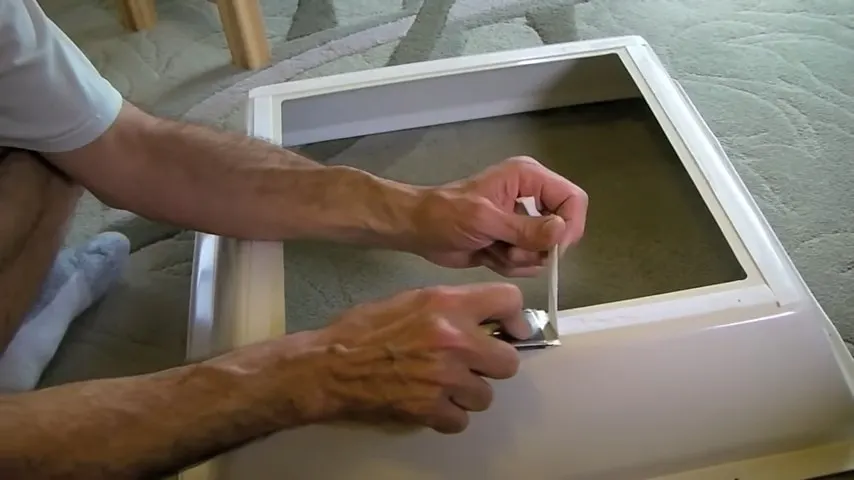
Using a razor knife/blade, gently remove the old double-sided tape. We replaced ours with a stronger, more durable tape.
- Use rubbing alcohol to clean all around the frame where the old tape was.
- Clean all around the edges of the clear plastic inner dome piece with rubbing alcohol as well.
- Once all areas have dried, apply the new double-sided mounting tape to the inner frame of the skylight liner.
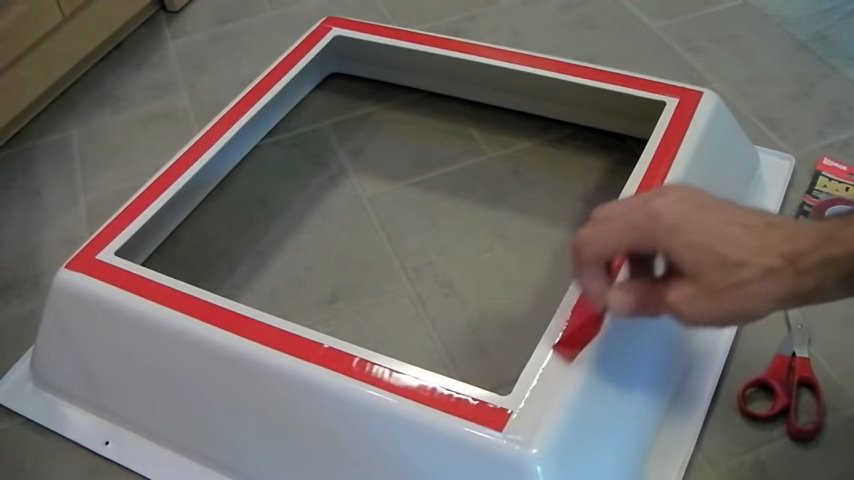
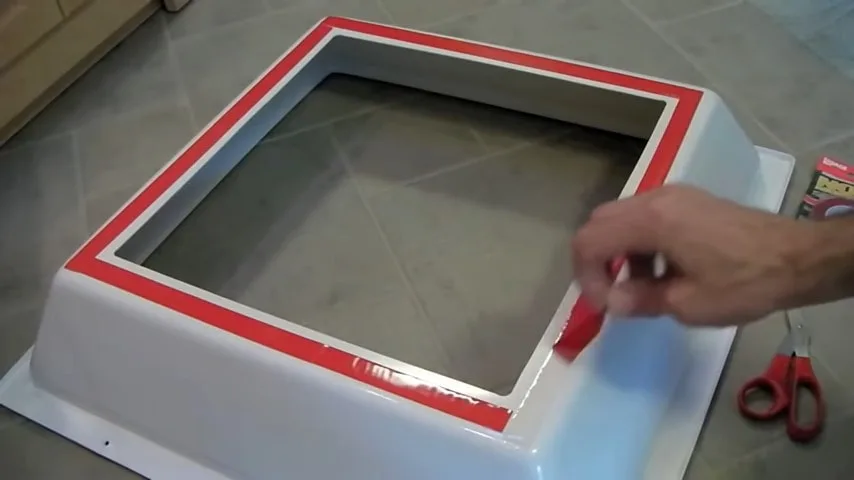
After installing the new mounting tape, peel away the plastic backing, exposing the sticky tape.
- Peel away the tape backing all around the inner frame.
- Position the clear inner dome piece onto the inner frame of the skylight evenly, and press firmly, from both inside and outside the inner frame, to set the tape.
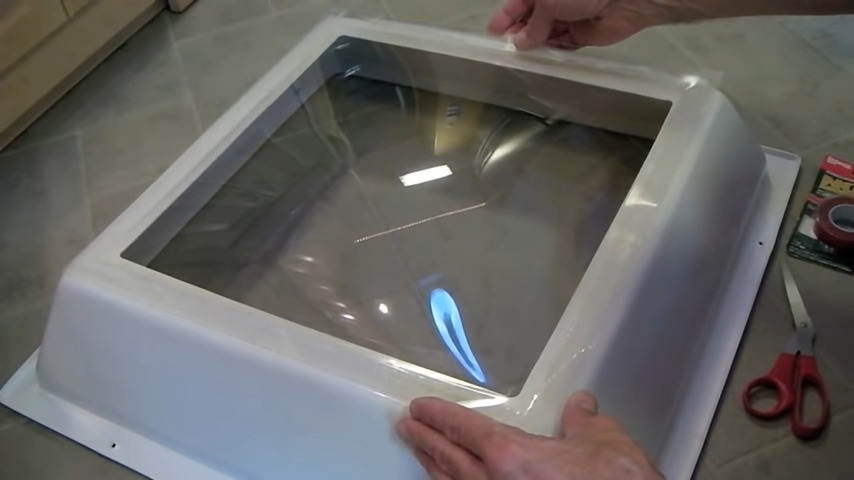
Position the clear inner dome piece evenly on the frame/surround.
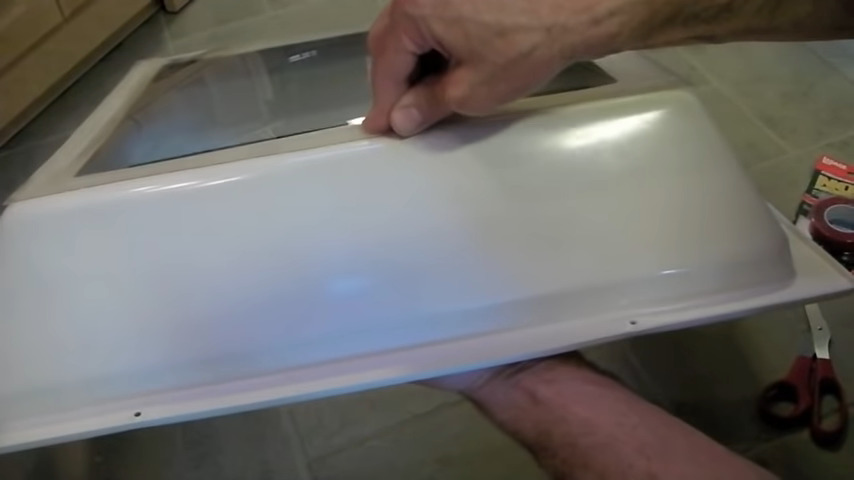

Press firmly on both sides to secure the new tape.
- Clean the clear plastic dome piece with a soft cloth.
- Reinstall the new/repaired inner part of the skylight and gently install and tighten the screws. Begin with a couple of screws on opposite sides of the inner skylight liner, and HAND-TIGHTEN the screws gently, being careful not to crack the liner.
Note that if any piece of the inner liner of the skylight is cracked or otherwise damaged, you’ll want to contact the manufacturer of your RV (or shop online at RV skylight manufacturers) for information regarding any replacement pieces you may need.
Conclusion
Preventing leaks before they can cause damage to your RV is essential. Knowing how to perform easy DIY projects such as an RV skylight inner dome replacement not only allows you to tend to some important maintenance tasks, but also contributes to the long-term health of your rig.
Geek Out with Us Every Week
Join our newsletter to learn about all things RV-related. Every week we offer free tips, tricks, product reviews, and more to our online community of RVers. So, whether this is your first time on the road or you’re a seasoned expert, we’d love for you to geek out with us!
Tim Grady
Thursday 6th of July 2023
Enjoyed your video of the cleaning the inner lens of a curb mounted skylight. Any recommendations on a replacement dome for the over frame mounting style?
Gene Jurrens
Thursday 12th of November 2015
You guys rock! And your videos are especially meaningful to Kay and me as we just purchased a 2005 Newmar Mountain Aire 4304. As a result, your videos have a special relevance to us and our new baby, which both fascinates me as the ultimate gadget, but also a bit daunting! We were live aboard boaters for several years in a previous life, and while there are lots of similarities, all the chassis maintenance intervals seem more than a bit daunting. One day at a time, right?
I'm kind of a DIY geek myself. We plan on being on the road mostly full time for the next few years, and I'm soaking up all the knowledge I can as a noob. I'm a researcher by training & love learning - 32 years with IBM, now retired. I figure this lifestyle will be expensive enough without simply writing a check every time something in the house needs attention. Perhaps the chassis is the notable exception - scary stuff, that, especially catching up from two years of storage prior to acquiring this coach. Spreadsheets in the making!
In addition to your videos & narratives, we also enjoy & appreciate your product links and endorsements for RV-relevant links (RVTravel, etc.). Up until last week, for example, I had never heard of Dicor (huh?) or where to buy it once I had. Now, I'm an avid practitioner, having already spent some quality time on the roof with my loaded gun and can of spirits! Imminently doable with a little bit of knowledge - a mess in the making without it.
And just like full-time boating, I envision the list of "to-do's" getting longer versus shorter for some time to come (forever? :-), sustained vigilant effort notwithstanding. Hey, something to do, right?
Thanks again for all your effort on behalf of "the community".
A wild guess - you guys are Type A, right? I get it.
Cheers. Gene (& by osmosis, Kay)
TheRVgeeks
Thursday 12th of November 2015
Hey Gene & Kay! Congratulations on your new rig. Excellent choice! ;-) Hope you love it as much as we do. Thanks for the nice comment. Safe Travels. PS... definitely not type As. lol