
Finding RV roof leaks can be tricky, but it’s one of the most essential maintenance and repair tasks an RV owner can undertake. Identifying and repairing leaks while they’re minor will save you from costly repairs in the future and could even save your RV from destruction.
In today’s post, we’ll discuss the best way to find a leak in an RV roof… BEFORE that leak steals the pleasure of your RV travels!
Common Signs of RV Roof Leaks
Knowing how to identify the common signs of RV roof leaks is the first step to preventing a destructive leak from overtaking your rig. If you don’t quickly identify the source of the leak, you could find yourself with a problem that’s no longer repairable without significant cost.
Identifying the source of an RV leak is crucial to preventing mold, mildew, and severe damage to your rig.
Let’s review some of the most common signs of an RV roof leak.
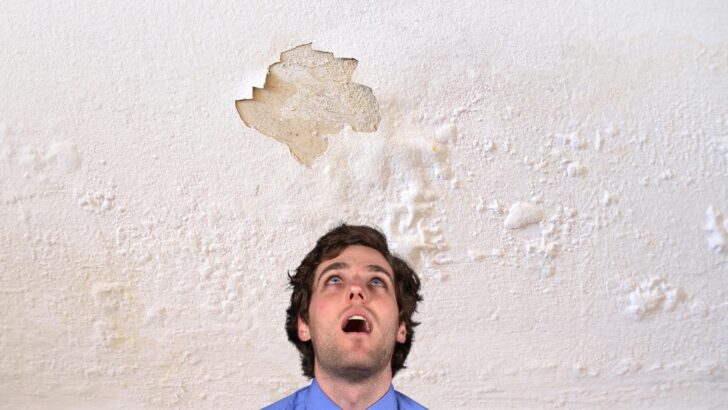
Water Stains on Ceilings or Walls
Water stains may look like odd-shaped areas of discoloration. They may have the shape of a puddle or just discoloration near a wall seam. They may also appear like streaks. Keep a close eye on these areas!

Evidence of leaks can appear as puddle-shaped water stains or streaks down the wall.
Water Stains Around Skylights, Vents, Doors, or Windows
Roof materials may vary from RV to RV, but no roof is 100% immune to leaking. Fiberglass roofs can get hairline cracks over time. And even the various types of RV rubber roofs can leak. Any RV roof that has been penetrated (to install things like roof vents, antennae, skylights, air conditioners, plumbing vents, etc.) is subject to leaking.
You’ll want to carefully check all roof penetration areas for any signs that water has entered the RV. Look at the seals on the OUTSIDE of the roof (of course!), but also carefully look INSIDE the RV at the items that penetrate through the roof, too.
Soft Spots on Ceilings, Walls, or Floors
Soft spots on ceilings, wall panels, or floors can indicate an RV roof leak that has gone unchecked. When an area gets soft, the cause needs to be identified as soon as possible. The softness may mean that the leak happened slowly, causing the wood underneath to rot. THIS IS BAD!
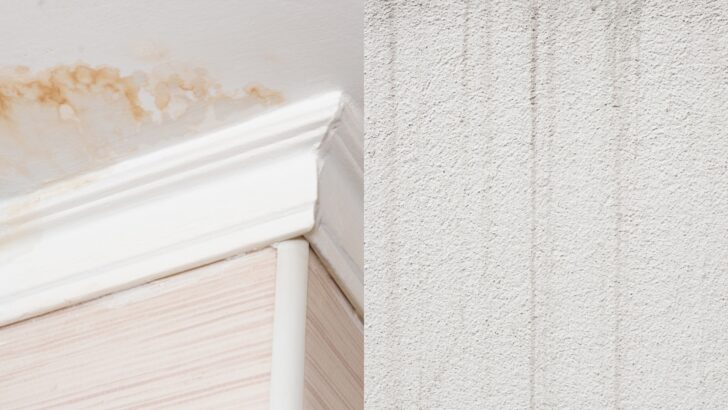
Brown, Black, or Greenish Areas on Walls or Ceilings
Brown, black, or green areas on a wall or ceiling (or around a vent or window) are likely signs of algae and mold growth. This is not only hazardous to the health of the occupants of the RV but is also a sign that the RV itself is compromised by accumulated moisture or leaks.
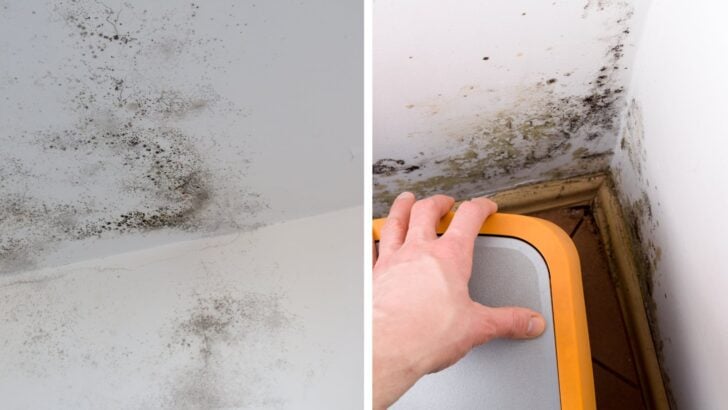
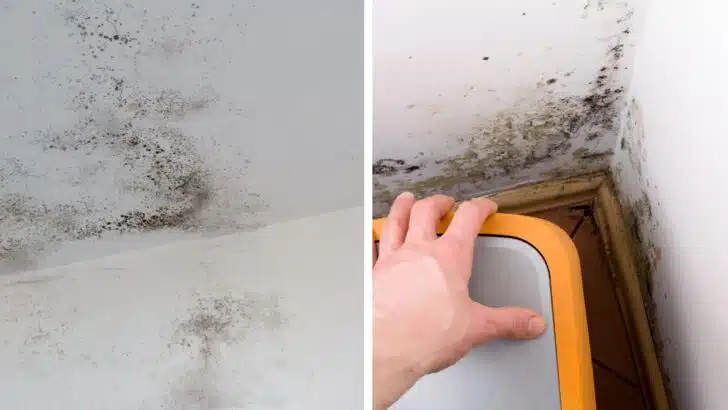
Mold can develop from excessive moisture inside your RV or a leak penetrating the RV from the outside. It can appear on ceilings or walls, or it could be hiding behind furniture or other items.
Mold and mildew require water to form and thrive. Wherever you find mold and mildew growing, there’s likely to be a leak nearby, though it’s important to note that leaks don’t always take the most obvious route. You can have a roof leak on the left side of your rig, and it somehow makes its way into your RV over the door on the right. This is why leaks are tricky to diagnose.
Damaged Flashing or Cracked Sealant
If you notice cracking or other signs of damage around the base of any flashing, or in the sealant around roof openings such as vents and skylights, these could be the sources of your RV roof leak. Please review them regularly and properly maintain your roof sealants to avoid this issue.
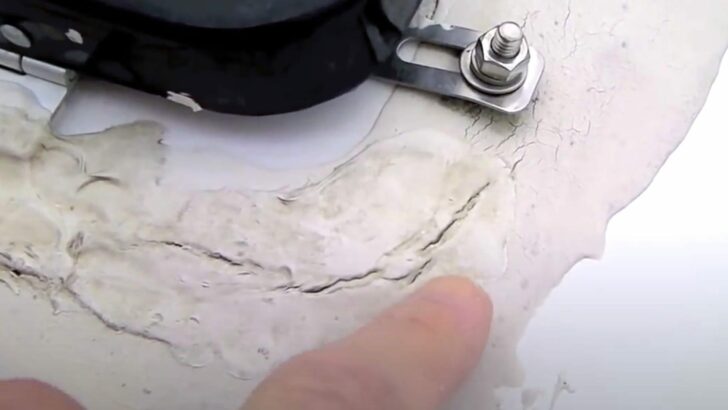
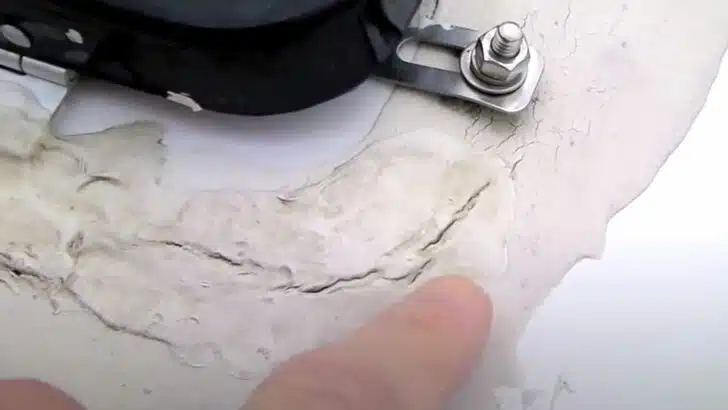
The importance of regularly inspecting the Dicor sealant around vents, skylights, and other rooftop items can not be overstated. Water can eventually seep through these cracks, causing untold damage to an RV.
Delamination or Exterior Discoloration
Delamination appears as bubbling or outward bending of the fiberglass wall(s) on the exterior of an RV and is a sure sign of water damage (in this case, water penetrating the wall(s) of the RV, causing the fiberglass to separate from its backing).
NOTE: So that you know, not all RV leaks necessarily come from the roof. This is simply a post focusing on RV roof leaks, but there are other sources of RV leaks. For example, you could see water on the floor and conclude that it must have dripped from the ceiling when your water pump or refrigerator may be the source of the leak, causing a puddle on the floor.
How to Find a Leak In an RV Roof
Now that we know what to look for let’s discuss the best ways to find the source of RV roof leaks.
Regular Inspections
The first step to finding RV roof leaks is carrying out regular inspections. Ideally, you’ll need to examine your RV’s roof at least twice a year. If you’re a full-time RVer, a thorough inspection every quarter would be even more prudent.
Interior
On the interior of the RV, look for all the signs of water damage noted in the previous sections above. Remember to check ceilings, wall panels, and behind furniture and items such as appliances (if possible).
Inspect corners, flooring, and even carpets. Check cabinets and closets as well.
Exterior
A thorough inspection of your RV’s exterior involves getting on your rig’s roof. You can only do this if you’re comfortable climbing a ladder and safely moving around on the roof. If not, please seek the assistance of a nimble friend, relative, neighbor, or professional who can inspect the roof for you.
You’ll want to look for any signs of damage or deterioration, including cracks in the roof itself. Cracks are more likely on fiberglass roofs than rubber roofs, but rubber roofs can be scratched/torn by branches and other items. All types of RV roofs should be thoroughly checked for cracks, tears, or any other damage.
Be sure to inspect all sealants carefully as well. Pay close attention to seams, edges, and the seals around vents, air conditioners, and other roof penetrations. Inspect the seals where the roof connects to the RV (at both the front & rear, as well as the whole length of the roof radius). Check for signs of weather damage, such as peeling, cracking, or discoloration of the sealant.
If you find evidence of cracks in your Dicor or other sealants, repair them as soon as possible. We suggest looking at our post on Dicor RV roof sealant for all the information you need to get the job done right and then continuing to inspect your Dicor regularly.
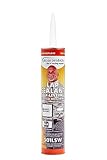
- RV ROOFING USE: Lap sealant is sun-ray stabilized to avoid spoiling and discoloration; Plus, it will not stain or discolor any roofing material to...
- COLOR: White hue for stylish and beautiful RV roof
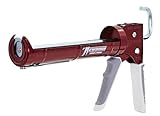
- Steel half-barrel (also called cradle) frame caulking gun for 1/10-gal. cartridges
- Thrust ratio of 10:1 for use with low viscosity materials
Checking your RV roof sealants regularly is one of the best things you can do to preserve the integrity of your RV and keep it in optimal condition over time.
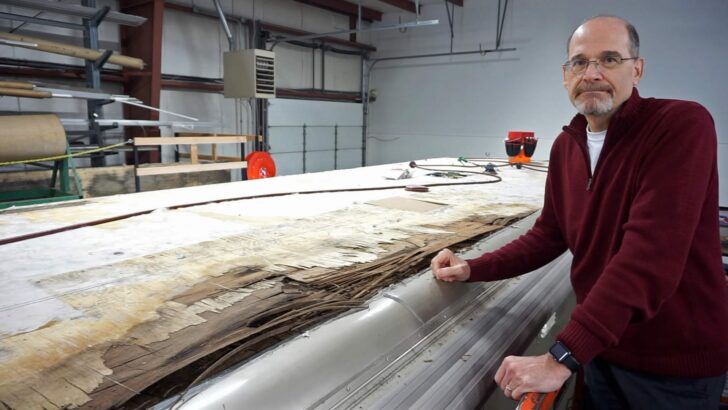
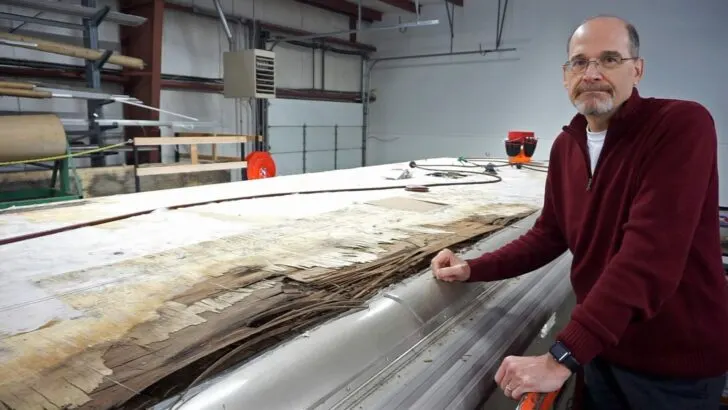
RV roof leaks are some of your RV’s most powerful enemies. Don’t believe us? Check out what can happen if water gets past the Dicor on any of the seams on the roof of an RV:
Water Testing
The next step in finding RV roof leaks is to use a hose to simulate rain on your RV’s roof. You’ll need a partner for help inside the RV… have them keep a close eye out for any sign of water/wetness.
Using a hose with a nozzle attachment, simulate rain by spraying water on different roof sections (to avoid too powerful a stream that could cause a NEW leak, aim the nozzle up into the air so the water falls onto the roof). Focus on one area at a time while your partner inspects the interior for any signs of water intrusion. Take your time, and don’t hurry through this process, as it can take time to identify the source of an active leak.
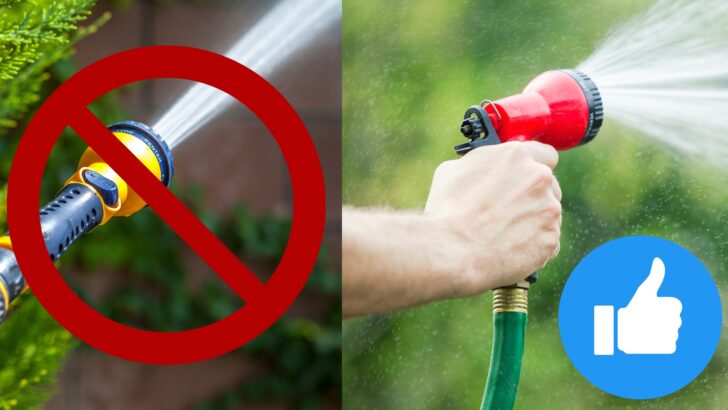

When using a hose to test for roof leaks on your RV, do NOT use a hard/powerful stream. Instead, use a nozzle with a softer spray pattern. Aim it UP so it falls like rain onto your RV’s roof.
Concentrate on areas prone to leaks, such as seams, vents, and around roof accessories. But continue the process until you’ve covered the entire roof. If you don’t identify the source of your leak, use the water test to check doors, windows, and slide-outs as well.
Pressure Testing the RV
If nothing else works, you can have your RV pressure tested to find where a leak is coming from. Also called an “overpressure bubble test,” this test increases the pressure inside the RV, pushing air to the outside.
This test is best performed during the dryest months of summer and fall and may best be performed by a professional because it’s quite time-consuming.
Essentially, you’re attempting to create the condition of increased air pressure inside the RV. Once the rig’s interior is overpressure, a bubble solution is used to find potential leaks on the outside skin of the RV. Some people have tried using heavy-duty leaf blowers or large-scale fans for this purpose, with mixed results.
The goal is to move a large volume of air into your RV. To do this properly, the RV must be completely sealed. This means everything in the rig needs to be sealed with heavy-duty plastic, including sink drains, refrigerator opening(s), stove, and heating vents.
It’s suggested that you use a manometer to measure the difference between the pressure on the inside vs the atmospheric pressure outside your RV to ensure you’ve achieved a positive (higher) pressure inside.
We’re confident DIYers, but even we aren’t likely to take on a task like this. It’s a trial-and-error process that we wouldn’t have the time or patience to undertake. Plus, if you THINK you’ve done a thorough pressure test, you could be overconfident in the results and thus overlook the real source of the leak.
But if you exhaust all other attempts to identify the source of your RV roof leak, at least you’ll know that a pressure test is something you could explore further, should you choose to do so.
The best way to prevent RV roof leaks is to stay on top of regular inspections of your roof, sealants, windows, doors, slide-outs, etc. It may require time and effort, but it’s far easier than leak detection! This is a situation where an ounce of prevention is worth a pound of cure!
Free RVing Tips, Tricks, Reviews & Giveaways
As 20-year full-timers, we share everything we’ve learned about RVing over the years. Join our online community to receive a wealth of great RVing knowledge delivered daily to your inbox.
Whether you’re a new RVer or a seasoned full-timer, you’ll love the wide range of RVing topics we cover. Don’t miss a single article or any of our famous Giveaways. Subscribe to our newsletter today!
AK Fish
Saturday 30th of December 2023
FYI: Alpha Roof System membranes [e.g. TPO used by KEYSTONE and others] require Alpha sealants: 1021 or 5121 Alpha self-leveling sealants and 1010 or 5160 Alpha non-sag sealants. If your warranty is still in effect, then you best use ALPHA products for your roof membrane repairs/maintenance. "This warranty shall be void if any component in the Alpha Roof Membrane is not an Alpha product." per https://alphallc.us/product-care/ Use what you want, but beware any future warranty claim will be void if they determine a non-Alpha product was used.