
Getting an RV oil change can be a bit more involved than getting the oil changed in a car. With such a large vehicle, you can’t just pull into any oil service station. RV oil changes can be somewhat more costly as well. But regular oil changes are critical to the overall health of an RV that you want to keep running smoothly.
In today’s post, we break down everything you need to know about the RV oil change. Let’s get to it.
What Causes Dirty Engine Oil?
Anyone who’s done an oil change has seen the color of fresh motor oil, usually a transparent amber or light brown. As the oil lubricates your engine, it also deals with high heat. This heating process, which occurs every time you use your vehicle, eventually dirties the oil to a deep black or brown.

Over time and driving, your RV engine’s oil goes from a clean amber to a dirty brown and becomes less protective to engine components.
Engines aren’t perfect, so it’s possible for tiny metal parts to wear off and mix with the oil, further contaminating it. As your car kicks up dirt and dust, anything that your oil filter misses can also contribute to the dark color of used oil.
When Should You Get an RV Oil Change?
Some RVers try to push their engines as long as possible before forking over the cash for new oil, while others diligently book oil changes on a regular schedule.
Broadly speaking, how often you should change your RV’s oil will depend on a few things: the distance you’ve driven since your last oil change, the time since your last oil change, and the recommendations from your oil brand and, most importantly, the recommendations from your RV or engine manufacturer.
Some oil manufacturers will recommend changing your oil every 3,000 to 5,000 miles, though many RVers go beyond this guidance. However, some synthetic oils claim to protect for up to 25,000 miles.
On the other hand, many motorhome manufacturers will advise you to change your oil every three months, six months, or yearly, regardless of how far you’ve driven. Even if you aren’t driving your RV much, it’s still essential to get at least one oil change per year. Oxidation will begin to break down your oil over time, as will small amounts of water contamination from condensation. That reduces the oil’s ability to protect your engine when it is running, which will contribute to premature wear and possible failure.
If your RV is still under warranty, follow the guidelines for how frequently you should change your oil. Failing to do so could void the warranty. Even without a guarantee, it’s better to err on the side of more frequent changes. Yes, you’ll spend more on oil, but you’ll also know that your engine is in tip-top shape, and you’re more likely to avoid significant (and expensive) repairs down the road. Those extra oil changes are cheap insurance, and a whole lot cheaper than a major engine repair!
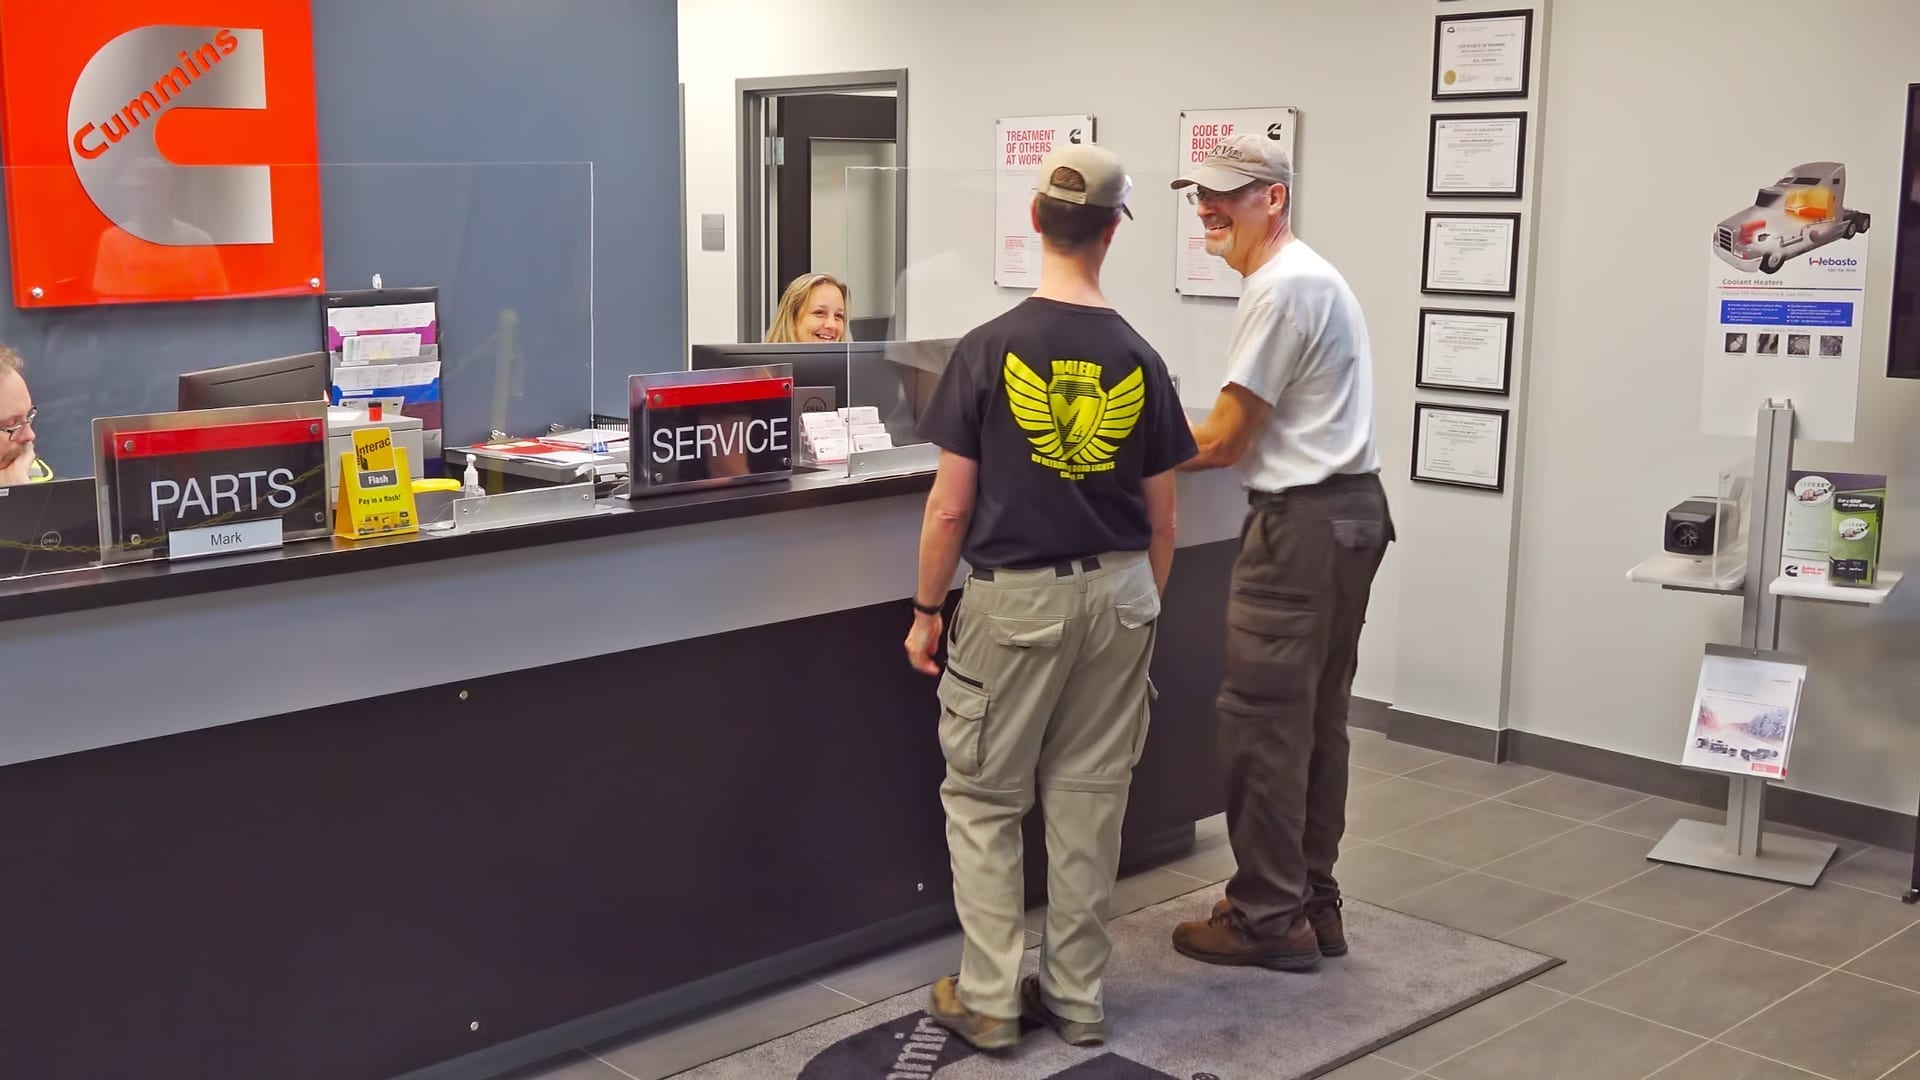
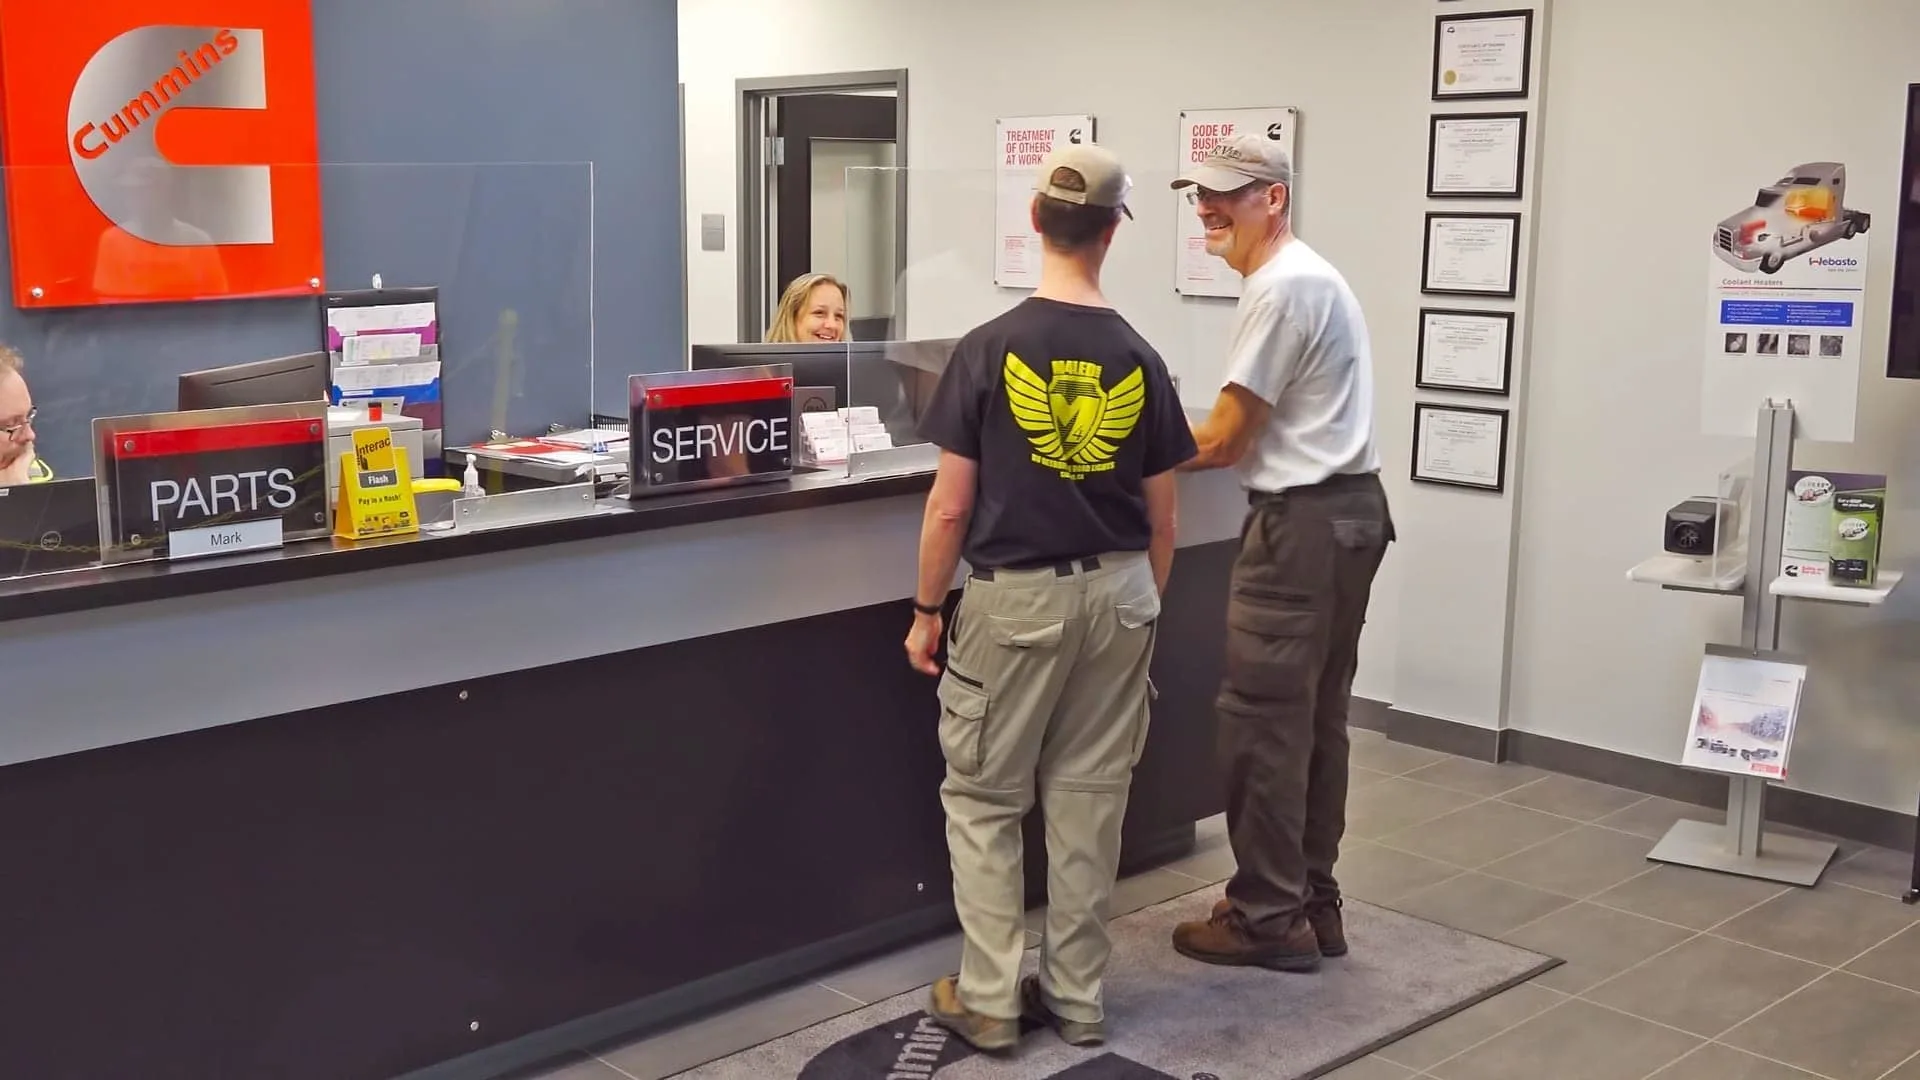
Where Can You Get an RV Oil Change?
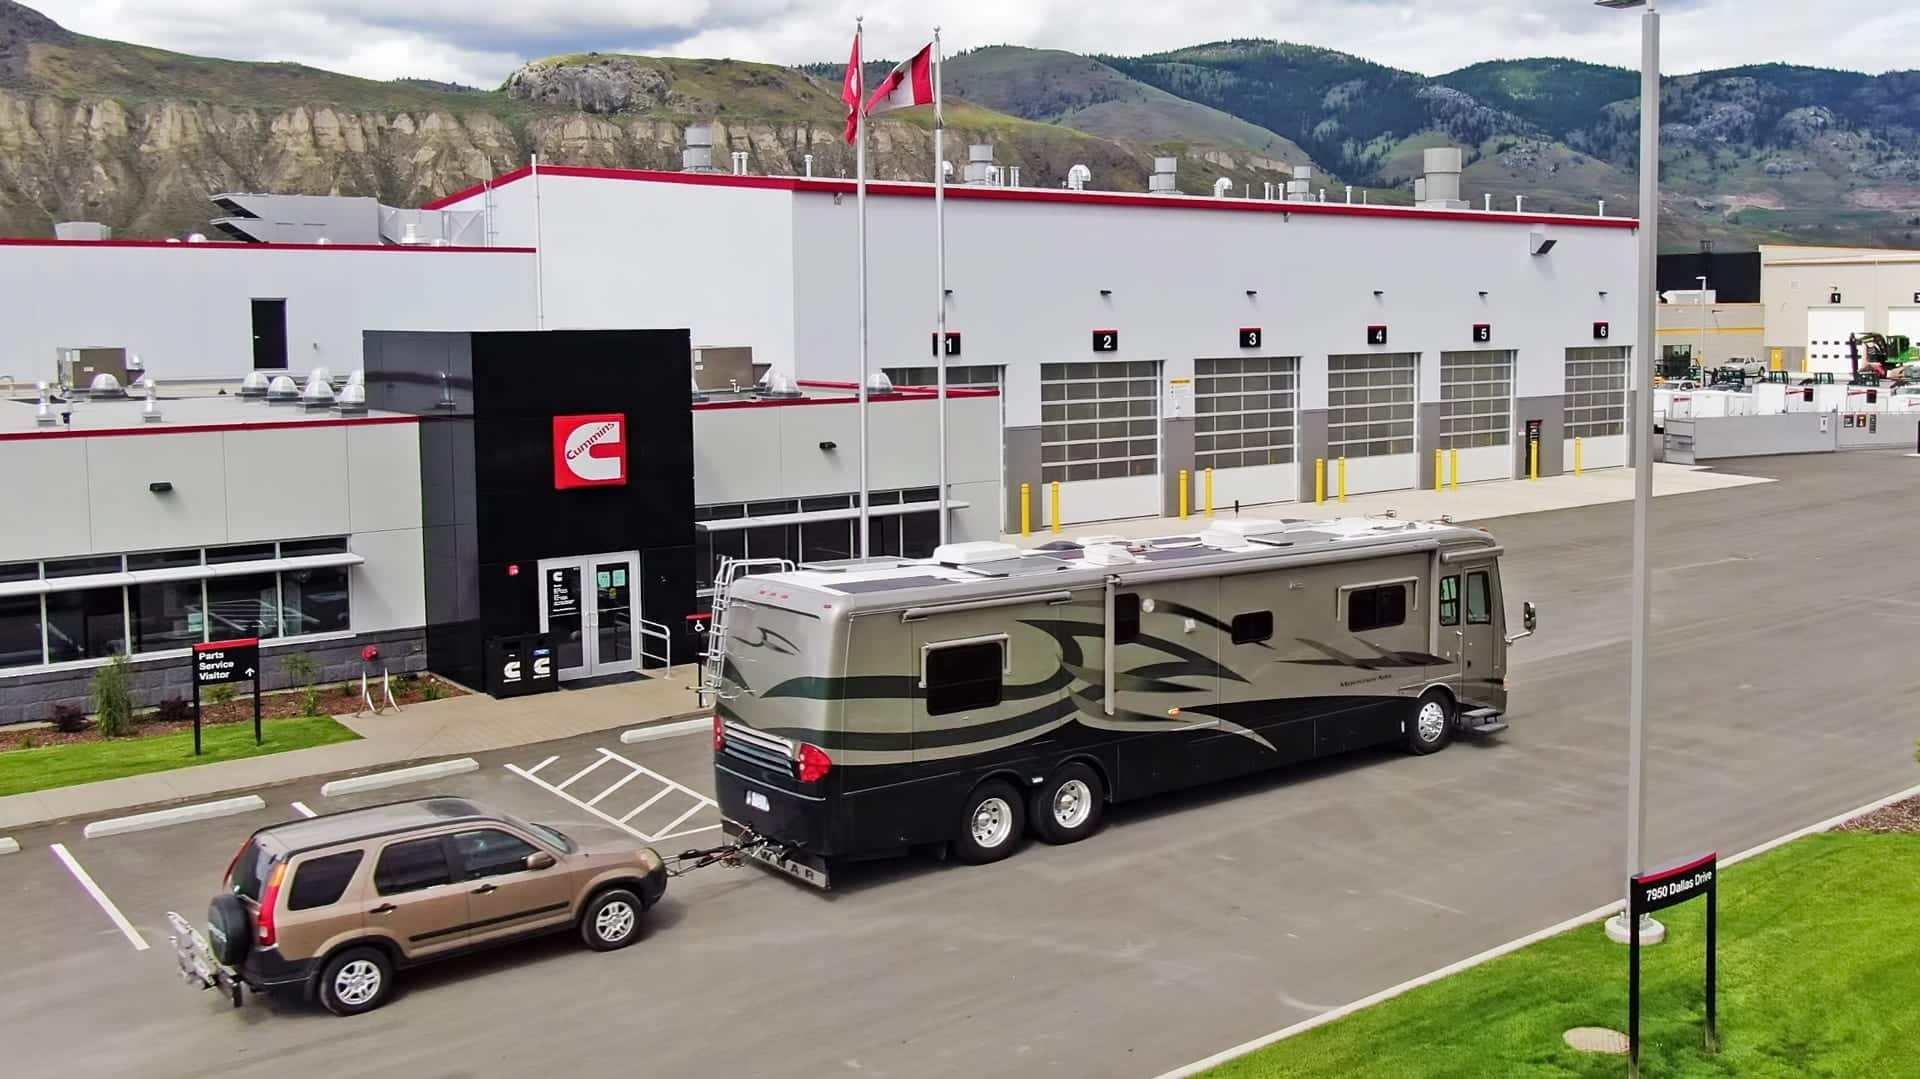
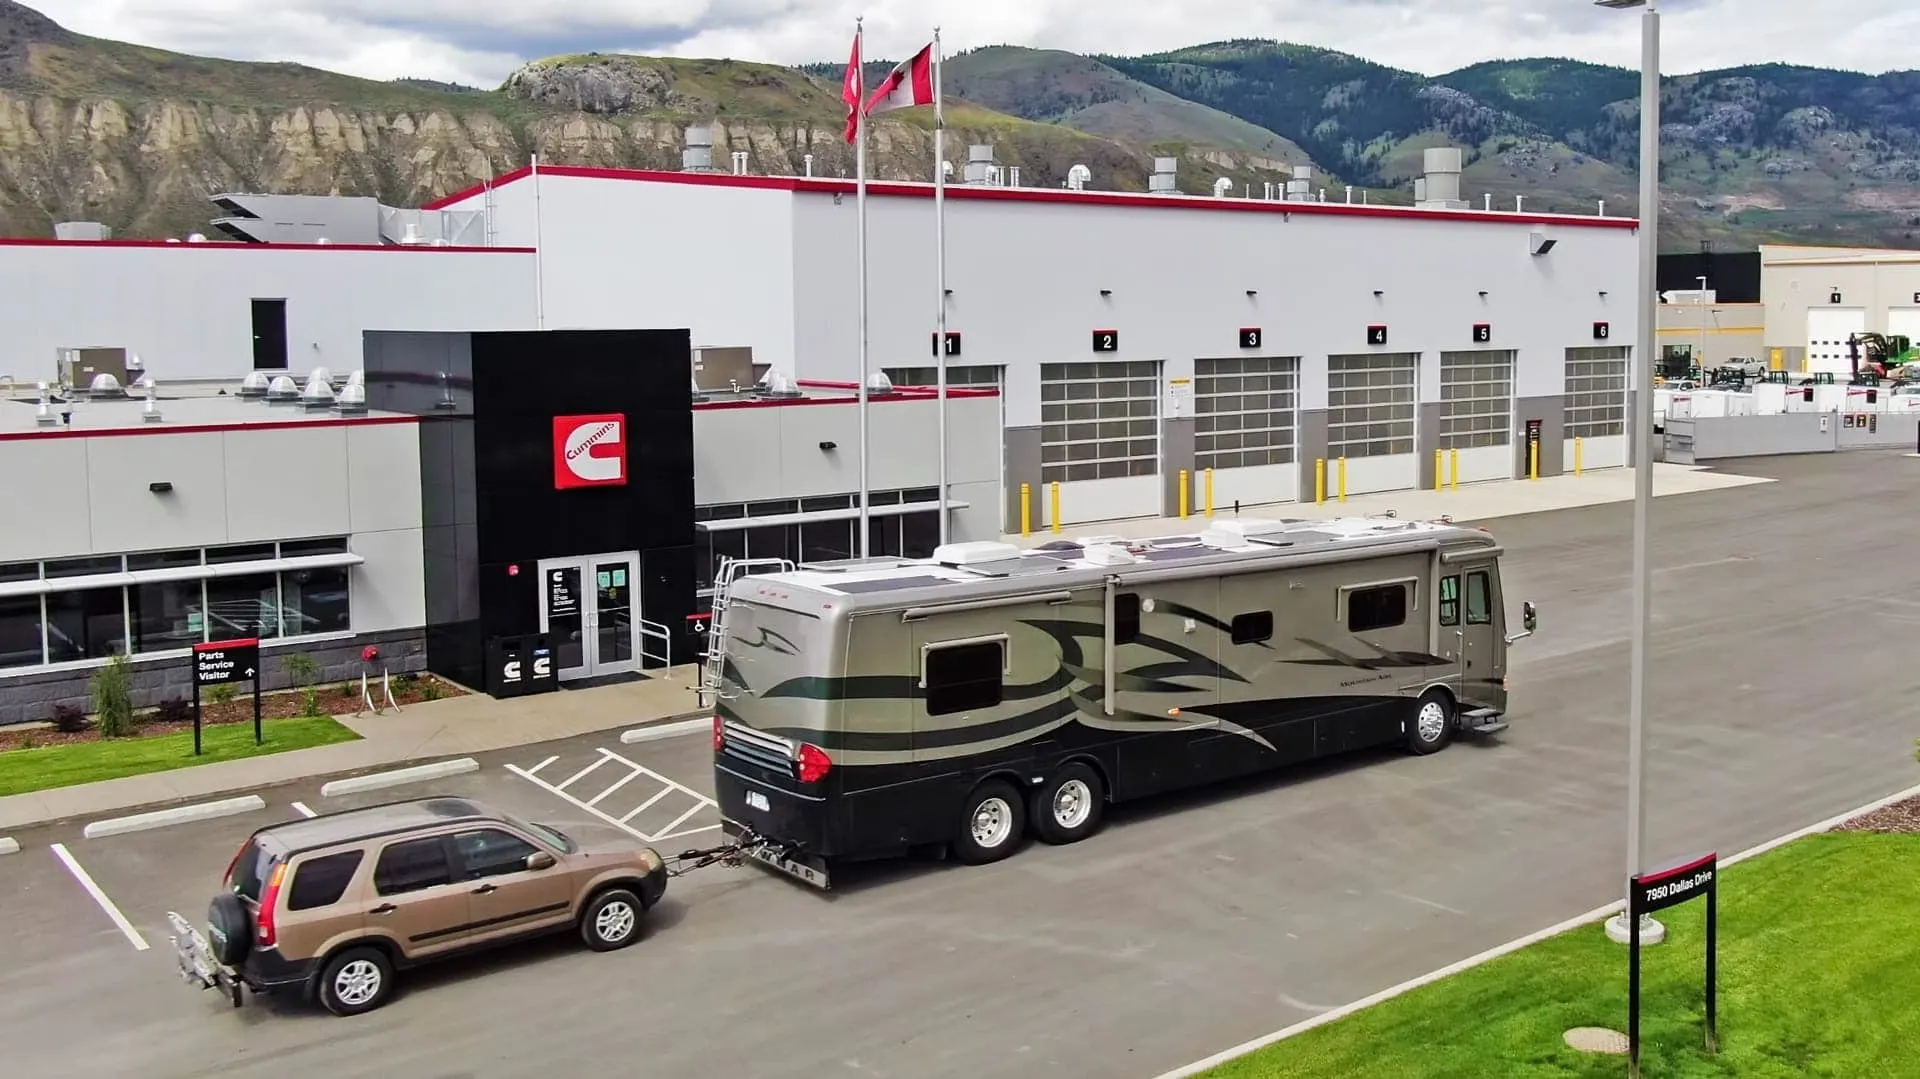
Your options for RV oil change services vary, from your own driveway to top-of-the-line dealership maintenance shops. A great deal of that decision will probably be dictated by the rig you drive. One shop may be best for a smaller gas rig, while a totally different shop may be more appropriate for diesel pushers.
We sometimes have our rig’s oil changed while also having additional important maintenance performed by top-notch professionals.
Mobile mechanics or maintenance technicians can be a great choice because they’ll come to you to take care of essential maintenance and repairs. You get to save the travel time, and they get to avoid the overhead of a large brick-and-mortar facility.
Whether you’re performing your own oil change or having a mobile technician come to you, if you’re located at an RV park or campground, be sure to check for any rules prohibiting vehicle maintenance at that location.
You may also choose to take your RV to a maintenance shop or dealership for service. Whether it’s your neighborhood mechanic or a sizeable RV-only dealership, make sure the technicians who’ll be working on your rig are familiar with RVs in general and with the specifics of the class of RV you own. Be specific when booking an appointment, as rates can vary depending on your rig’s engine (bigger engines require more oil and larger filters).
How Much Does an RV Oil Change Cost?
The cost of an RV oil change will depend on your engine type, oil choice, fuel type, and whether you’re doing it as a DIY job or taking it to a professional. Prices also vary depending on the type of shop you take it to and any additional services you may elect to purchase.
Staying on top of routine maintenance may appear costly at the outset, but we know we’re saving lots of money in the long run by taking good care of our rolling home.
For all professional services, you can typically expect to pay up to twice as much for diesel engines as you would for gas engines. Diesel rigs are more expensive to purchase and maintain, but the benefits, such as power, fuel economy, ride quality and longevity are worth the added cost to many of us who own them.
The least expensive option is to change the oil yourself. In this case, your only costs will be the oil, filter(s), and potential fees to safely dispose of the old oil. This will usually run less than $100, and possibly as low as $40, of course depending mostly on your engine’s oil capacity.
Dealerships, national chains, and large service shops will often be the most expensive, though they usually provide the most comprehensive services. However, a well-equipped mechanic experienced with RVs can also do other significant maintenance or repairs in the same visit. You may save some money (and time) using an all-inclusive repair shop.
The costs of using a mobile mechanic or service tech usually fall somewhere in the middle. In some cases, it might be possible to save some money by supplying the oil and/or oil filter yourself and letting the technician do the work. But be sure to ask about that while making your appointment, as not all mobile techs work that way.
At times, you’ll benefit from lower prices thanks to a traveling technician’s lower overhead (some run their entire business out of their trucks), and you can’t beat the convenience. On the flip side, some mechanics will charge you extra for “house calls.” So, ask about additional fees before asking them to come to you.

We can’t overstate the importance of regular RV oil changes and other routine maintenance toward the overall good health of your RV.
All in all, while an RV oil change can seem expensive, the expense is relatively minor in the grand scheme of things. If you compare it to the potential harm that can come from rarely having your oil changed, regular oil changes can definitely save you money over time.
How to Do Your Own RV Oil Change
There are a few factors that should help you determine whether you want to tackle the job of changing the oil in your own RV. The first is the availability of a suitable workspace, especially since many RV parks prohibit vehicle maintenance. It needs to be both large enough, and as level as possible.
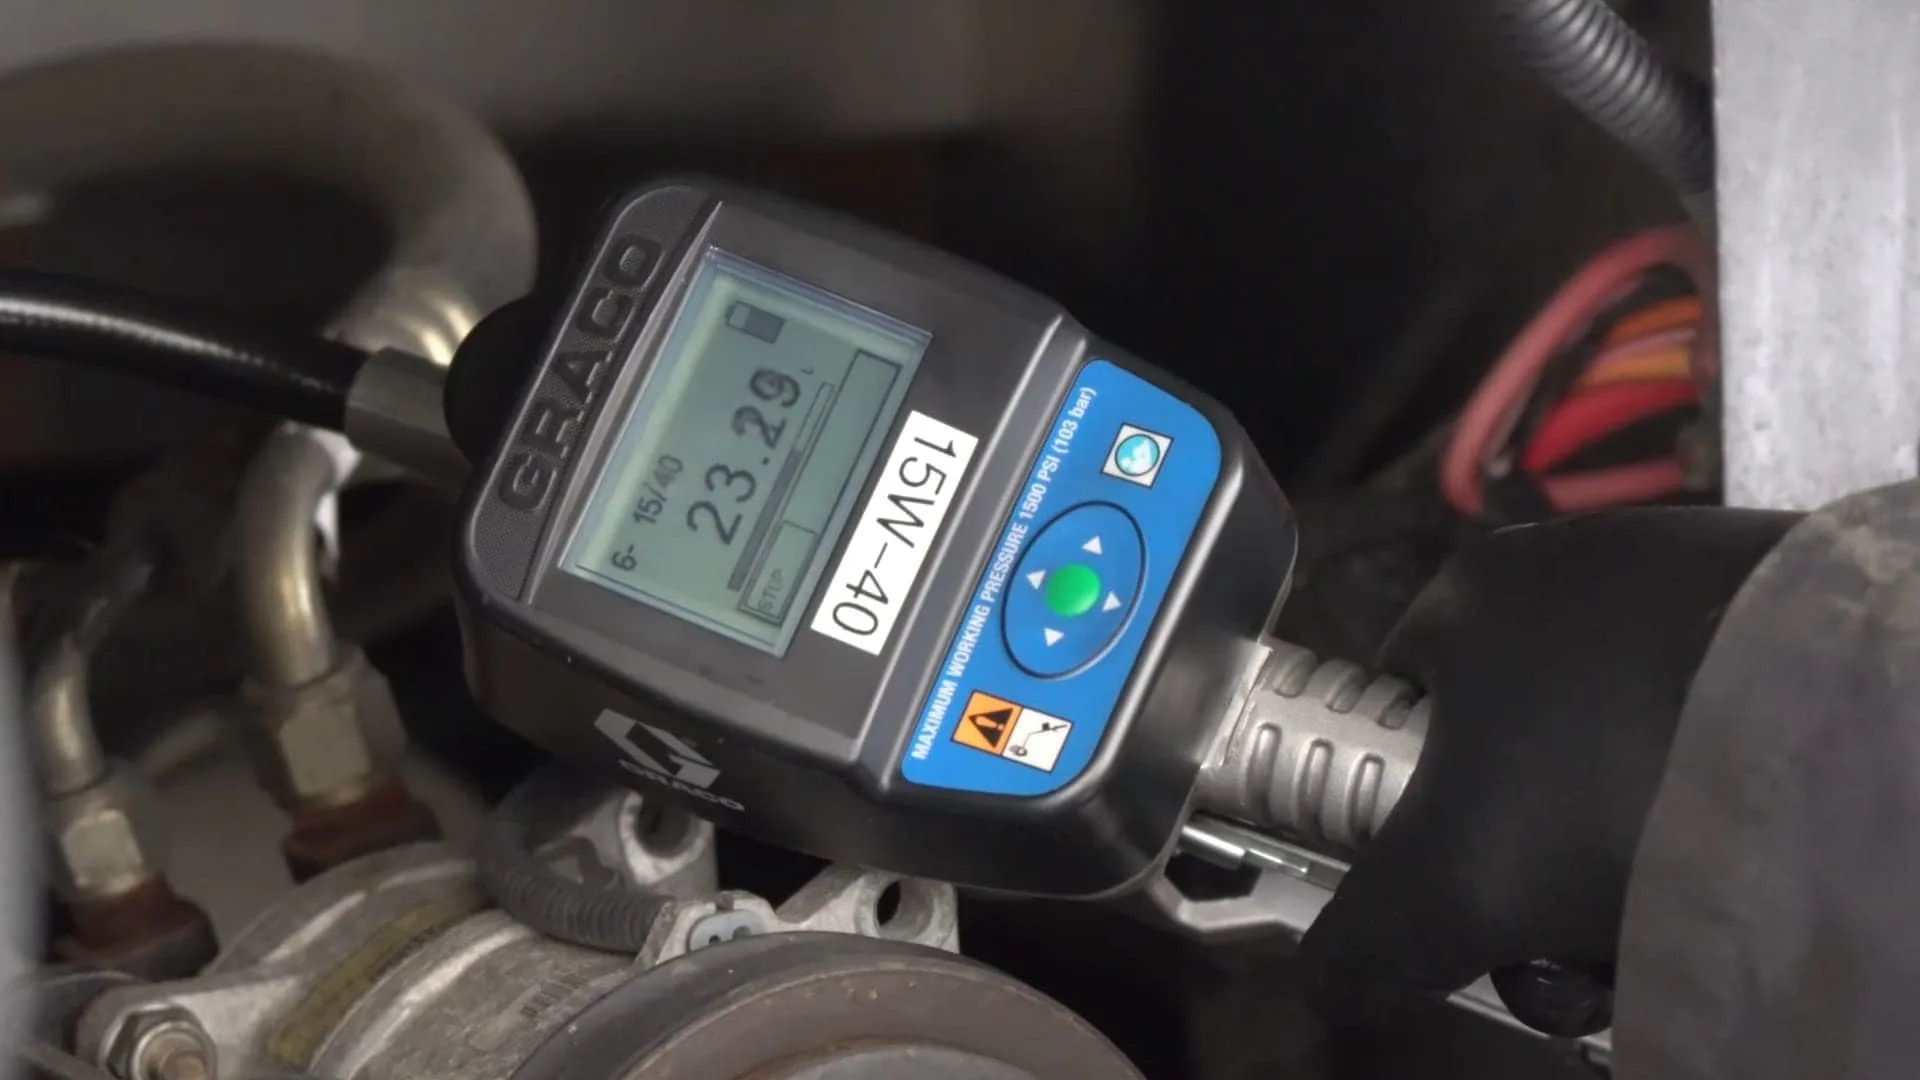
Then there’s the question of your confidence and experience levels, and whether you have the required tools. Lastly is the volume of oil, and whether you’re comfortable you can handle it. Our Cummins ISL diesel engine holds a whopping 29 quarts! That’s far too much for any typical oil drain pan (a definite factor in our decision not to tackle this task ourselves, since as full-timers, we don’t have the room to store a drain pan that large). Controlling large amounts of oil without making a major mess might best be facilitated by replacing your oil drain plug with a special device called a Fumoto Valve, which, once installed, eliminates the need to remove your drain plug.
Before beginning your oil change, purchase your oil and filter. You’ll have to know what oil and filter you need for your rig of course, but some basic research or a few informed questions at an RV parts counter should help.
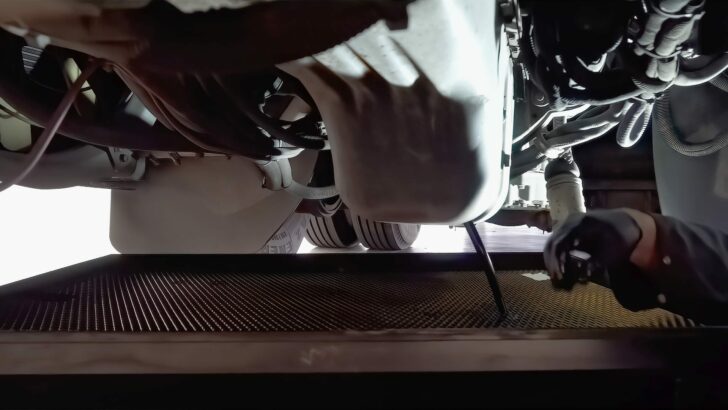
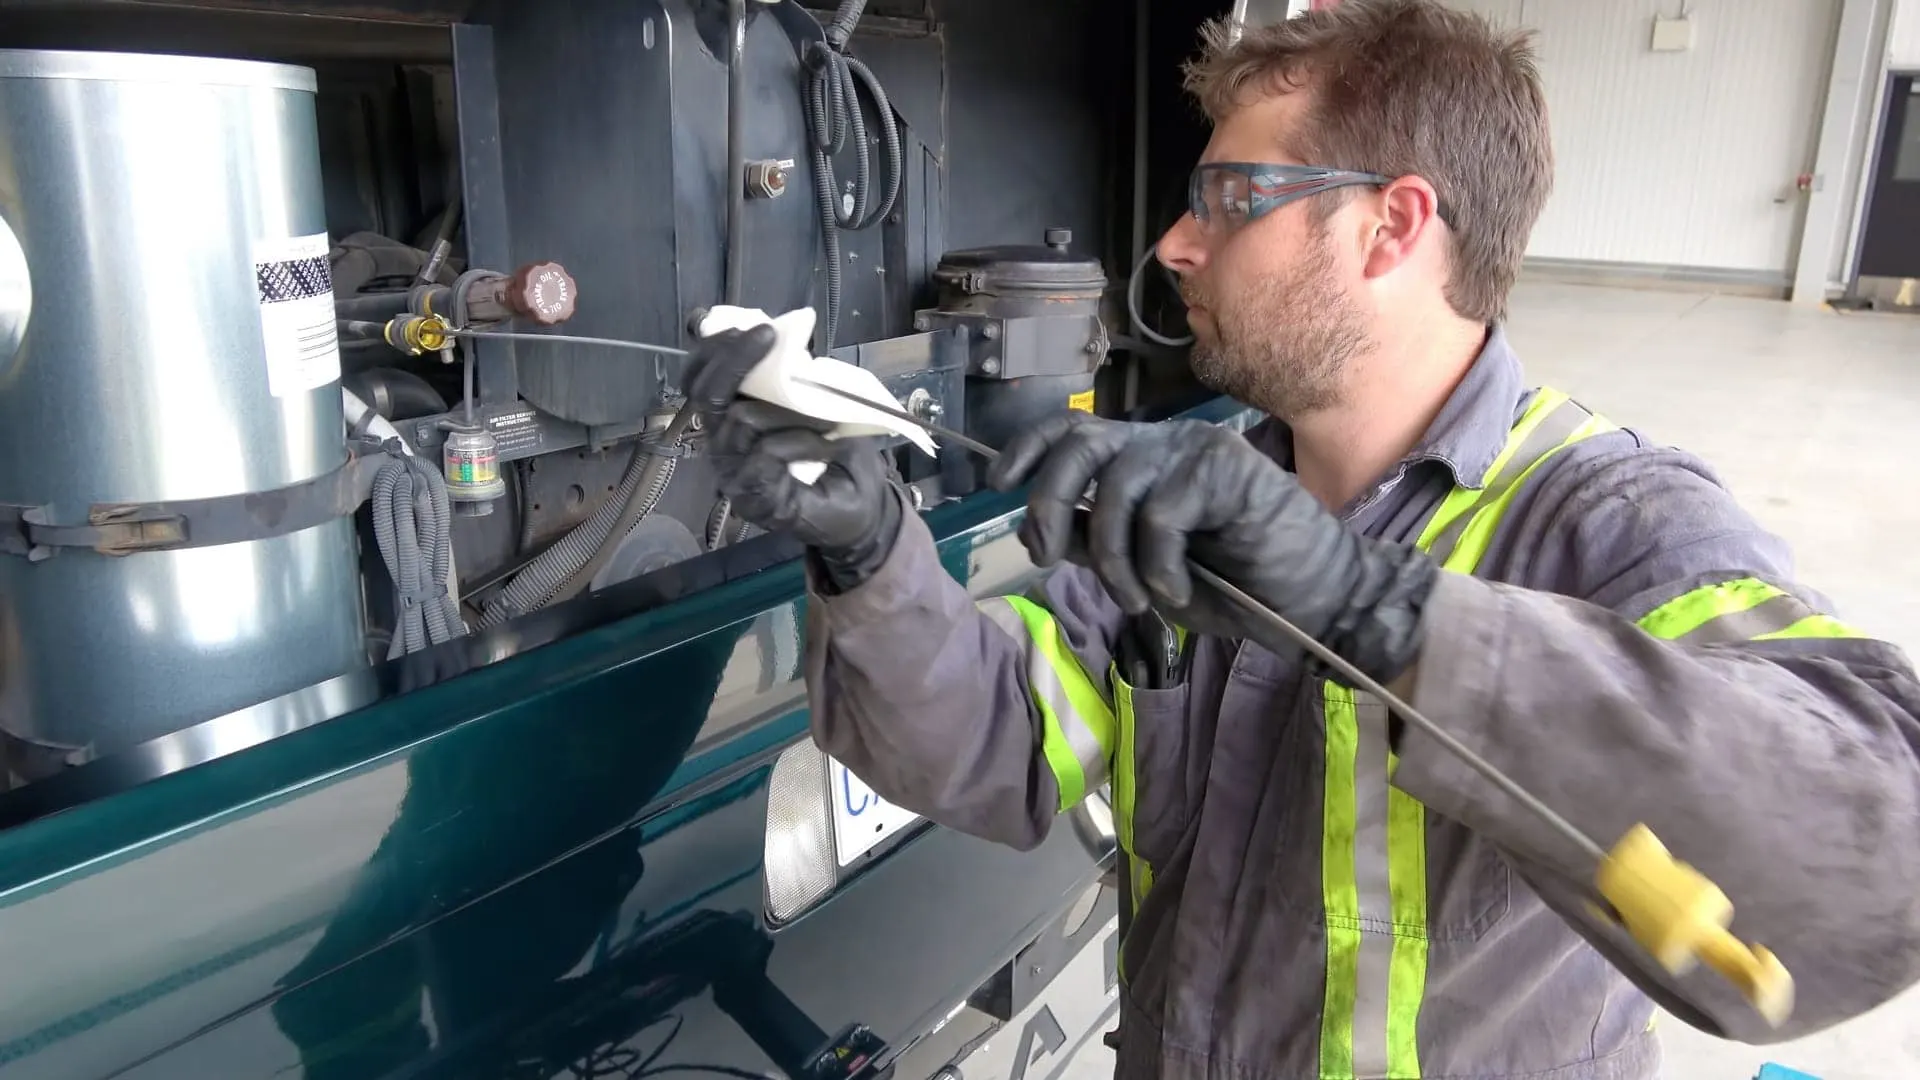
Once you’ve purchased your supplies, park your RV on a level surface. It’s best to run your engine up most of the way to operating temperature before you start. This will heat the oil, reducing it’s viscosity (thickness) and allowing it to drain more quickly. Plus, it will also get contaminants suspended in the oil, helping it to flush them out more thoroughly when the drain plug is removed. Just be extra careful of hot oil. You don’t want to get burned. We suggest wearing a pair of nitrile gloves, which can help to protect your hands from both the heat and contamination of the oil, and warm engine parts.
Position a drain pan under your oil drain valve and remove the plug. Loosening the oil fill cap will allow air in, helping the oil to drain out faster. Give the oil enough time to fully drain, until it’s down to just a drip. After replacing the drain plug, place the oil pan beneath the oil filter (to catch oil that will inevitably leak out as you unscrew it) and remove it, using an oil filter wrench to loosen it first.
Then it’s time to install a new oil filter, wetting the seal with a bit of fresh oil first, to help it seat smoothly. Then confirm that you replaced the oil drain plug, or closed your oil drain valve, and it’s time to add the new oil. Locate the oil fill point inside your engine compartment, and pour in the replacement oil.
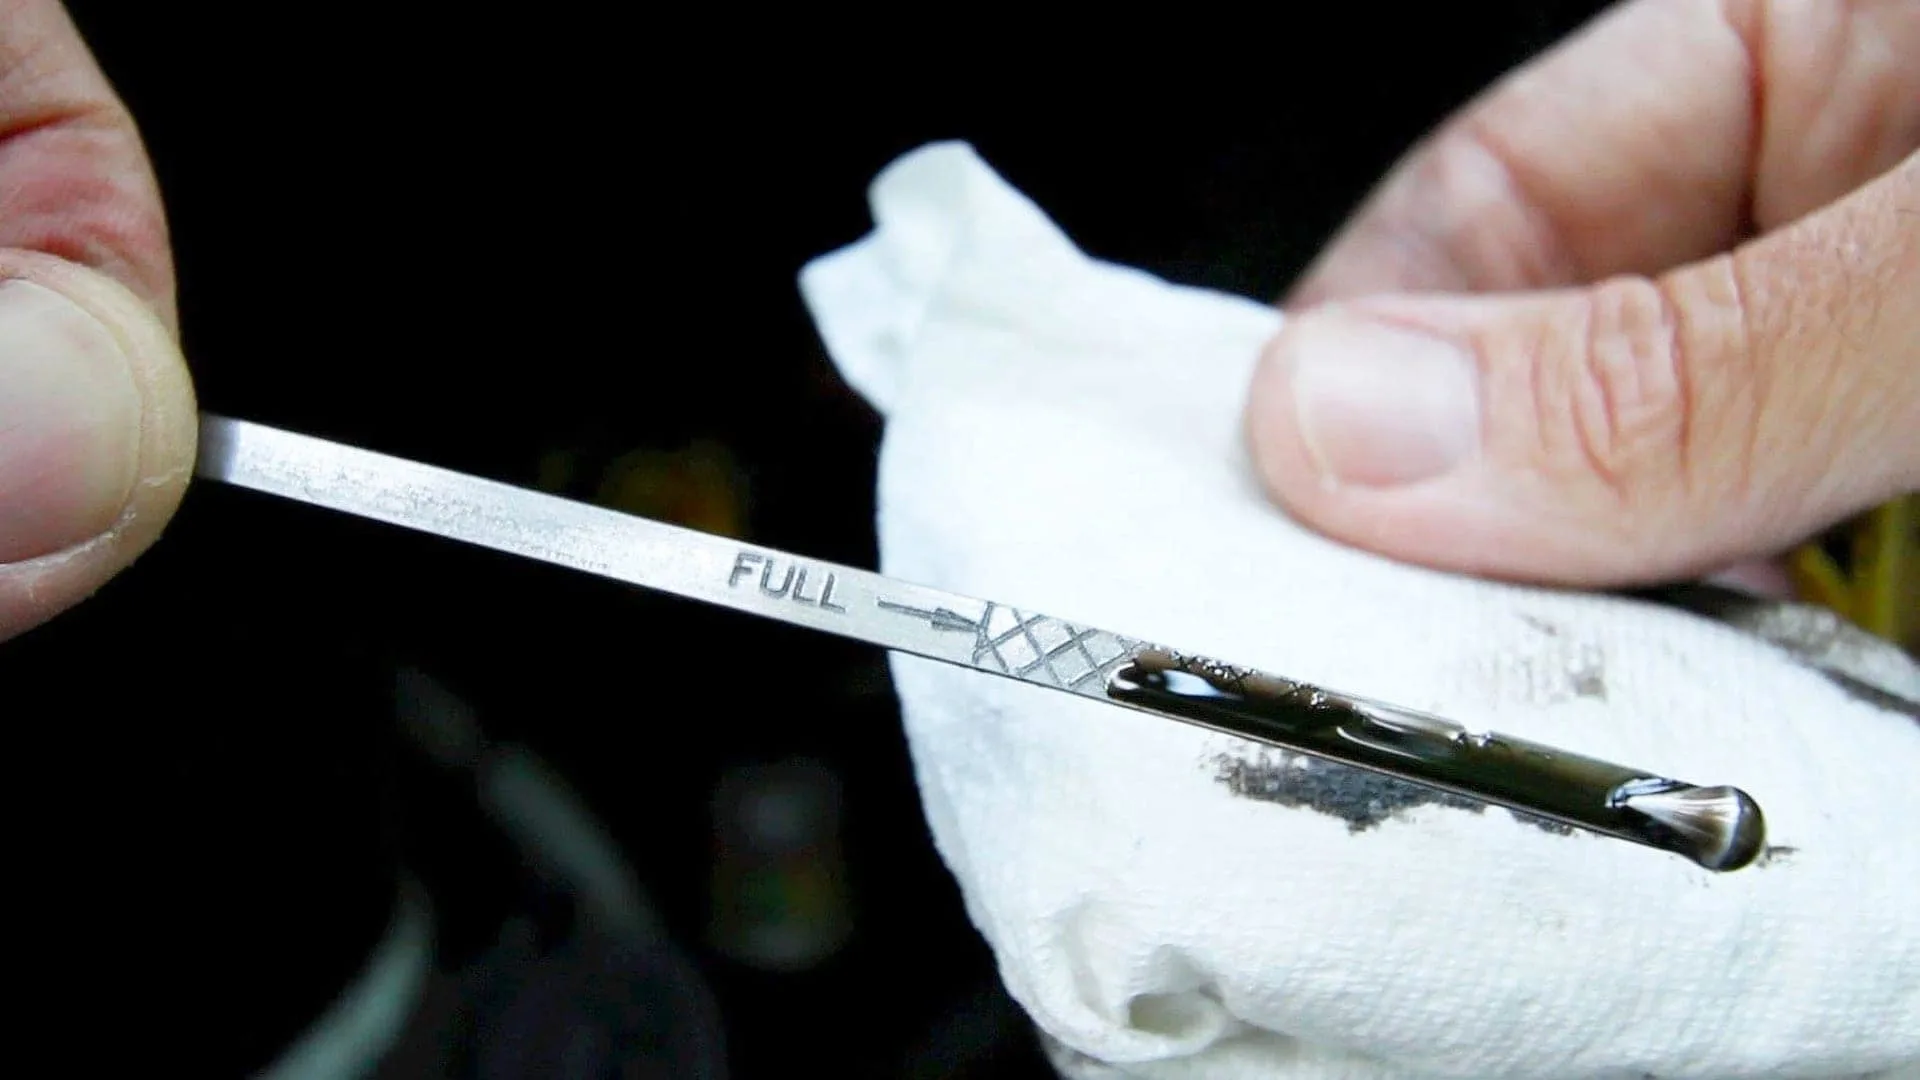
It’s important to know the oil capacity of your engine before filling it. That will help ensure you don’t overfill it. Using your dipstick, check the oil level to make sure it’s close to the full mark.
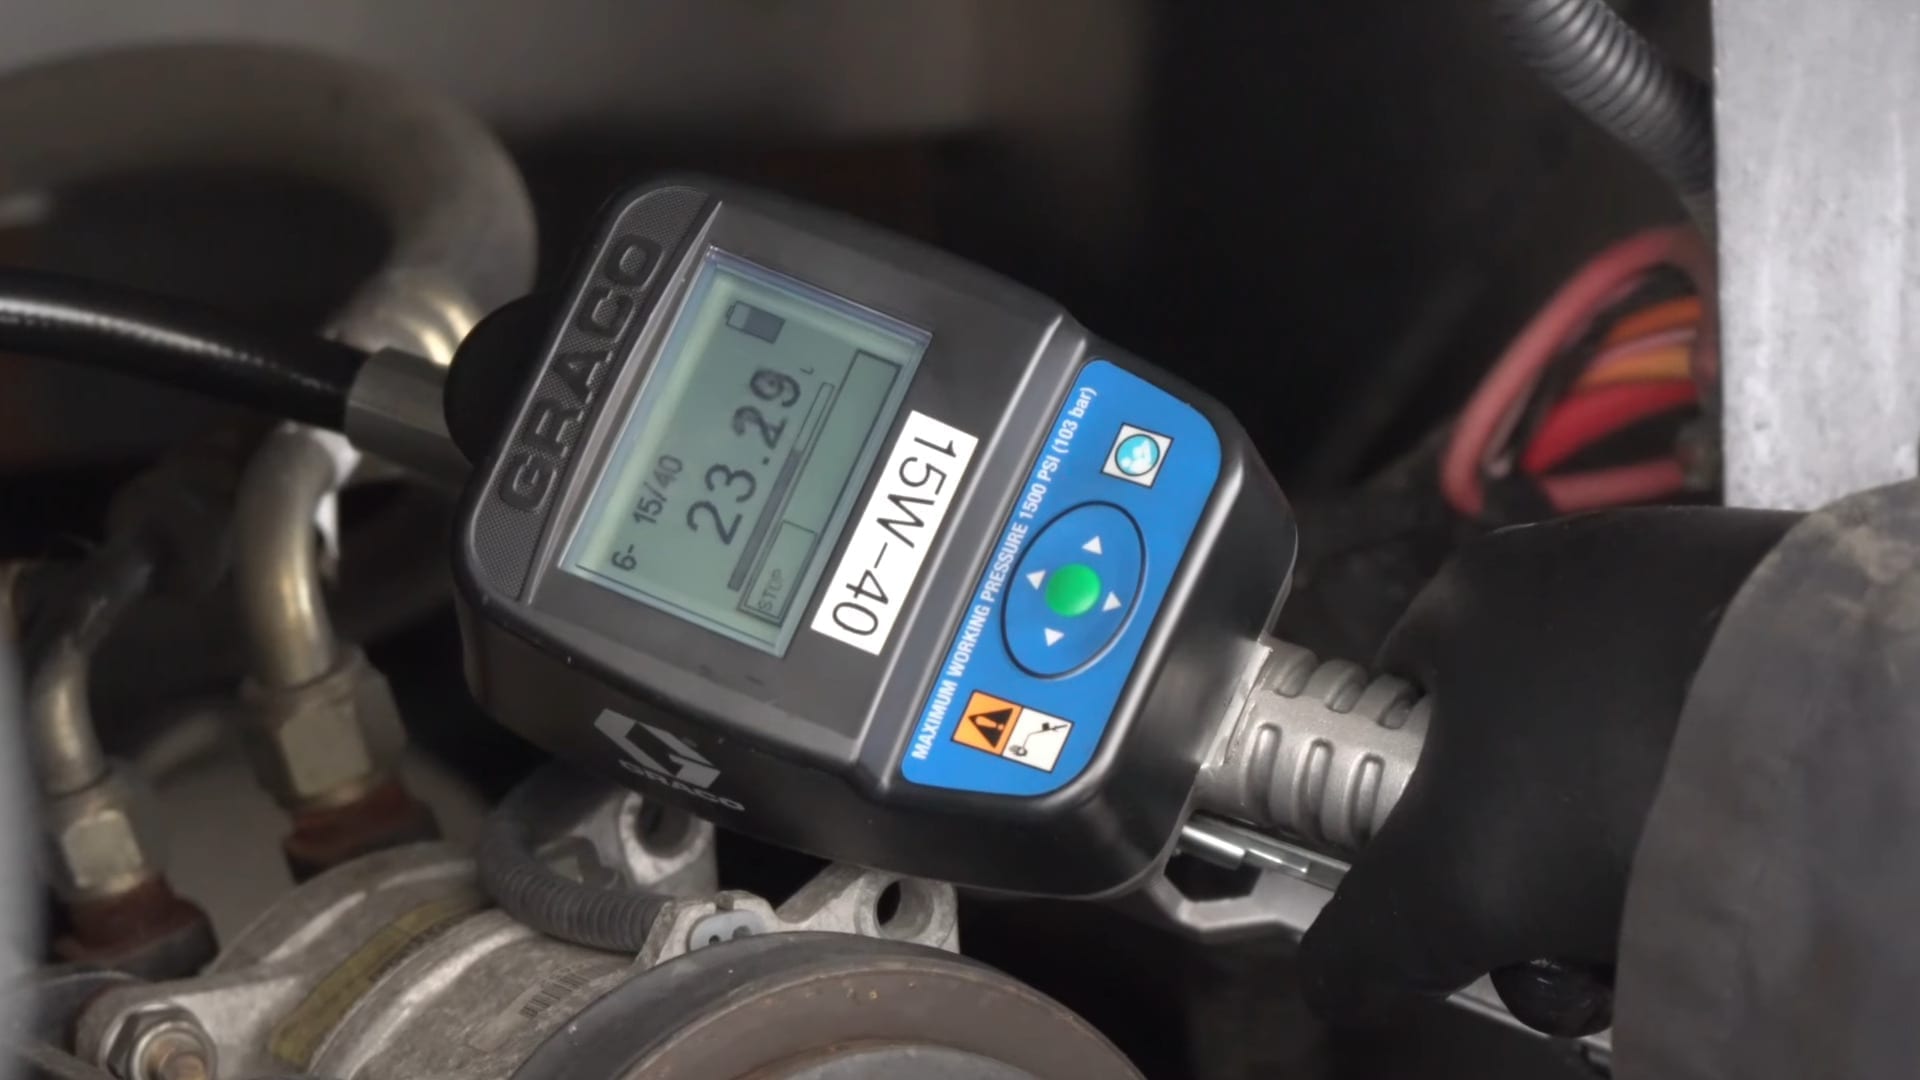
If you intend to perform your own oil change, make sure to consult your owner’s manual to learn which oil and filter you need, and how much oil your RV’s engine requires. Our diesel pusher takes 29 quarts!
Now run your engine for a few minutes to warm and circulate the new oil, then shut the engine off and wait a few minutes. This will make sure that the majority of oil has had a chance to drain down into the lower part of the engine, making sure you get an accurate reading on the dipstick. Double-check your oil level, and add more as needed to bring the level to the full line.
Dispose of your used oil properly. This is very important to protect the environment. Many auto parts stores and city recycling programs will accept it for free.
DIY vs. Go to a Shop
For the moderately handy, this is one of the more common do-it-yourself maintenance items for your RV. Oil changes are not complicated if you’re at all familiar with your RV’s engine. While you’ll still pay for the oil, you’ll save significantly on labor costs and shop overhead. Just make sure you select the correct oil and filter for your rig, and properly dispose of the used oil.
Because oil changes are relatively inexpensive and infrequent, many RVers choose to avoid the hassle and go to a shop. Consider your comfort level and budget when deciding which option to choose. A big additional incentive to using a professional shop is the opportunity to get professional eyes all over your RV’s chassis.
You may have heard it said that oil is the lifeblood of an engine, and the engine is the heart of your RV. Regularly taking care of the lifeblood and heart of your RV will ensure that it performs well for you in return during your travels.
Geek Out with Us Every Week
Join our newsletter to learn about all things RV-related. Every week we offer free tips, tricks, product reviews, and more to our online community of RVers. Whether this is your first time on the road or you’re a seasoned expert, we’d love for you to geek out with us!