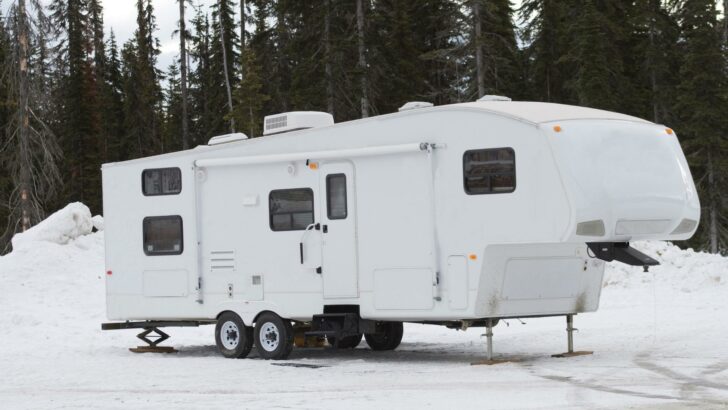

Winterizing an RV takes some time and thought, and there are consequences to taking shortcuts. There can also be serious consequences to forgetting some crucial winterizing steps. So, we’re offering some RV winterizing tips to help you avoid some very common mistakes that you’d seriously regret… and which could be very costly.
- 1) Winterize Your RV’s Plumbing
- 2) Don’t Forget Your Outside Shower
- 3) Completely Drain and Bypass Your Water Heater
- 4) Add Antifreeze to All Drains
- 5) Leave Some Antifreeze in the Toilet Bowl
- 6) Remove or Disconnect Your House Batteries
- 7) Turn Off the Propane Tank
- 8) Remove All Food Products
- 9) Fill Any Openings With Steel/Brass/Copper Wool
- 10) Remove All Liquids From Living Space and Storage Compartments
- 11) Clean Your RV Inside and Out
- 12) Check the Sealants on your Roof and Repair if Necessary
- 13) Cover Your RV
Winterize Your RV’s Plumbing
If your RV will spend any part of the winter in an area that could see freezing (or even close to freezing) temperatures, don’t make the mistake of thinking that your RV’s plumbing doesn’t need to be winterized. It does. You need to winterize your RV’s plumbing either with antifreeze or by blowing out the water lines.
And while it may seem like a hassle to winterize, it’s far less of a hassle than dealing with the consequences of burst pipes and/or fittings, a broken water pump that leaks and has to be replaced, and the damage that could come to your RV as a result.
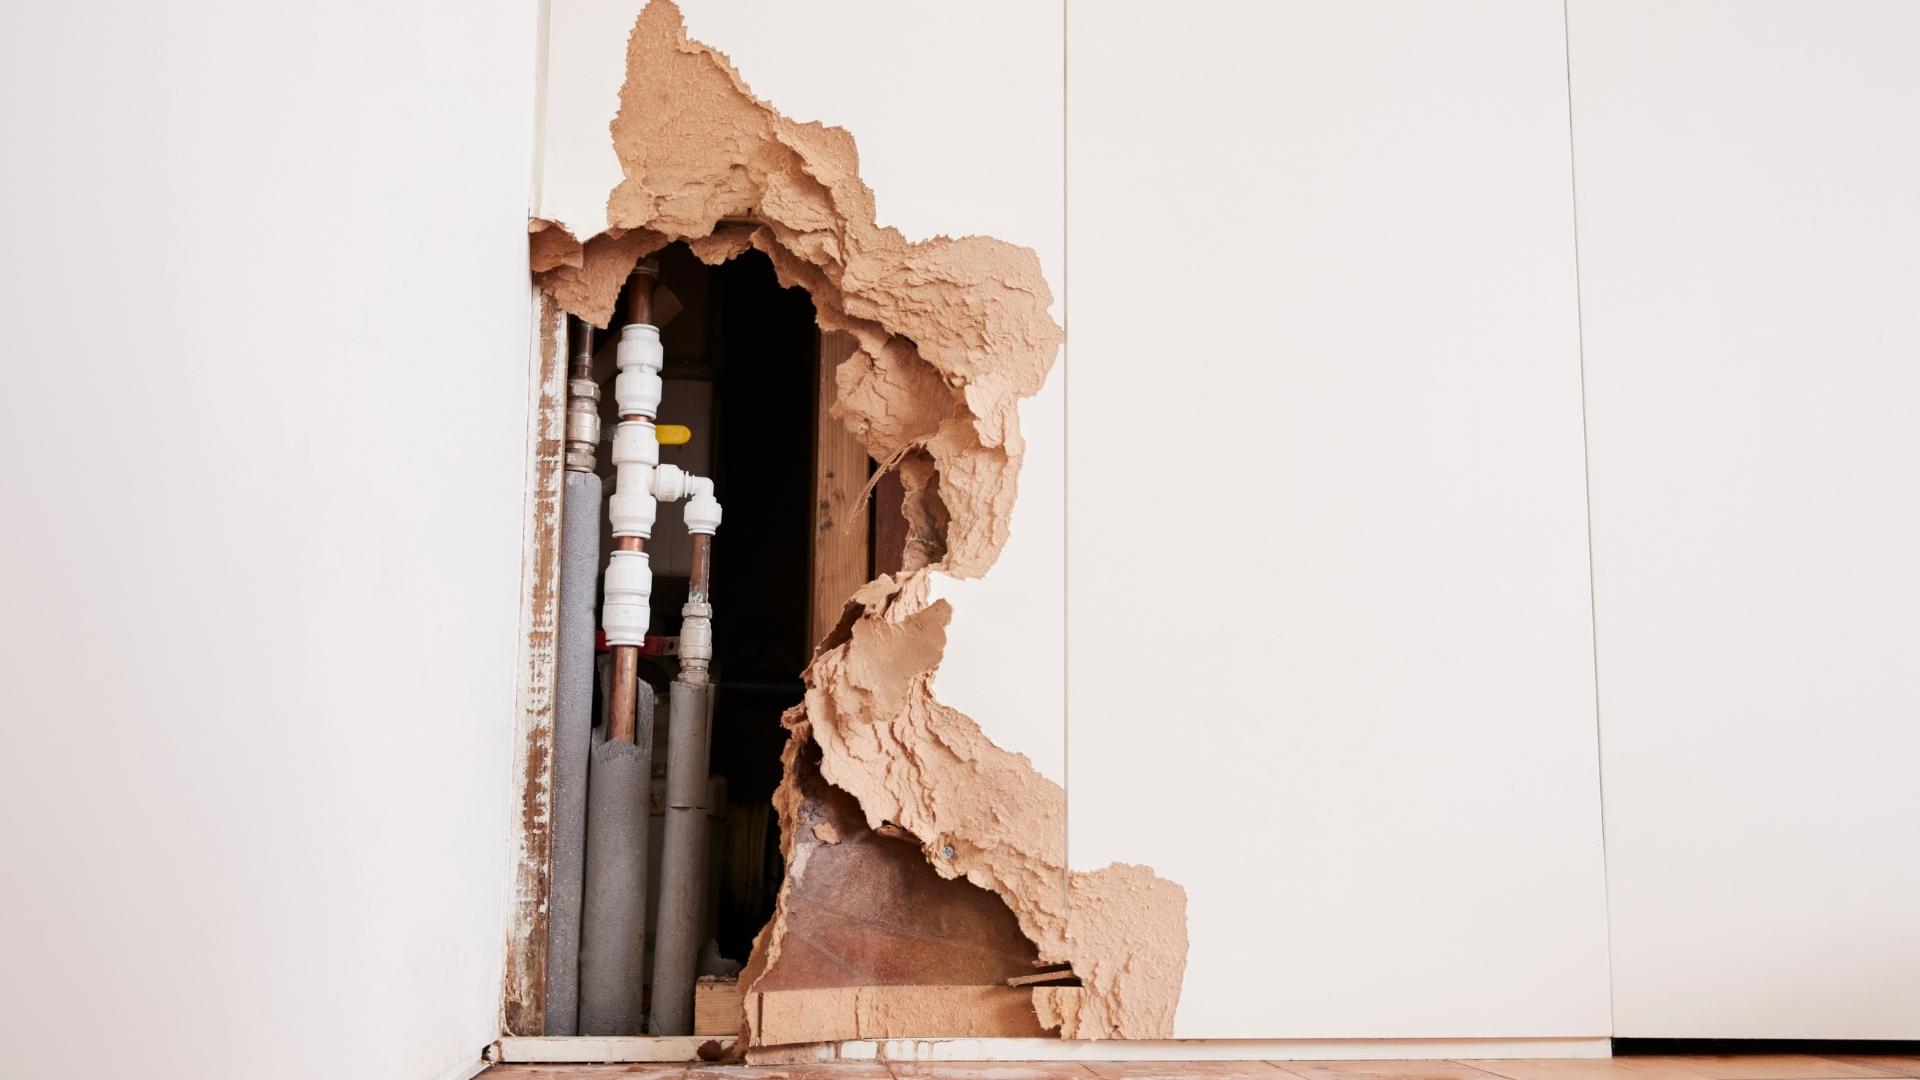
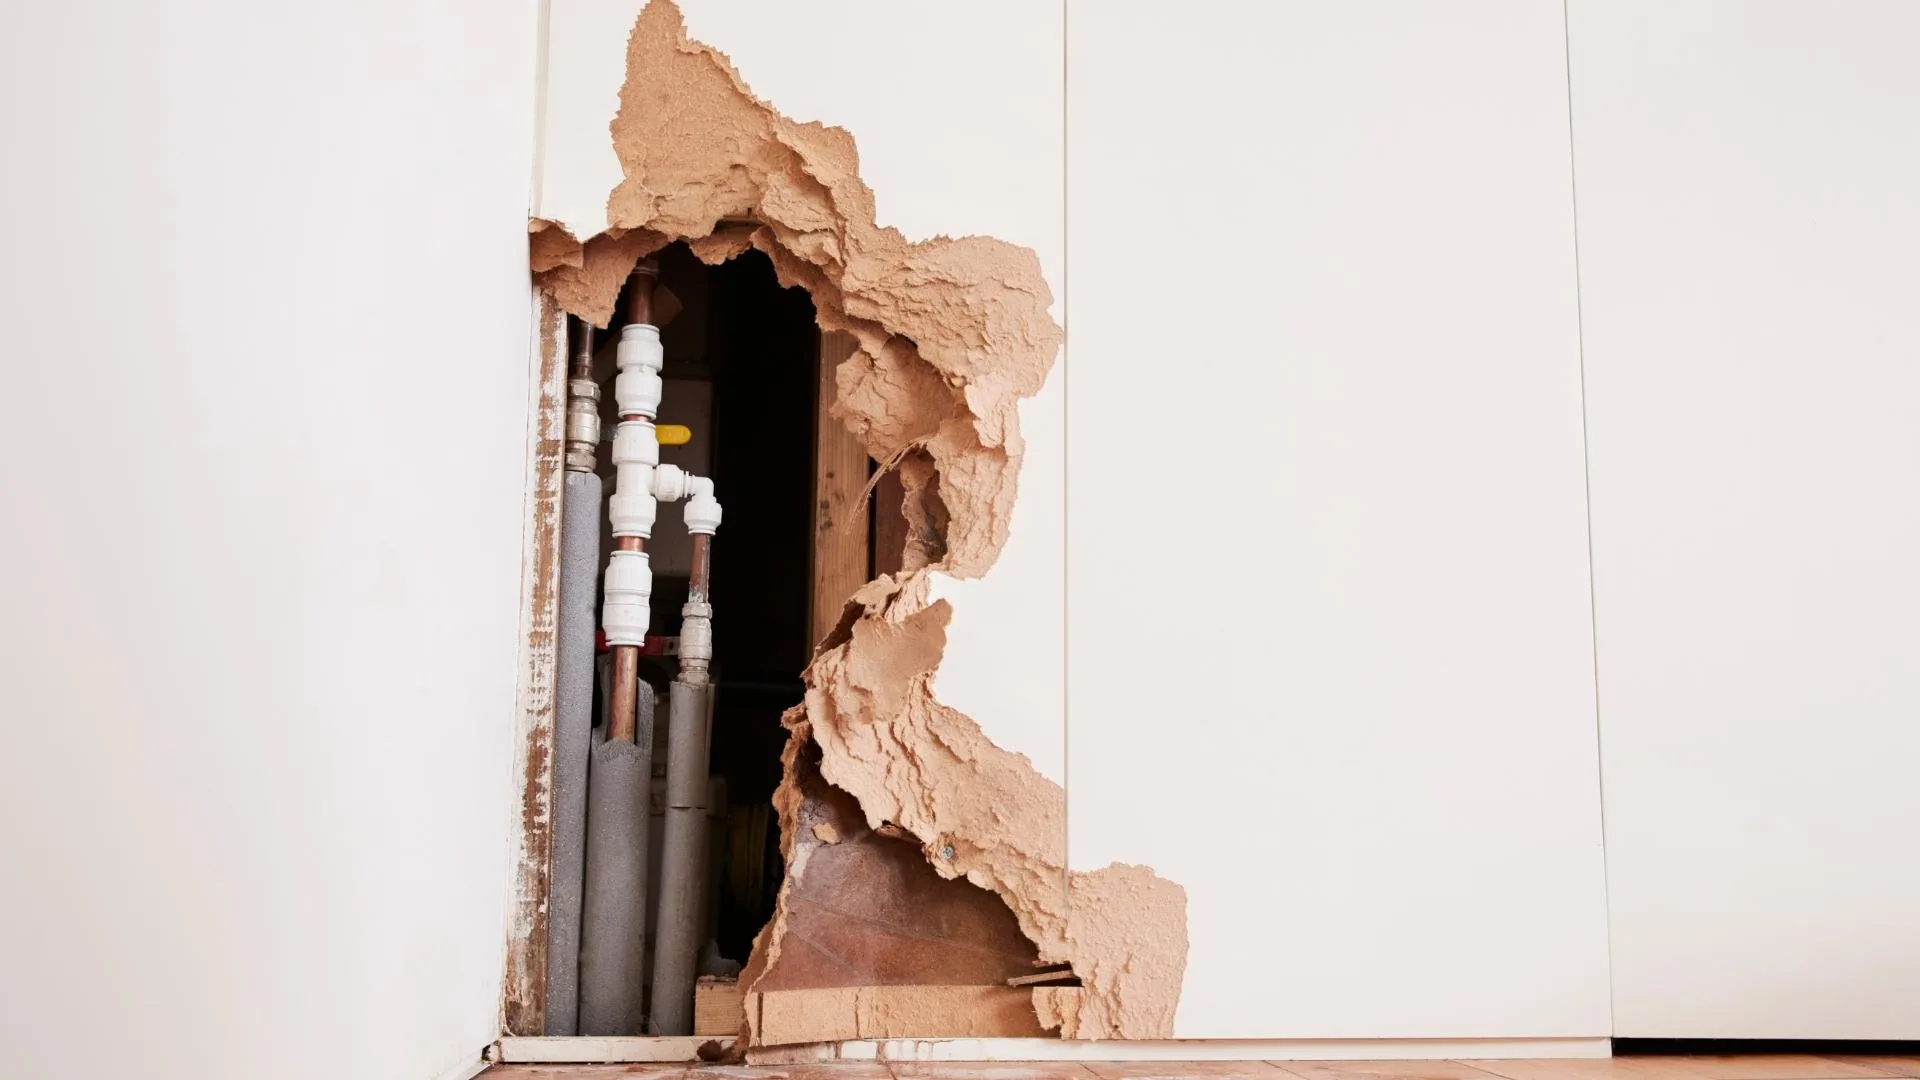
No one wants to deal with the fallout from pipes that burst or pipe fittings that crack. Using the proper RV winterizing tips will help to avoid this type of damage.
Don’t Forget Your Outside Shower
A common mistake that many people make is to forget to winterize their outside shower. This is an important RV winterizing tip because the outside shower is easy to forget. However, if you fail to winterize your outside shower, plastic fittings and valves will almost certainly crack, and the pipes that route out to the outside shower could burst.
So, if you have your winterizing steps recorded somewhere, be sure to add a note saying, “Don’t forget the outside shower!” You’ll simply need to run the shower until the water turns pink (as with your sinks and your inside shower), or if you winterize by blowing out your plumbing lines with an air compressor, make sure to blow out your outside shower… both the cold and hot water lines!
Completely Drain and Bypass Your Water Heater
Another common mistake is forgetting the water heater, and that mistake could very easily cost you your water heater. The cost of a new one is substantial enough to write this one down.
The first step is to drain your water heater. You’ll do this by pulling the drain plug or anode (whichever one your water heater has). Next, be sure to open the pressure valve so that the tank drains completely.
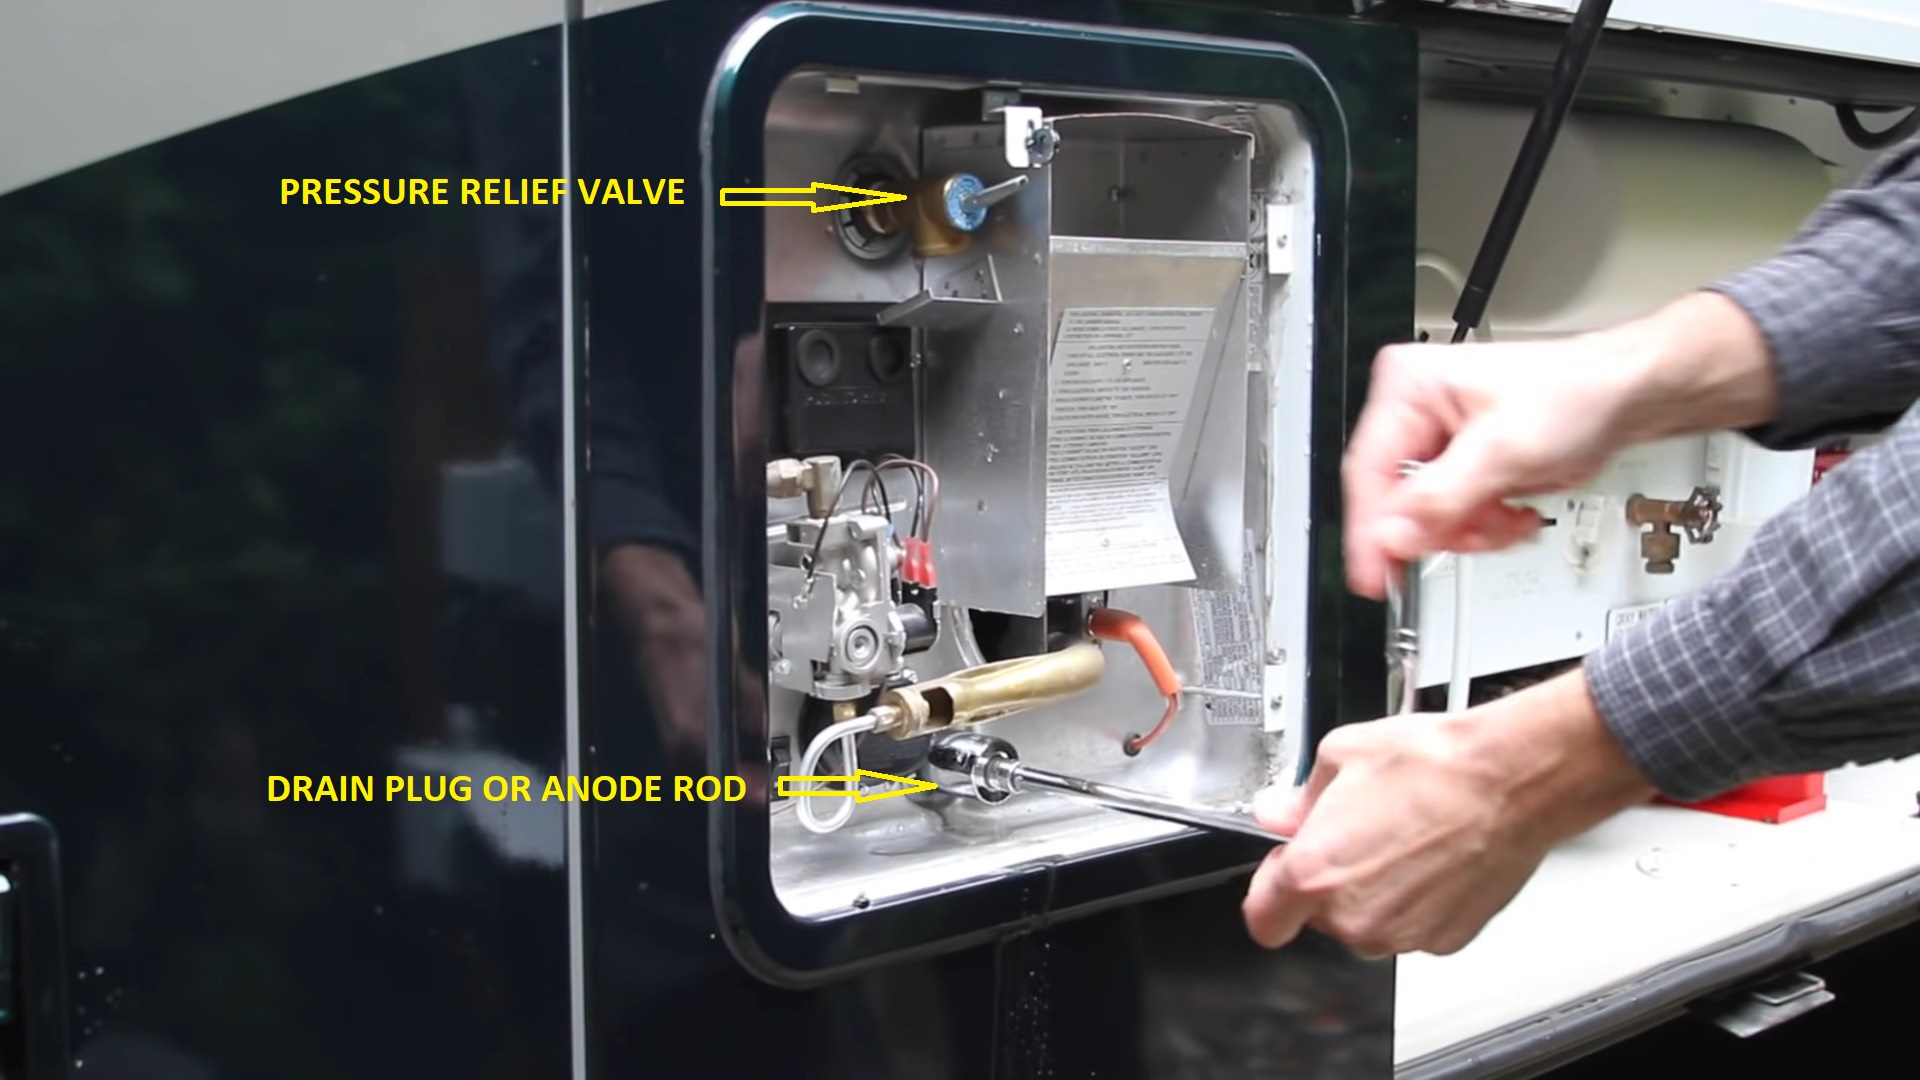

In order to be properly winterized, this Suburban water heater is drained by removing the anode rod and flipping the pressure relief valve.
And here’s another commonly omitted but very important step: Make sure to turn your bypass valves! (If you don’t have a bypass kit, you can buy one from your RV dealer. Otherwise, you’ll have to fill your water heater’s tank with antifreeze… so you’ll need to add 6-12 additional gallons of antifreeze to your list of supplies.)
Pro Tip: assuming you have a traditional style water heater with a tank (i.e. not an on-demand water heater), you don’t have to drain it completely. Any water left in the bottom of the tank will have plenty of room to expand/contract as it freezes/thaws and won’t cause any damage to the water heater. Just be sure that the water lines into and out of the water heater are properly drained and/or blown out.
If you don’t want to buy a new water heater come spring, don’t make the mistake of forgetting to prepare your water heater for winter.
Add Antifreeze to All Drains
Whether you choose to blow out your RV water lines using an air compressor or use antifreeze, make sure you don’t forget to pour some antifreeze down every drain in your RV. This is a simple but very important RV winterizing tip.
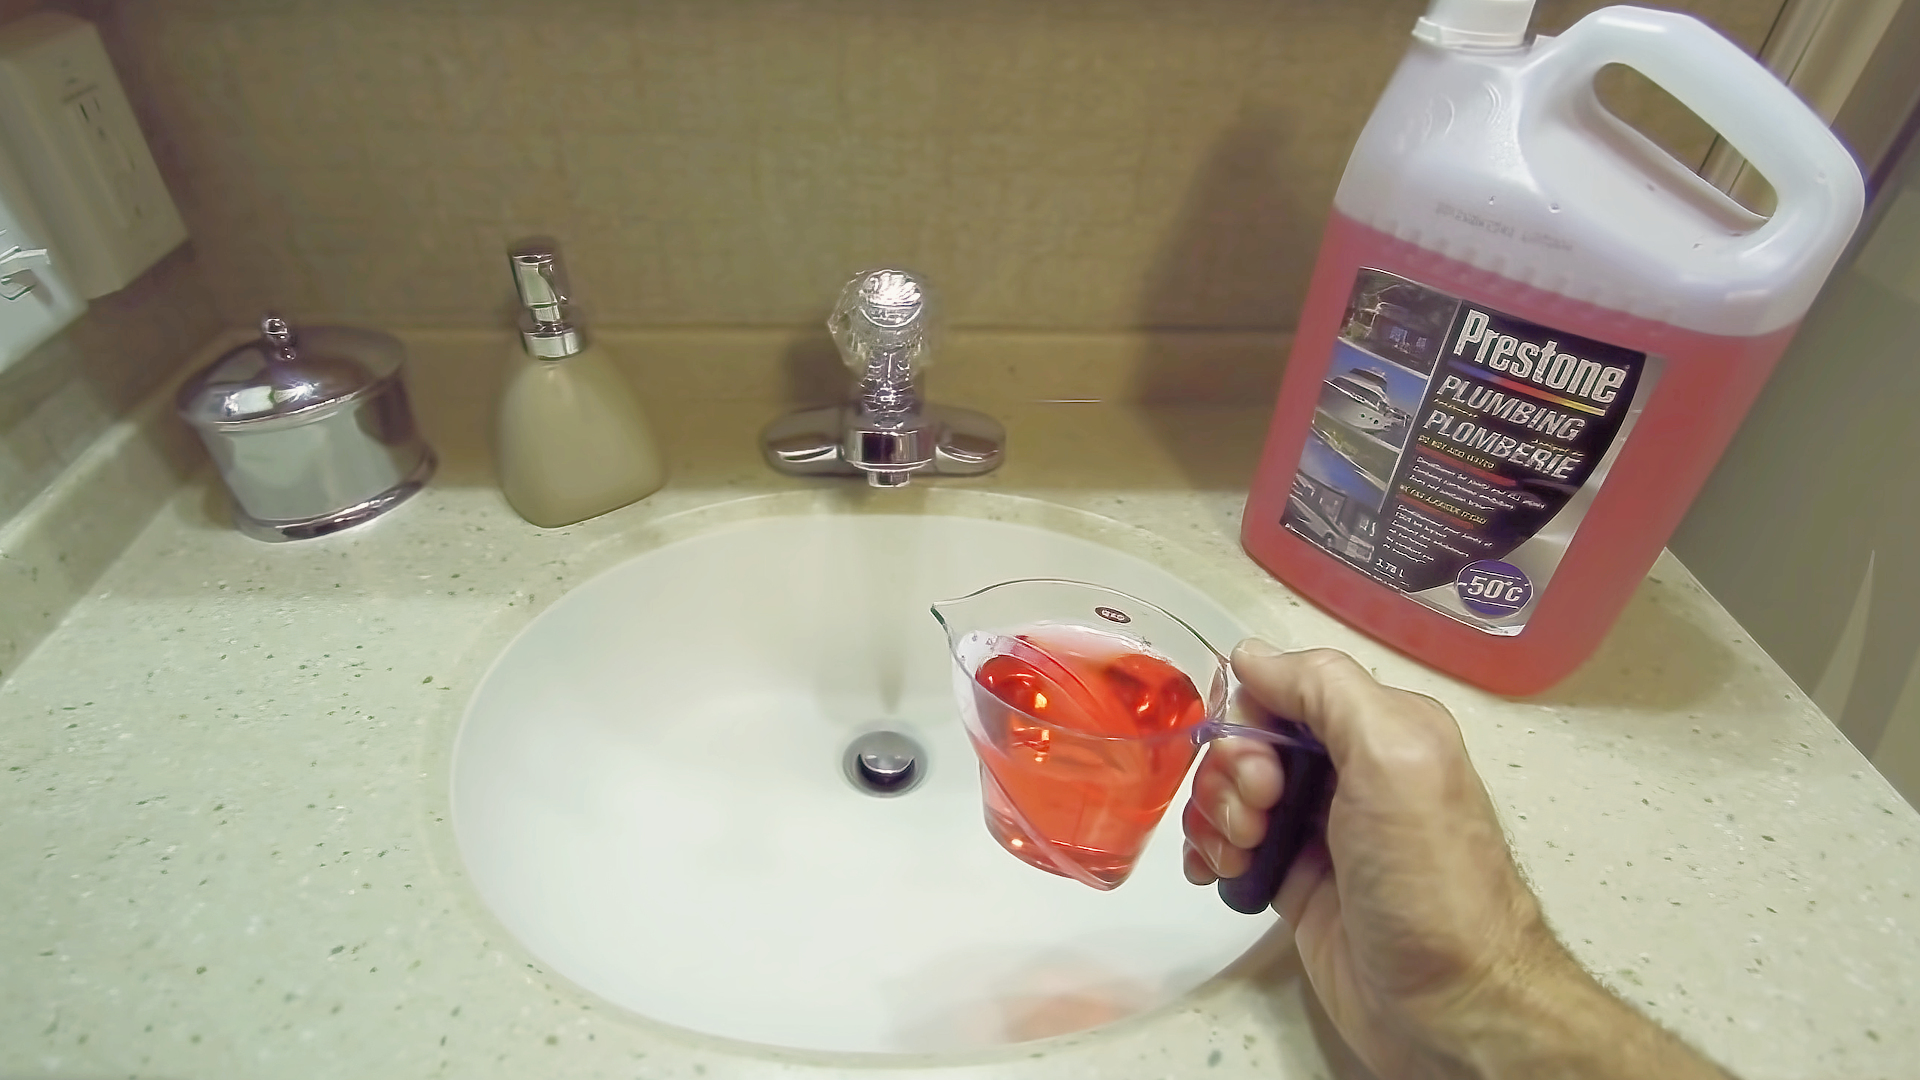

Pouring a cup or so of RV antifreeze down each drain in your RV is an important RV winterizing step. This protects the p-traps throughout your RV.
Pour at least a cup of antifreeze down your bathroom and kitchen sinks and your shower, so that all p-traps are protected from freezing. The antifreeze will also prevent the traps from drying out while your RV is stored… helping to keep gray tank odors where they belong.
Leave Some Antifreeze in the Toilet Bowl
Leave some RV antifreeze in your rig’s toilet. This helps to protect the seals from damage due to water freezing and keeps them from drying out and needing to be replaced.
Remove or Disconnect Your House Batteries
When preparing your RV for winter, don’t forget to give attention to your house batteries. If your RV is going to be stored in a warm climate and not subject to freezing temperatures, it’s a good idea to disconnect and wrap the negative cable(s) to prevent any drains.
If your rig will be stored in a cold climate, fully recharge and then remove the house (and chassis) battery/batteries, then store them as per the battery manufacturer’s instructions. Also, be sure they are stored in an environment that won’t see freezing temps. Flooded lead-acid and AGM batteries CAN freeze when they aren’t being charged, so plan accordingly.
Turn Off the Propane Tank
This one is also easy to forget, but it’s very important to turn off your propane tank when storing your rig for the winter. Be sure to completely turn off the shutoff valve to stop the flow of propane. If you have more than one propane tank, remember to shut them both off.
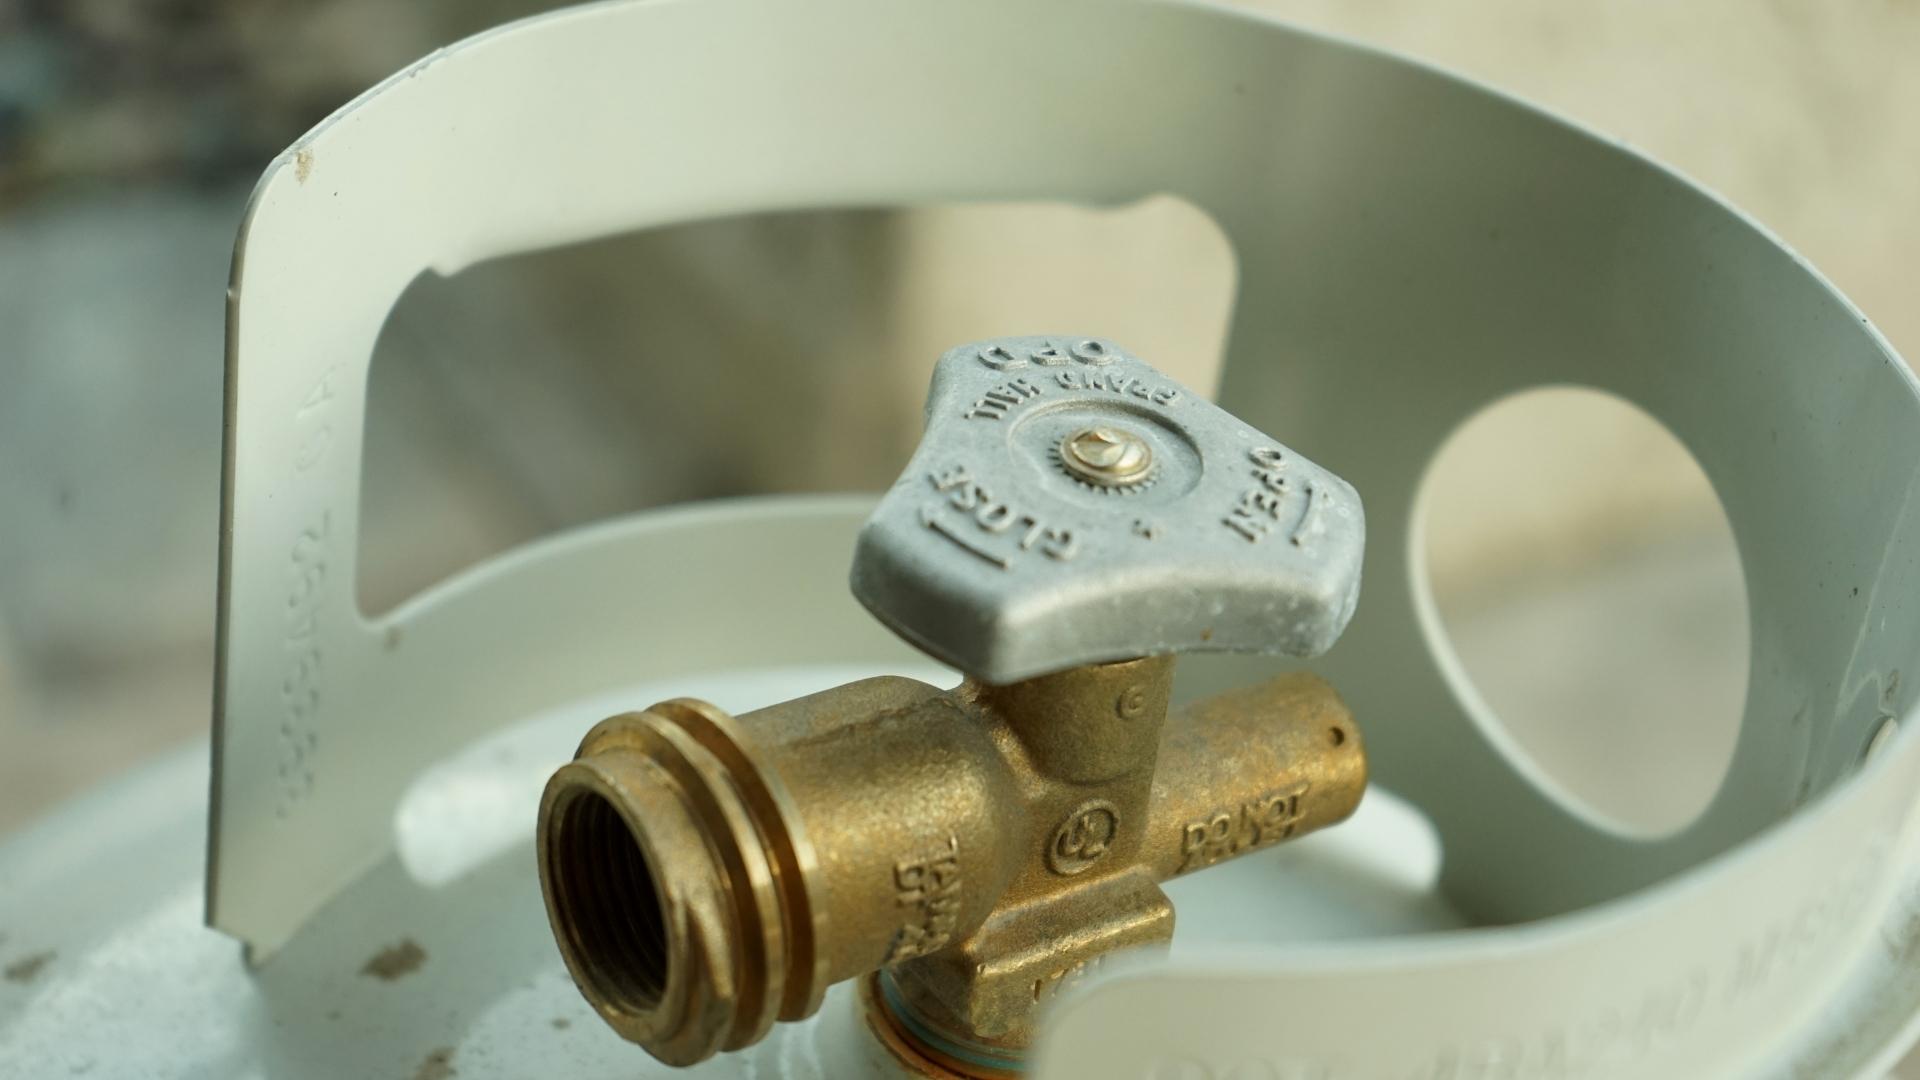

When winterizing your RV, it’s important to turn off your propane tank(s) to stop the flow of propane to appliances.
Remove All Food Products
Remove all food products from your RV unless you want “winter guests” (a more pleasant term for mice and other rodents) that can really wreak havoc with your RV in many ways. Taking the appropriate steps to keep them out – and certainly not invite them in for snacks – is an important RV winterizing tip.
For more information on keeping rodents out of your RV, feel free to check out our post, “How to Keep Invasive Mice Out of Your RV for Good”.
Fill Any Openings With Steel/Brass/Copper Wool
This is part of the mouse patrol preparation, but worth mentioning as a separate RV winterizing tip. Use steel, brass, or copper wool to fill any openings that could allow the little devils into your rig. This is important even if you use your RV in the winter.
Mice, squirrels, and other little critters are looking for warmth and food all winter long. If you’ve got either to offer, you can bet they’ll find their way to your winter palace and then tell all their friends where the party is.
Do everything possible to keep them out.
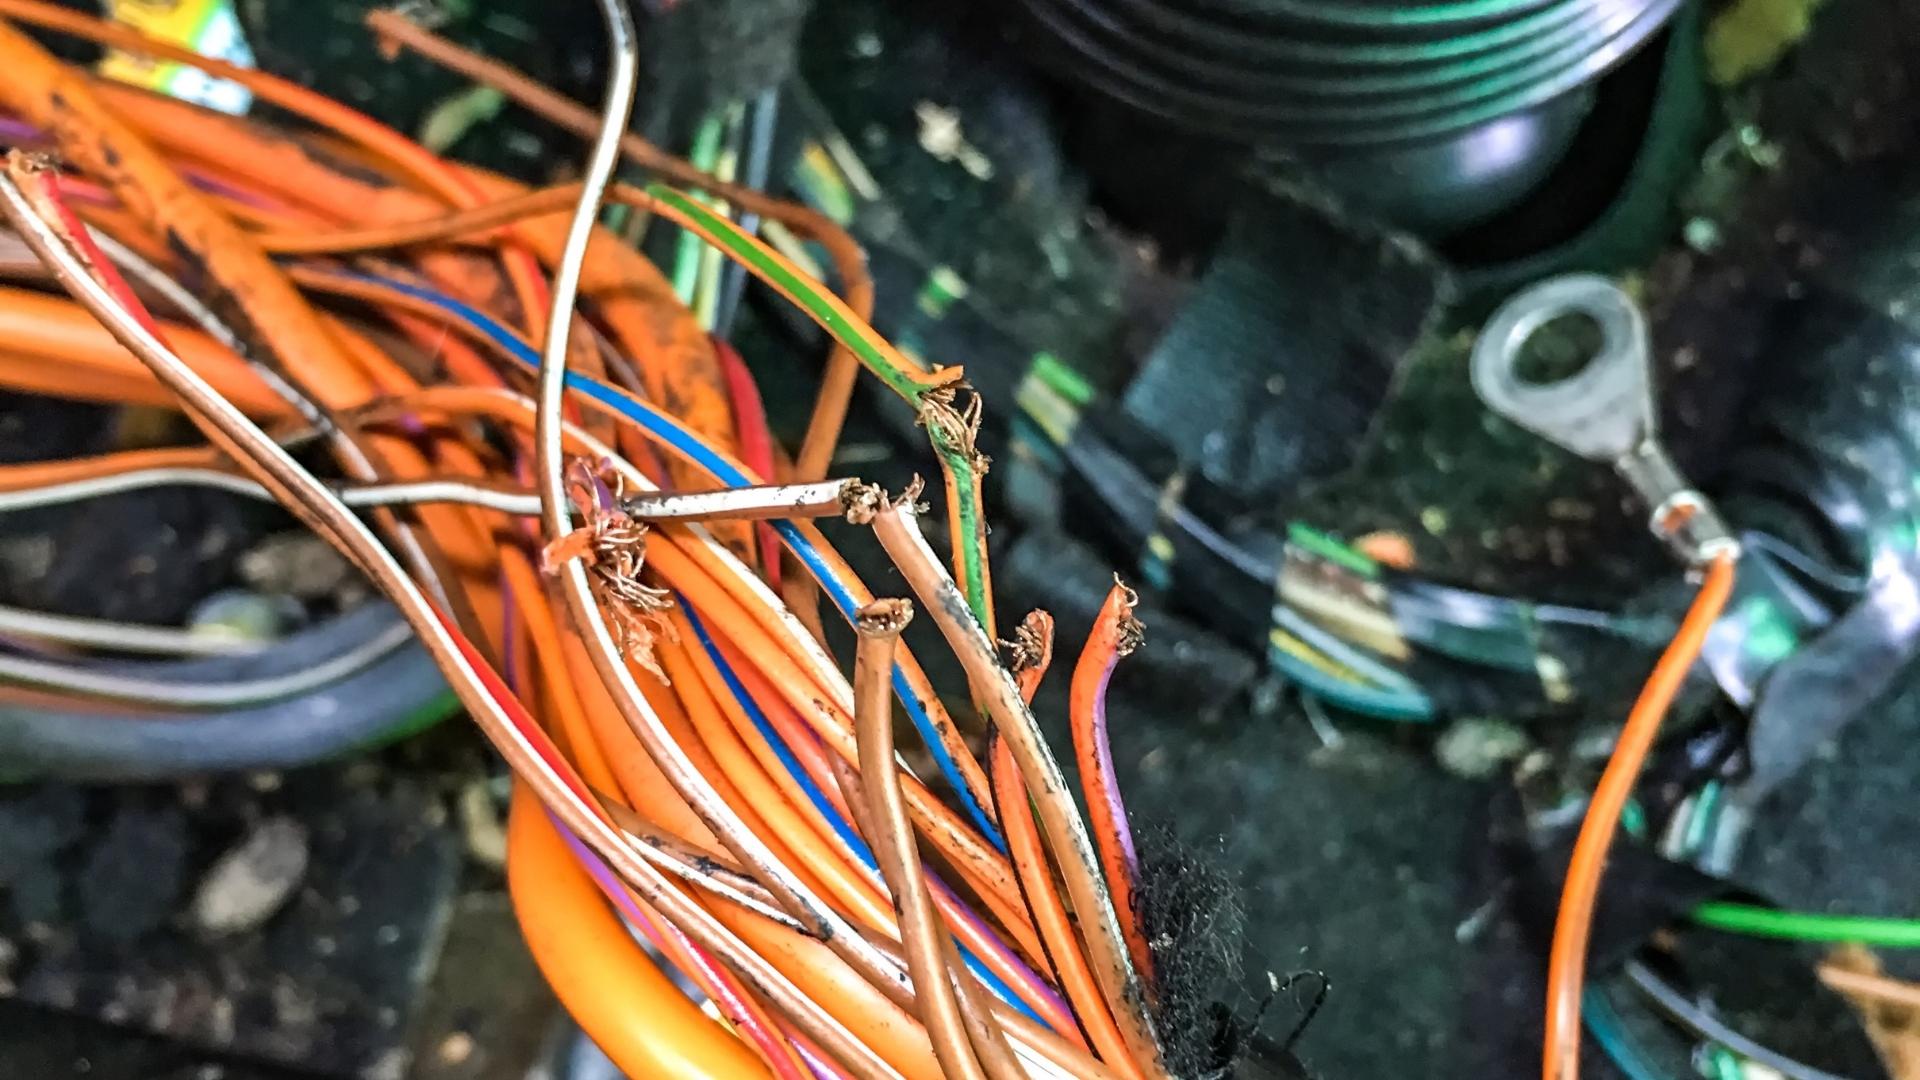

Rodents can cause significant (and very expensive!) damage, including to your RV’s wiring. Do everything possible to keep them from finding a warm place to cause trouble in your RV during winter storage.
Remove All Liquids From Living Space and Storage Compartments
If your RV will be stored in a climate that may see freezing temperatures, be sure to remove all liquids from your RV’s living space and from your storage compartments.
It’s easy to forget the liquids you have stored in your rig’s basement, but containers can crack in the cold weather, spilling any liquids in your rig or its storage areas. Don’t make this mistake. Take this RV winterizing tip to heart and move all liquids into your basement or garage.
Clean Your RV Inside and Out
Prior to storing your RV for winter, give it a good cleaning, both inside and outside. Clean the bathroom, sweep floors, vacuum any carpeting well, remove linens (blankets, comforters, and pillows), clean the kitchen well, and wash the outside of your RV so that you’re not storing a dirty rig.
Caring for your RV like this keeps it in good condition, and ready for spring. (Take it from a couple of guys who’ve had the same sparkling-like-new rig since 2005.)
Check the Sealants on your Roof and Repair if Necessary

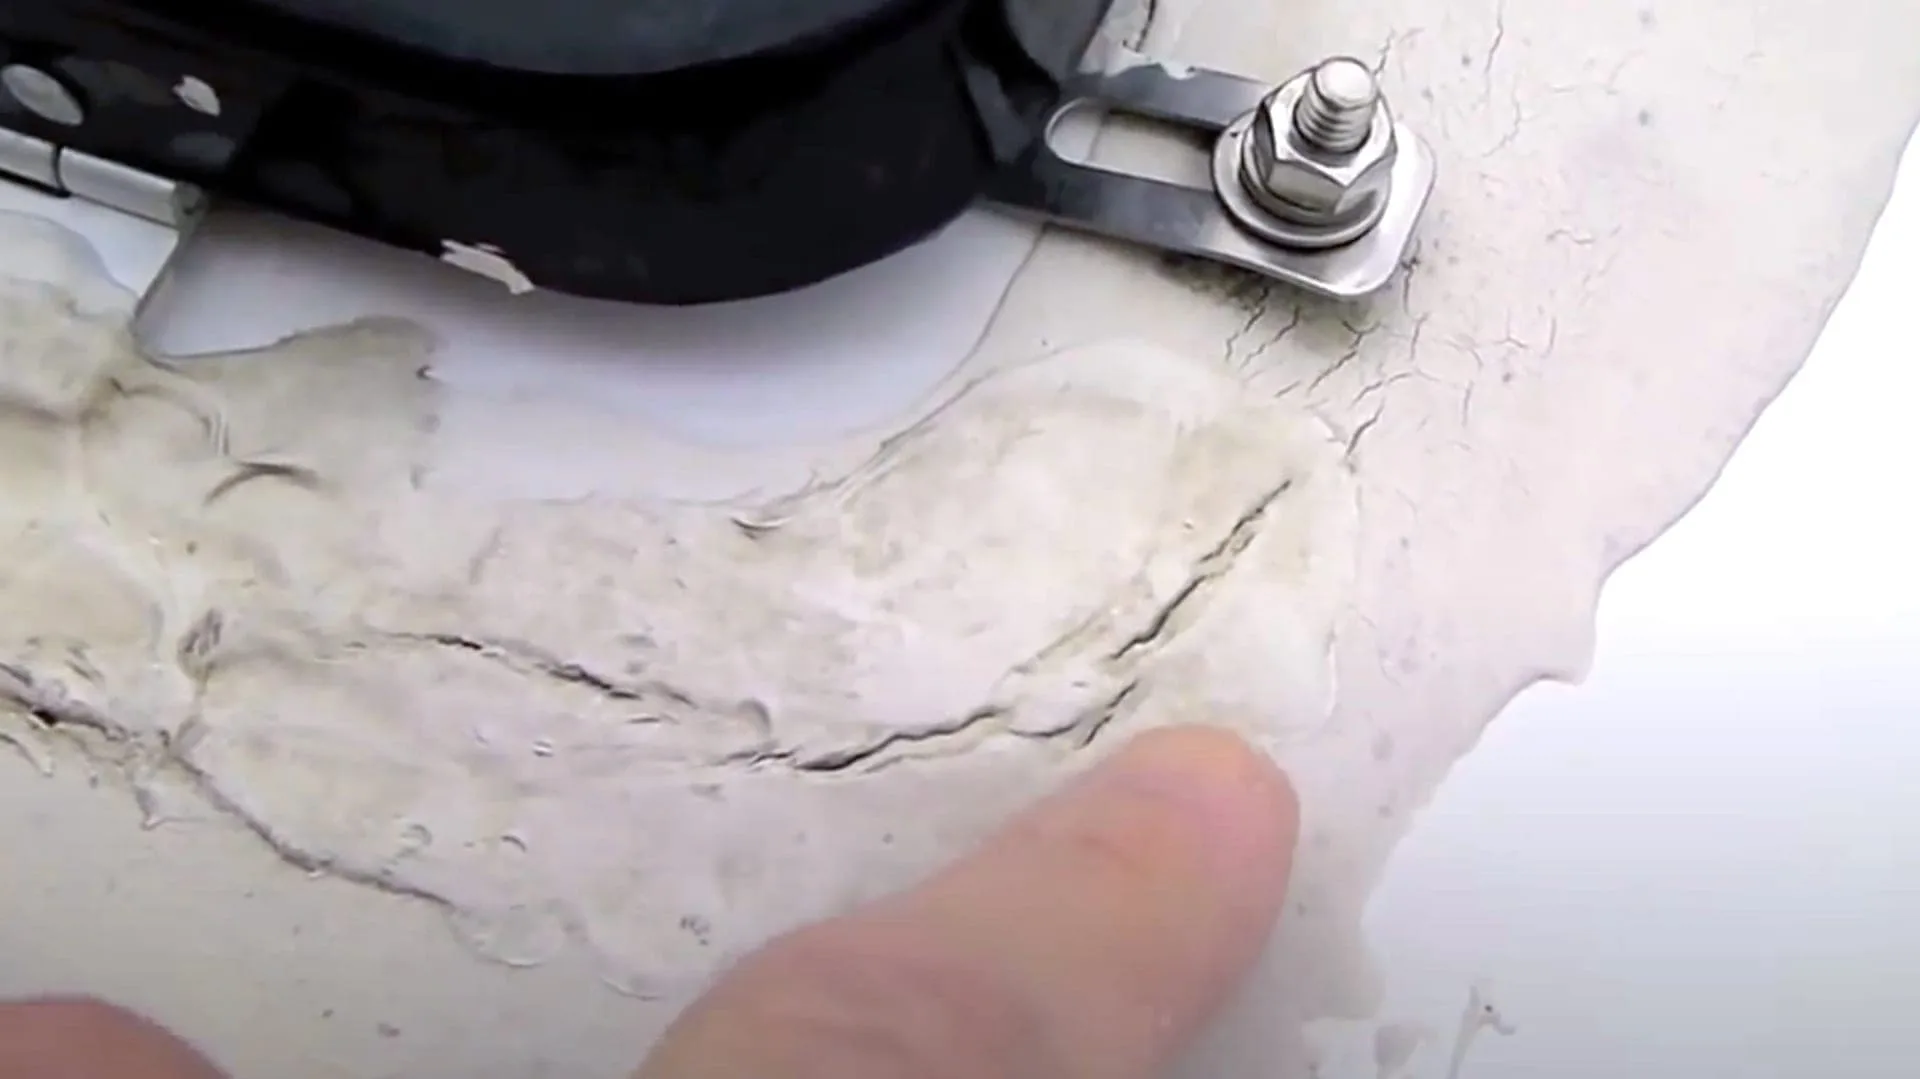
Checking the sealants on your RV’s roof prior to winter is a good way to avoid leaks that can occur through cracked, weathered sealants.
RV roof maintenance is so important – you’ve probably seen us go on about this in other posts, but we really can’t stress it enough. Preventing leaks is a very important task for an RV owner. There are lots of rooftop items that are sealed – and those sealants need to be regularly checked for cracks and damage.
If you make the mistake of neglecting your rooftop sealants, your RV could see some insidious leaks that you have no idea exist until serious & costly damage has occurred.
Cover Your RV
And for our final RV winterizing tip, we suggest covering your rig if possible. Just be sure not to cover it with a tarp! Tarps are made of non-breathable material and could cause your rig some serious harm in the way of mold build-up among other things.
If you can’t store your RV inside or under a shelter, consider an actual RV cover. Sure, there are pros and cons to RV covers, but if you get a quality RV cover with UV protection, wind protection, and breathability, as well as the ability to allow you to get inside the rig to check things out periodically, your RV will be less exposed to the elements while stored. For some good candidates for protective RV covers, check out our post entitled, “The 5 Best Covers to Protect Your RV”.
Geek Out With Us Every Week
Join our newsletter to learn about all things RV-related. Every week we offer free tips, tricks, product reviews, and more to our online community of RVers. So, whether this is your first time on the road or you’re a seasoned expert, we’d love for you to geek out with us!
AK Fish
Friday 19th of January 2024
I use INTERSTATE lead acid batteries for my travel trailer. INTERSTATE states: "Today, the type of plastic (polypropylene) used in battery cases is a great electrical insulator. Also, tremendous technological improvements have been made in the seals around the battery posts and vent systems, which have virtually eliminated electrolyte seepage and migration.
So, it's OK to set or store your battery on concrete. A battery's rate of discharge is only affected by its age, the temperature outside and the way the inside of the battery is made."
If INTERSTATE is okay with concrete floor storage for my lead acid batteries without worry, then it works for me. Full charged of course or on a battery maintainer for the fall/winter seasons.