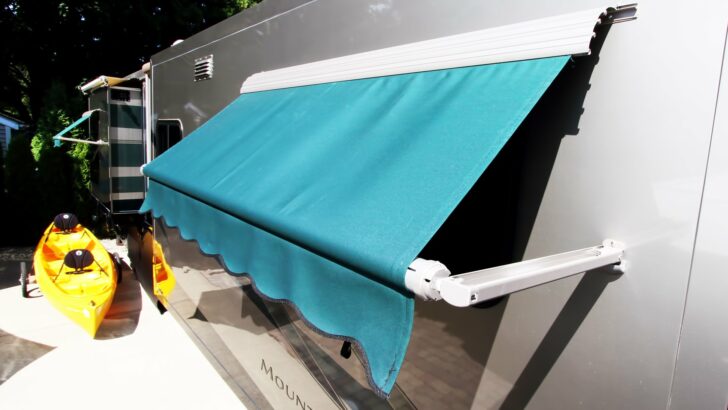

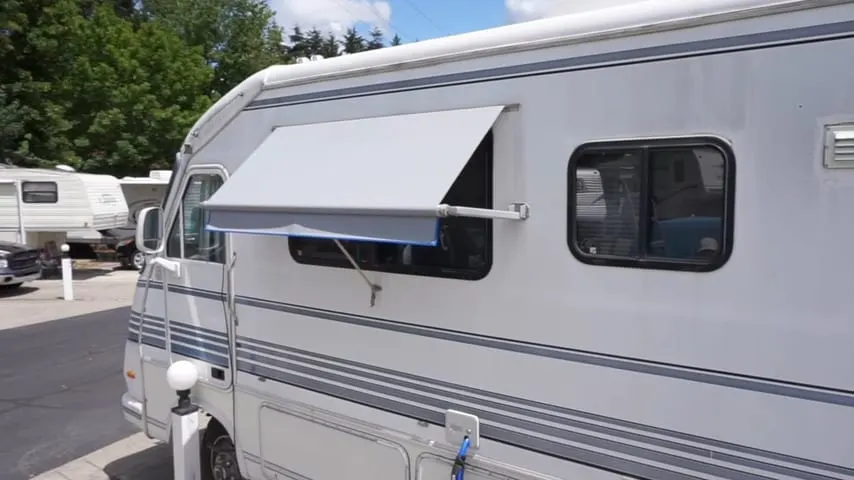
RV window awnings are a great addition to RVs that spend any time in the sun, and that’s likely to be… well… all RVs! While we love the sun and appreciate the warmth and light it brings, we also know that keeping an RV’s windows shaded when parked in full sun is important for keeping the RV as cool as possible.
But even if you’re not parked in a sunny spot, RV window awnings are still useful if it’s raining. Without one, you’d likely have to close your windows to keep the rain out, which can result in the inside of your RV getting stuffy or hot (or both). But with a window awning extended, you can leave the window open (even if only partly) and still not have any rain come in.
And what about when you’re parked at an RV park or campground and your neighbors’ windows feel like they’re just inches away from yours? RV window awnings can help to provide some additional privacy inside your RV, blocking direct line of sight.
With all of this in mind, let’s start with a look at some good maintenance tips to keep your RV window awnings in good working condition:
RV Window Awning Maintenance Tips
Here are a few tips that you may want to consider when using RV window awnings:
(1) Keep them clean
If leaves or sticks fall on top of an awning and don’t fall away on their own, brush them off gently before retracting the awning, as they could damage the material or make it difficult to close the awning.
(2) Pull your RV window awnings in on windy days and during storms
Just like with your larger patio awning, you don’t want to take any chances when the wind picks up, as awning materials can tear when under stress. In the windiest conditions, the awning arms themselves can be damaged. It’s better to err on the side of caution and retract them.
(3) Always make sure your window awnings are secure before driving
Accidentally leaving an RV window awning open as you drive away could ruin your RV trip! The extended awning could catch on a tree branch, street sign, etc., and cause damage to the exterior of your vehicle (or innocent bystanders). If you’re prone to forgetting, leave a reminder on your steering wheel to retract those awnings before firing up your RV’s engine. If you use a checklist for setting up and/or breaking camp, be sure to include stowing the window awnings on your list.
But what if your RV didn’t come with any (or enough) window awnings?
Is It Easy to Install an RV Window Awning?

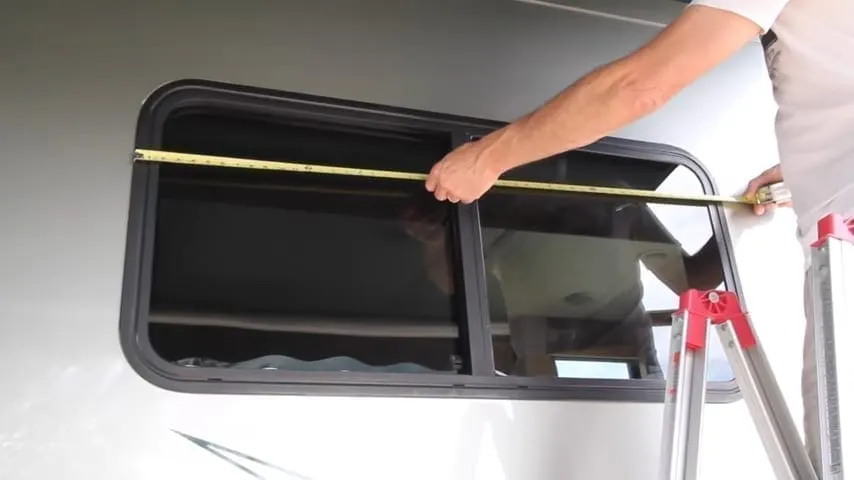
The first step in the RV window awning installation process is to take careful measurements of the window.
Installation of a window awning is pretty straightforward and will require a ladder (or two… this job is easier with two people), a tape measure, a level, a cordless drill, a pencil, a roll of butyl putty tape, and a small plastic scraper (or a plastic knife if you don’t have a scraper).
Following is a general step-by-step list of what the task entails, should you decide to take it on yourself. Just be aware that each installation kit may have different measurements/instructions, so follow the directions that come with your new awning very closely.
DIY Installation Steps:
Step #1. Start by marking the center of the window over which the installation will take place. Use your new awning’s instruction manual to determine how many inches above the window you should mark it.
Step #2. Up on the ladder, use a level to mark a line that’s parallel with the top of the window frame and which includes the center mark you just made in Step #1. You’ll want the line to be approximately as long as the mounting plate you’re going to install.
Step #3. Apply an even strip of the putty tape to the back side of the window awning mounting plate. This will provide a good seal around the screws that will be used to install the plate, ensuring water can’t penetrate and cause damage.
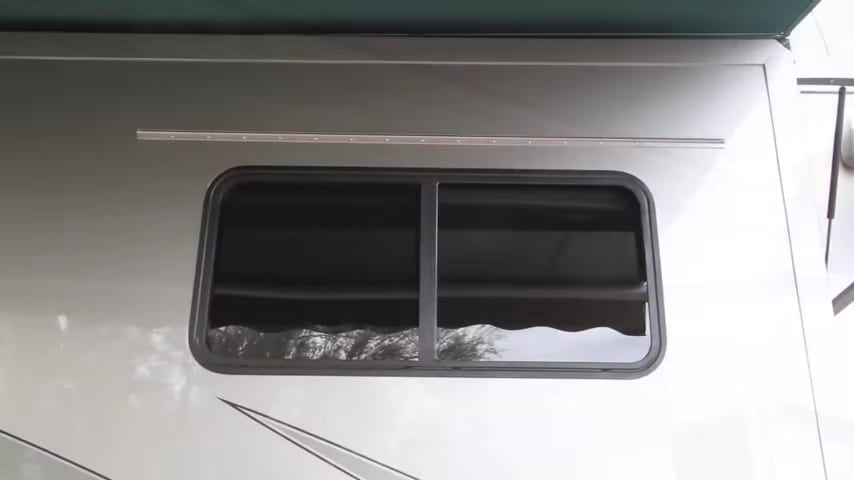
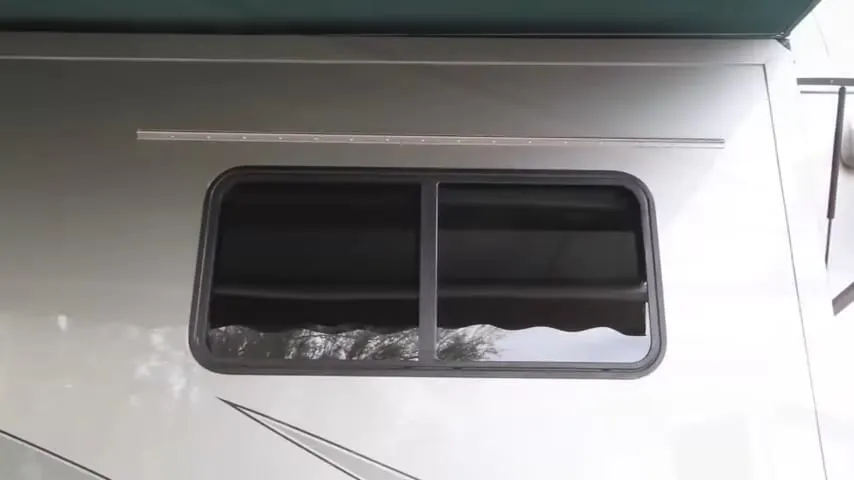
The first thing to install on the side of the RV is the awning mounting plate, centered above the window.
Step #4. Press the mounting plate into place on the side of the RV, lining it up carefully with the line you marked in Step #2, and centering the plate over the window. With the butyl putty tape holding the mountain plate to the sidewall, carefully pre-drill each of the mounting holes using a drill bit that’s smaller than the threads of the included mounting screws.
Step #5. Install all of the mounting screws. Tighten them carefully so that you don’t strip them out of the wall, but tight enough that some of the butyl putty tape squishes out from behind the mounting plate. This ensures that the plate is being properly sealed. Use a plastic knife or plastic scraper to carefully remove any excess putty.
Step #6. Attach the awning arms to the support brackets at each end of the window awning roller tube.
Step #7. After unrolling one wrap of the awning fabric, slide the awning roll into the track in the mounting plate to secure it to the side of the RV and center the roller in the track.
Step #7. While holding the top of the roller tube in line with the track in the mounting plate, and keeping the awning arms square to the window, mark the lower mounting hole in the foot of each awning arm.
Step #8. Measure the distance between the centers of the upper and lower mounting holes in the support arm foot. Carefully measure up from the mark you made for each lower mounting hole in Step #7 and mark the upper hole for each arm.
Step #9. Pre-drill the mounting holes for the RV window awning support arms.
Step #10. Apply butyl putty tape to the back of each support arm foot and secure the arm to the RV using the lower mounting hole. Again, remove any excess putty.
Step #11. After removing any pins that are locking the spring(s) in the awning roller tube, unroll the awning and while holding it extended, install the screws in the upper mounting holes of each awning arm foot (having a helper makes this step easier).

You’ll soon be enjoying the shade and cool comfort your new RV window awning will provide!
Step #12. Retract the awning and install any decorative covers onto the awning arm mounting brackets.
Step #13. After extending the awning again, mark the screw holes for mounting the awning strap bracket, centering it left-to-right on the window & awning roller tube. Then pre-drill the holes.
Step #14. With putty tape applied to the back of the strap bracket, attach it to the wall using the holes from Step #14 and remove any excess putty tape.
Step #15. Extend/retract the awning a couple of times to confirm it is centered properly and rolling/unrolling correctly. Once done, install the retaining screws into the upper mounting bracket to ensure that the awning fabric/roller can’t slide forward/backward in the track.
Step #16. Extend the awning and attach the awning strap to its mounting bracket.
Step #17. Enjoy the shade!
If you’re a more visual person, you can follow along with our step-by-step instructional video as we installed our Dometic RV window awning!
Or, if you’d prefer to skip the DIY option altogether, you can have RV window awning(s) professionally installed. Most local RV dealers can handle a project like this for you.
Replacing Your RV Window Awning Fabric
The fabric on an RV window awning will wear out much faster than the hardware. Because of the pressure awning manufacturers face from RV manufacturers to supply their products as inexpensively as possible, we recommend that aftermarket fabric is a superior way to go.
Over the years, we’ve replaced the fabric on every one of our awnings and slide toppers with Tough Top Awnings fabric. If you’d like to save money and get superior results, check out our wide range of tutorial videos to see how to do it yourself. If you’d like to see how to replace the fabric on Dometic window awnings, we show that here.
And you’re in luck! Tough Top Awnings is having a sale! But don’t wait… the last day to save DOUBLE our usual discount is 2/28/2021!
If you’re reading this after the 2/28/2021 end of the double discount, you can still save:
The original equipment fabric that comes on RV awnings and slidetoppers is... well, how do we say this?... CRAP!. It's no surprise, since the RV manufacturers are looking to cut their costs...Show More
The original equipment fabric that comes on RV awnings and slidetoppers is... well, how do we say this?... CRAP!. It's no surprise, since the RV manufacturers are looking to cut their costs. Instead of replacing it with the same stuff that failed in the first place, get high-quality replacement fabric from Tough Top Awnings, instead.
Check out our Tough Top Awnings videos here
Plus you can save 5% on your entire order from Tough Top Awnings. The coupon code is valid online or over the phone!
Show LessStay Cool in The Shade and Save
RV window awnings can add comfort to your camping experience, keep you cool in the sun or dry in the rain, and provide some additional privacy when parked in close quarters. Maybe it’s time to think about adding some window awnings to your RV before your next summer excursion!
Geek Out with Us Every Week
Join our newsletter to learn about all things RV-related. Every week we offer free tips, tricks, product reviews, and more to our online community of RVers. Whether this is your first time on the road or you’re a seasoned expert, we’d love for you to geek out with us!